This was my first time using coconut flour. It makes a nice hearty bun that can hold up to what ever you use to fill it. Tonight I filled mine with a Cooked Chicken Breast and Sharp Cheddar Cheese and it was delightful! The bun held up nicely and only started to crumble a little towards the last couple of bites. INGREDIENTS 1 1/4 cup coconut flour 1 tbsp. baking powder 1 tsp. Kosher salt 6 eggs 1/2 cup olive oil 1 Tbsp. water DIRECTIONS
Yields: 5-6 buns 
0 Comments
 INGREDIENTS
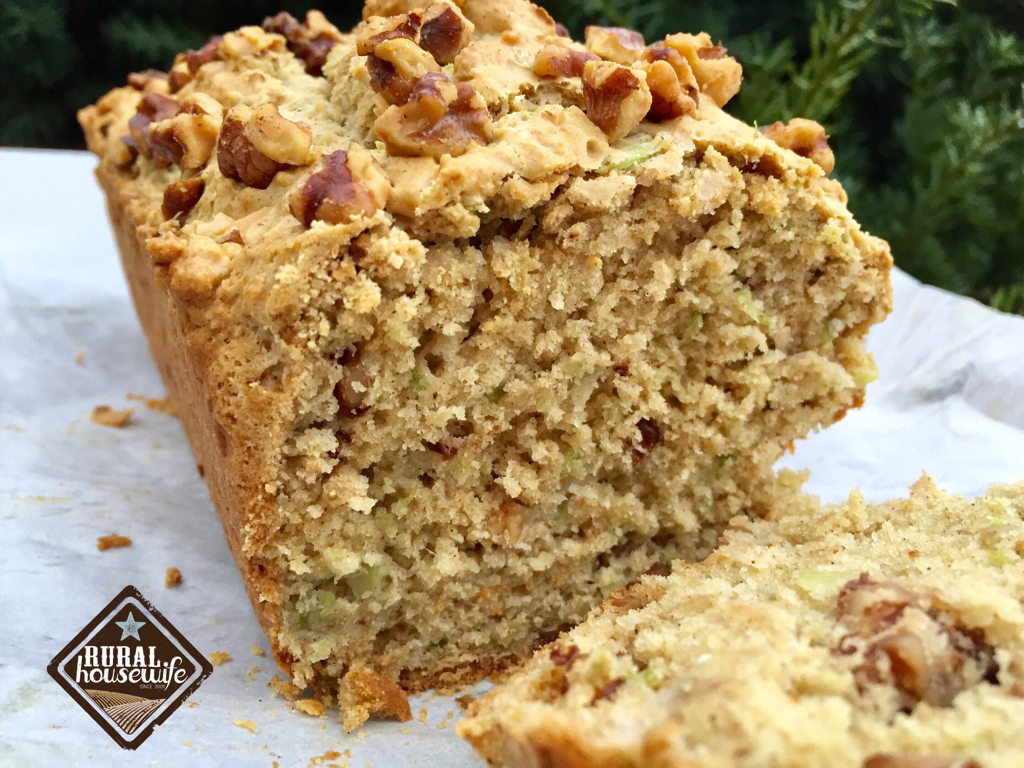
1 cup grated green tomatoes, juice, seeds, skins and all 3/4 cup coarsely chopped walnuts 3/4 cup sugar 1/2 cup melted butter 2 large eggs (slightly beaten) 2 cups all-purpose flour 3/4 teaspoon baking powder 3/4 teaspoon baking soda 3/4 teaspoon salt 1 teaspoon cinnamon DIRECTIONS
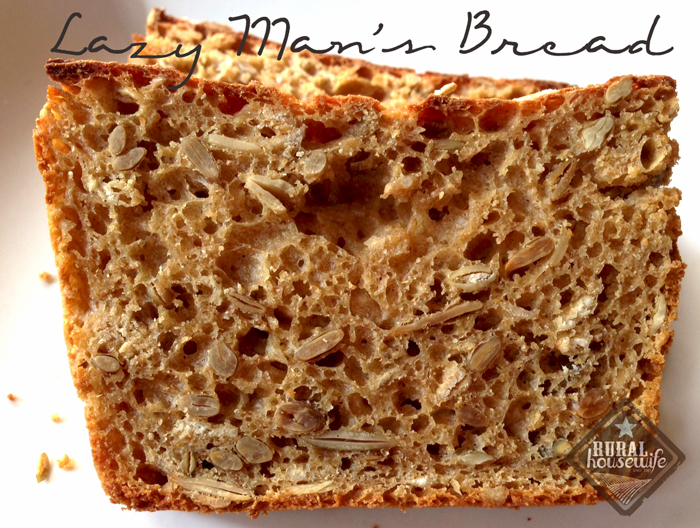  I've been craving homemade bread so much lately, but finding the time has been more of the problem. Last week I found this recipe online and knew that I HAD to try it! So Saturday morning, while my husband was asleep, I went to the kitchen and got busy making this so we would have it for breakfast. I doubled the recipe to make two loaves. (Why make one when you can make two for the same amount of work!) :) I only had one problem with the recipe...The original recipe that I read called for a regular size loaf pan, for me this didn't work. My dough bubbled, rose, and leaked out all over my oven. It was definitely the wrong choice to use the regular size loaf pan. If you use a 9x5x3" pan you should be fine. The rest of the recipe is pretty simple. I changed the sugar to raw honey, and I used buttermilk instead of milk, and I switched out the active dry yeast for fast rising yeast. I will definitely be making this again! 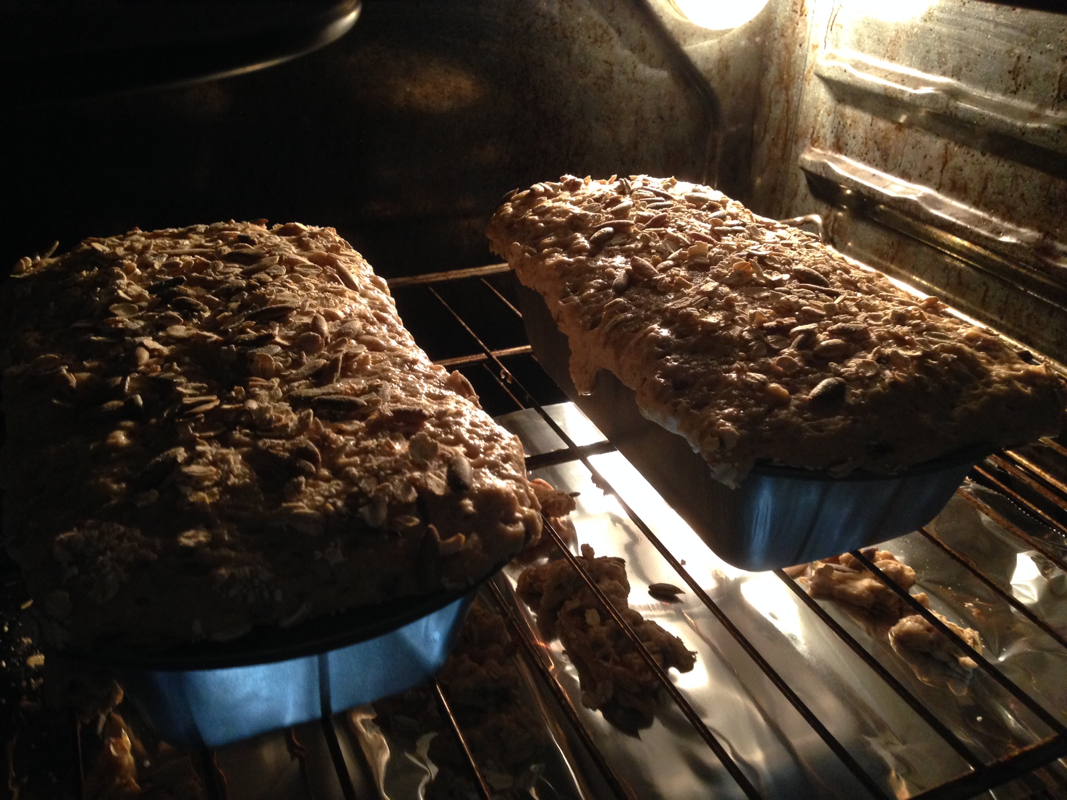 Lat Mannsbrød (Lazy Man's Bread)
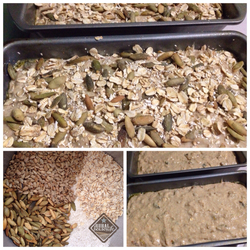
Use a 9 x 5 x 3 inch loaf pan - this recipe makes 1 loaf. INGREDIENTS 1 cup plus 2 Tbsp buttermilk 1 cup plus 2 Tbsp water 2 cups whole-wheat flour 1/2 cup rye flour 2 1/4 tsp fast rising yeast 1/4 cup rolled oats (not instant) 1 tsp kosher salt 1 Tbsp raw honey 3/4 cup blend of any (or all) of the following: sunflower seeds, whole flaxseeds, pumpkin seeds, chopped walnuts, etc. DIRECTIONS 1. Mix the milk, honey, water, and yeast together in a measuring cup, and combine all the other ingredients in a large bowl. 2. Pour the liquid into the dry ingredients, stirring all the while, to make a sticky mixture. 3. Butter or oil your loaf pan well, pour the dough into the pan, sprinkle a few extra seeds and oats over the surface of the bread, and place in a cold oven on the middle rack. 4. Turn the oven on to 225F and after 30 minutes, turn it up to 350F for one hour. 5. When the loaf begins to get nice and brown, take it out of the oven, run a plastic knife or wooden skewer (do not use metal, it can scratch your pan) along the sides of your pan and carefully remove the bread. (*Nigella recommends poking the bread with a cake tester or fine skewer to make sure it's done, ie: the skewer will come out clean). You may wish to return the loaf to the oven for an extra 10-15 minutes. Resist the urge to cut off a slice right away, allowing the bread to cool thoroughly on a rack will prevent the insides from getting gummy.
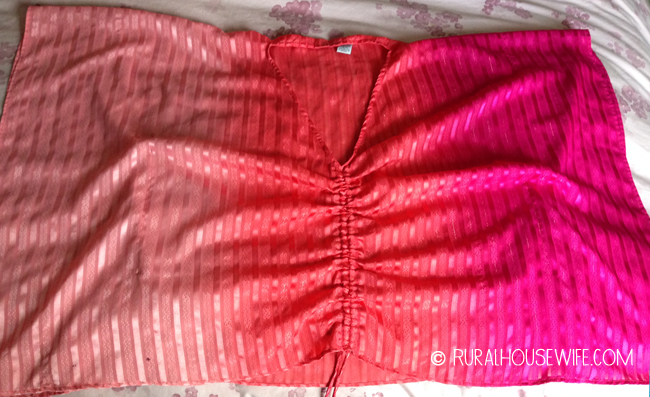
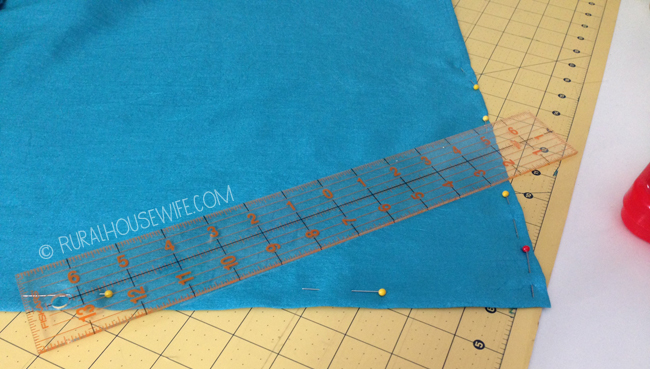
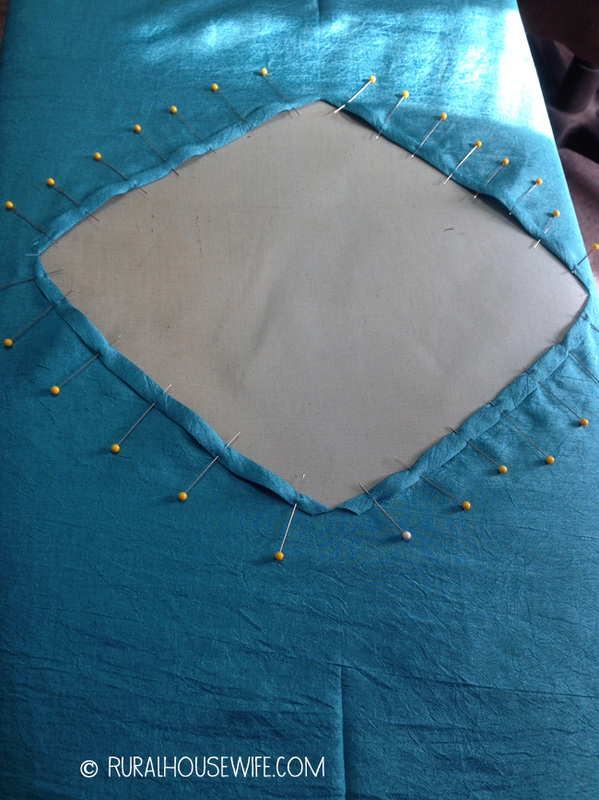
I cut the fabric 44" x 56" and ironed and sewed the 2 edges that weren't already "finished". 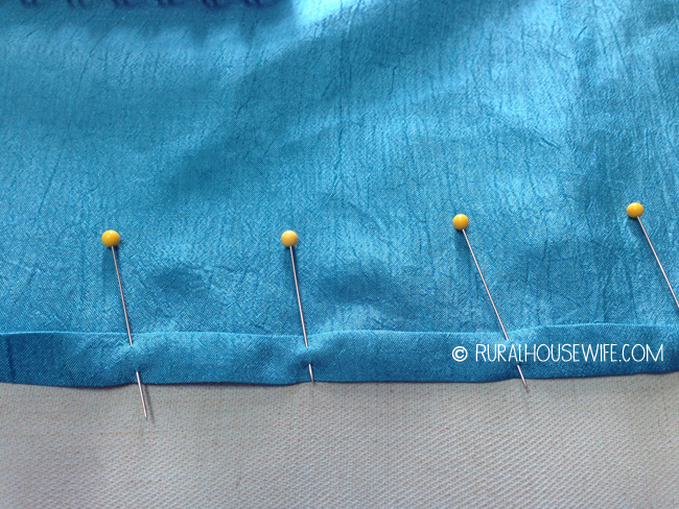 Next I folded it in to fourths, and measure for the neck. I used the measurements of my pink one to eye ball it - but I made it a little less "plunging" in the front as I didn't want to always worry about the girls showing :).
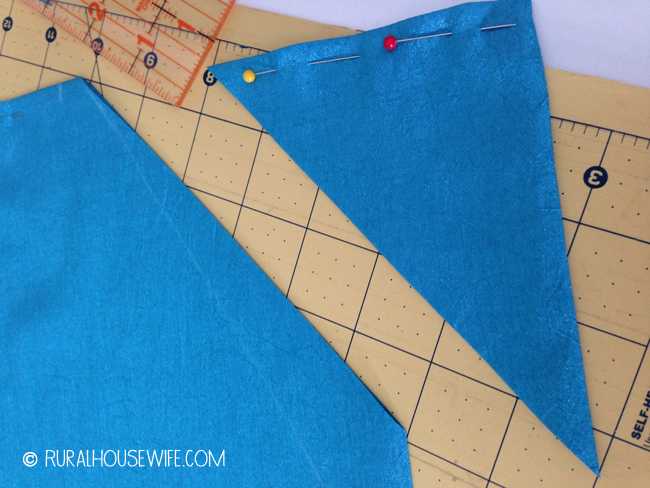
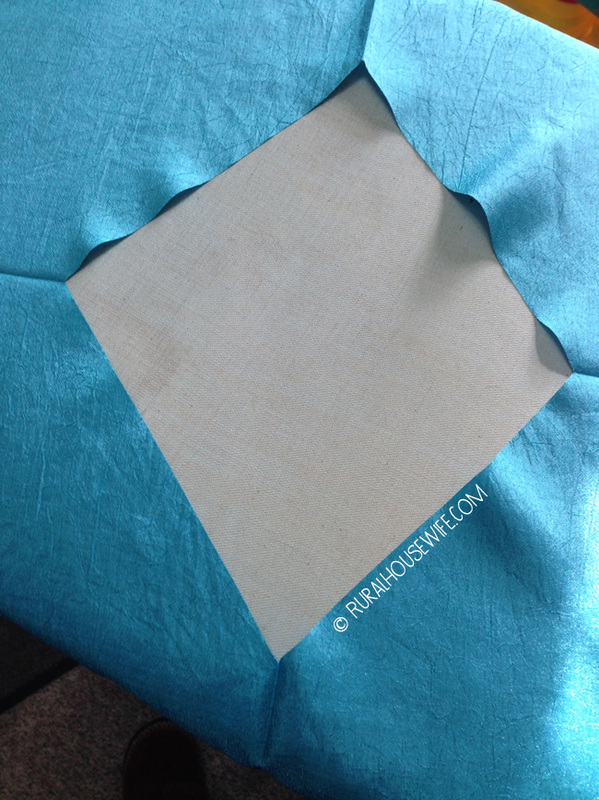
I laid the material out with the opening facing up, cut 3/4" on each "corner", then folded them down twice making the hem. I am sure there was a better way of doing this, but this is what made sense to me. Once I was finished sewing it all the way around, I moved on to the next step.
|

Categories
All

|