2 Comments
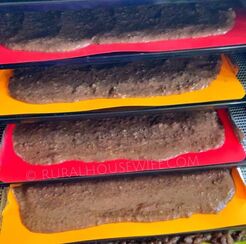
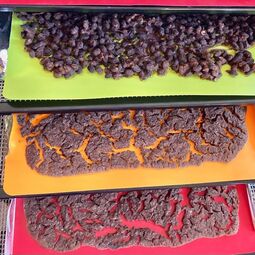
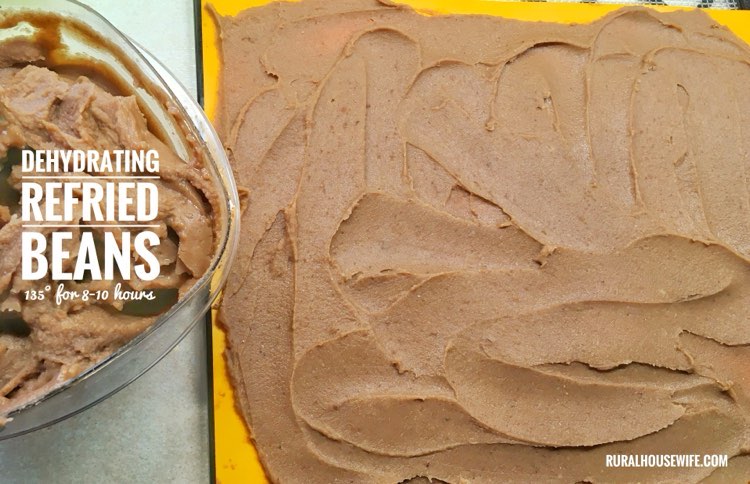 I get so giddy using our Excalibur Food Dehydrators. Today I am drying 10 cups of homemade refried beans. Saves room in my freezer, I know every ingredient that’s in it, and it will make taco night so much more fun. Since there is only two of us, I can rehydrate just enough for that meal and not have to worry about losing the rest of it in the fridge (I can’t be the only one this happens to.)
I don’t know how I first learned about making my own cream of wheat from ground wheat kernels. Y’all! I made some this morning. And Oh. My. Goodness! What I did: Took 1/3 cup of ground wheat (that I did in my small blender), toasted over medium heat (stirring often). You don’t want them to burn, just toast a little bit. Only did it for a couple of minutes. Set aside and got my 1 cup of water and a pinch of salt boiling and then slowly whisked in the toasted ground wheat. Whisked on medium low for about 4-5 minutes. Towards the end I added my sweetener and stirred it in. Poured into a bowl, added a tab of butter, and a little milk moat for the edge. 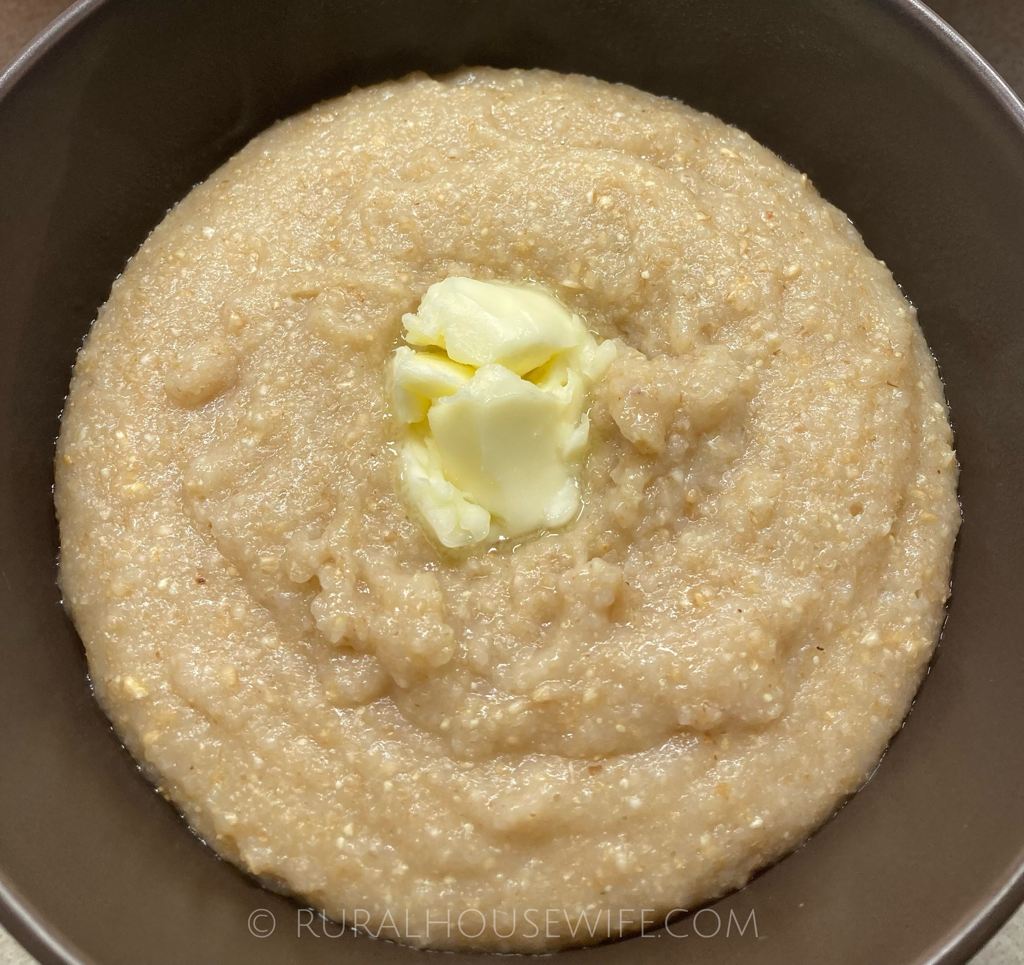
|

Categories
All

|