|
WHAT I USED:
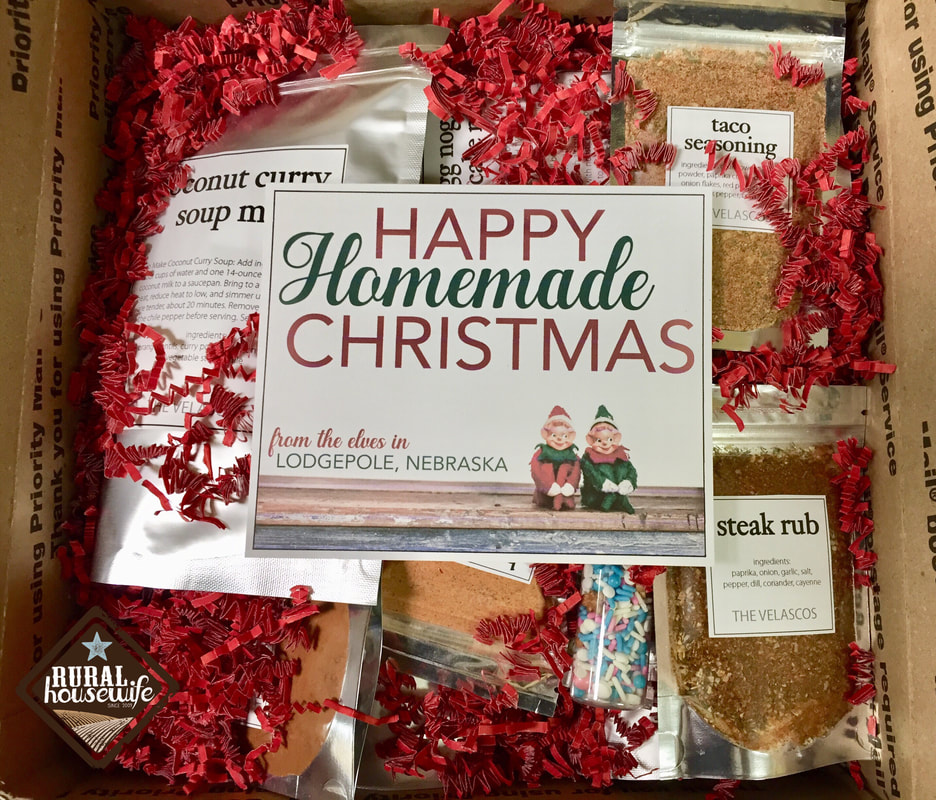
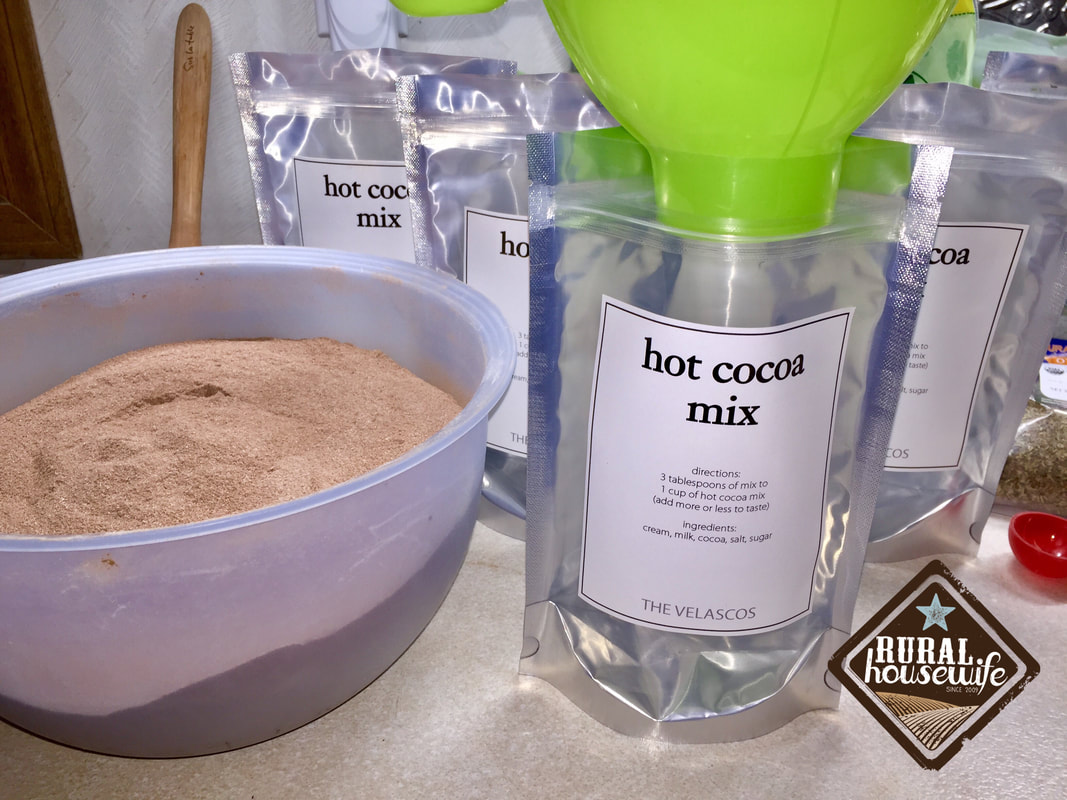
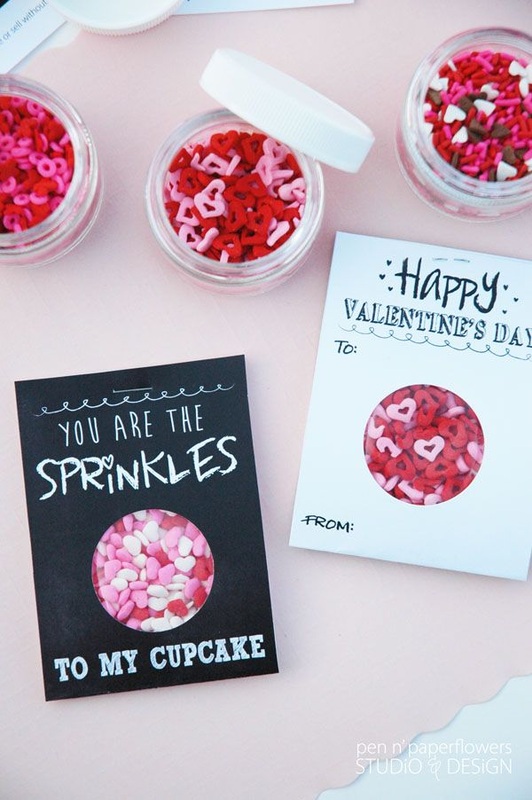
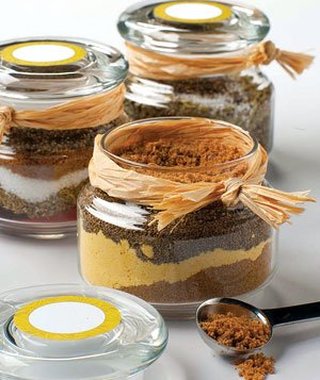
For the bags I purchased the ones below on Amazon. I also decided to purchase a sealer for extra security for the bags since I was mailing them. I really didn't want my family to open the box and find all the ingredients had merged together. But that could be my OCD talking :). As far as the labels. I made them myself. I used Adobe Illustrator to make them, but it's just as easy to use Microsoft Office. Just open a new document, draw a text box and insert the text. Make sure the border on the box is a little thicker and then when you cut them out, cut just outside the line leaving a white border. I used full sheet sticker paper in my ink jet printer.
0 Comments
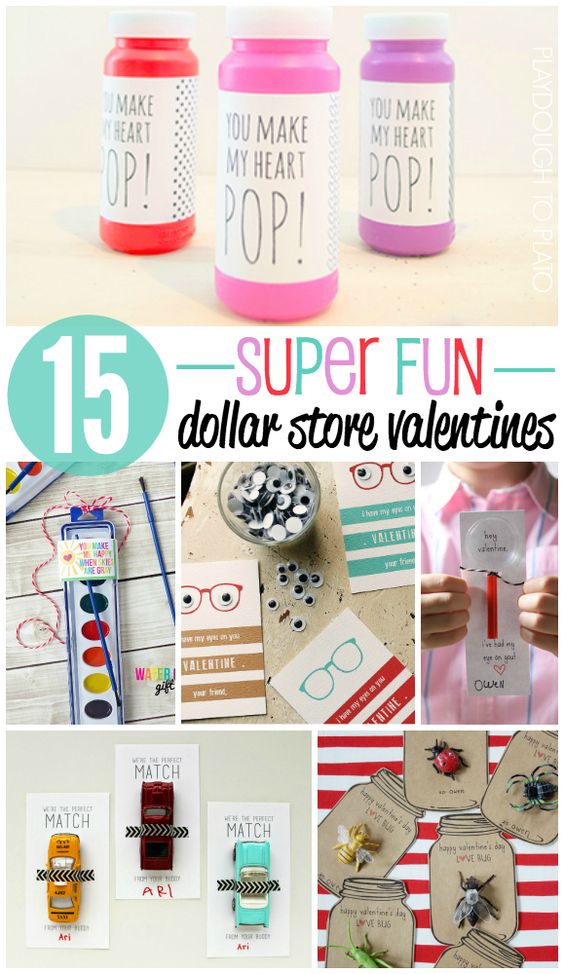
 Click on each image to see the corresponding tutorial, printable, recipe, etc. ENJOY!
{P.S. I do not take credit for any of these projects, I am simply promoting these for those that originally created them. I think all of these listed are Fun, Unique, and Clever}
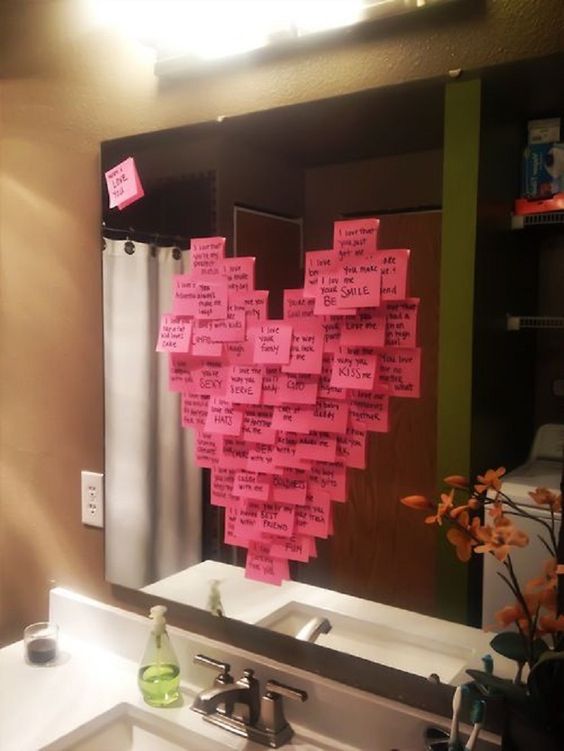
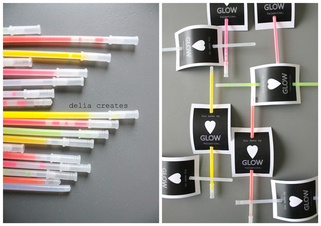
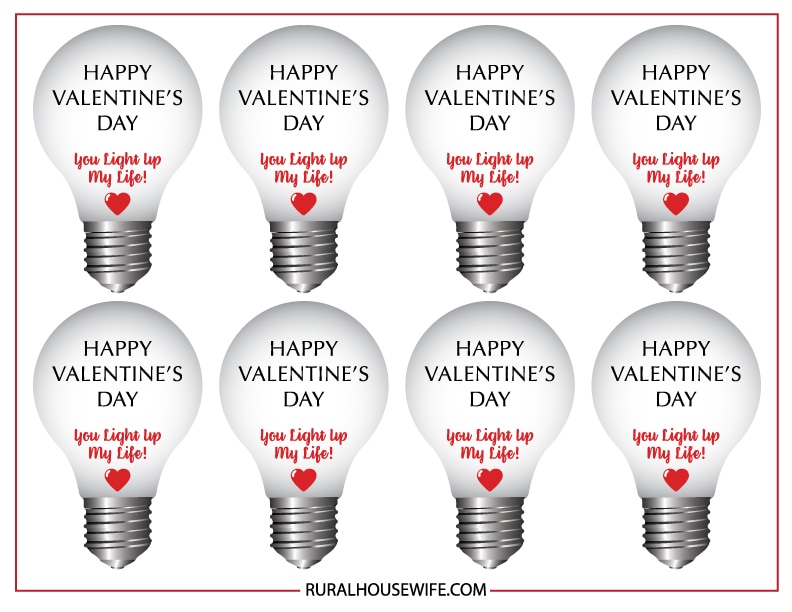
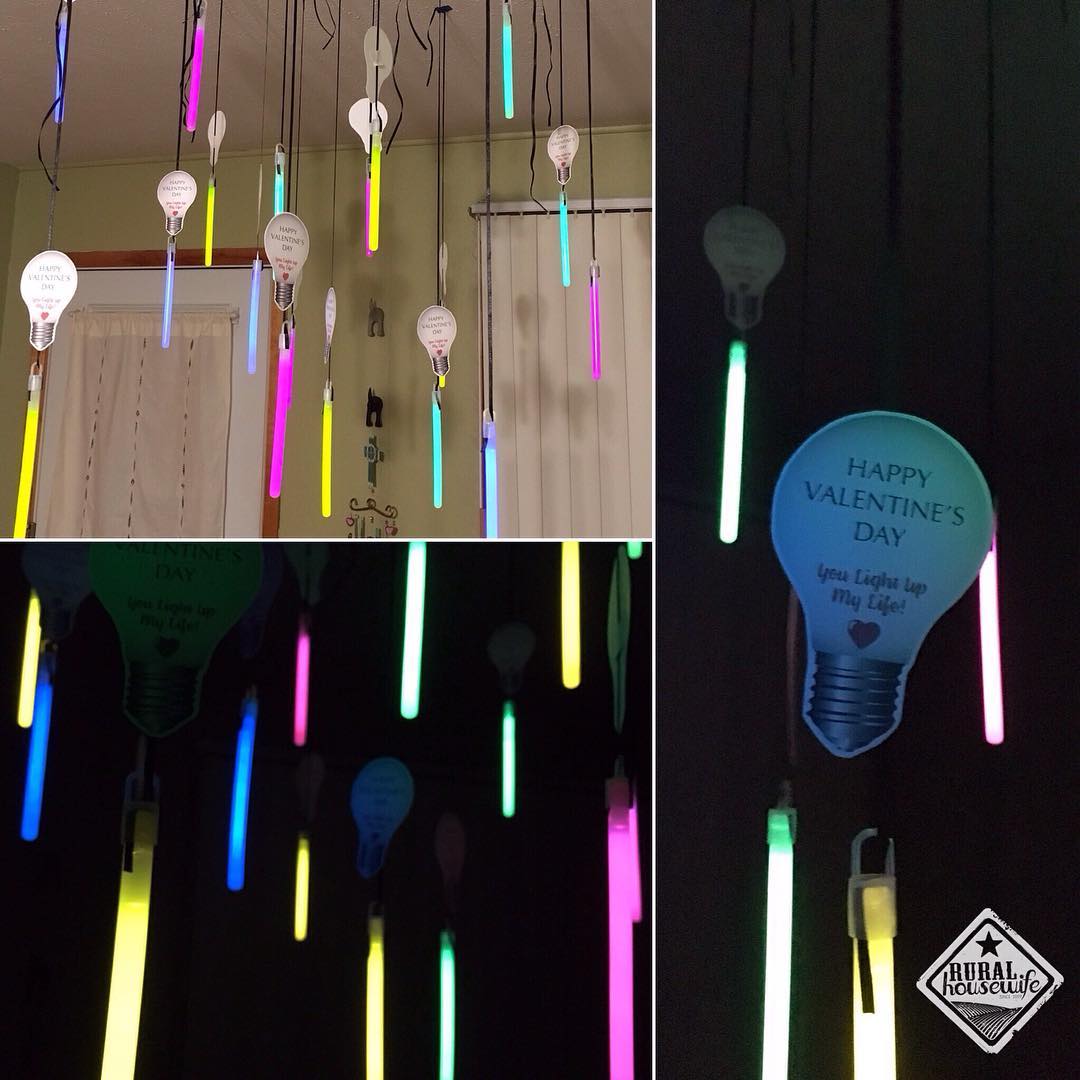 This year has been a whole lot of moving and purging. So buying each other a bunch of stuff only to have it sit around just didn't sound all that appealing. So we did grand gestures (on a budget) LOL. For me, I went on Pinterest and found a cute idea that was originally for individual Valentine Cards for kids. So I decided to design my own to fit what I needed them for. (I did not use any of her graphics for this download.) You are more then welcome to use the download for your own grand gesture as long as you don't sell it or reproduce them to sell. :) COST: I bought the glow sticks at the dollar store. They came 4 to a pack. I bought 5 packs (20 glow sticks) for $5. Make sure to get the ones that have caps and string (see picture below) with them so you have an easy way to hang them.

I have another craft fair coming up this weekend. I really want new designs to sell, so I have been hard at work with making more leather goods and ornaments. So far I am liking how they are all turning out but I think the fumes might be making me a little loopy! LOL |

Categories
All

|