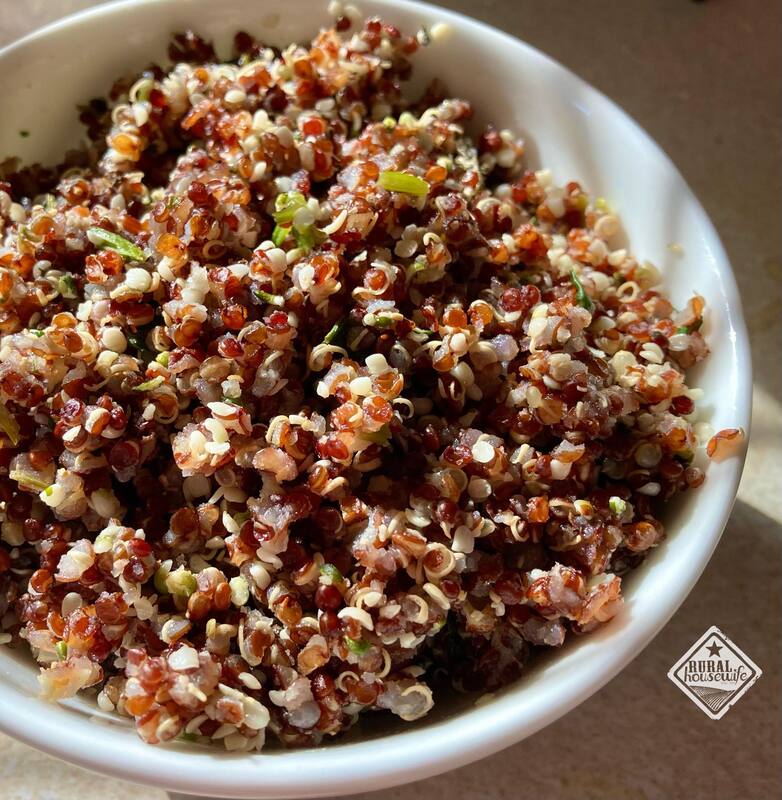
I make this recipe a couple times a month and portion it into thirds. One third goes into the fridge to add to meals and salads. Two thirds get bagged separately and placed in the freezer for times when I need a quick snack or addition to meals and salads.
If you like quinoa recipes, check out:
0 Comments
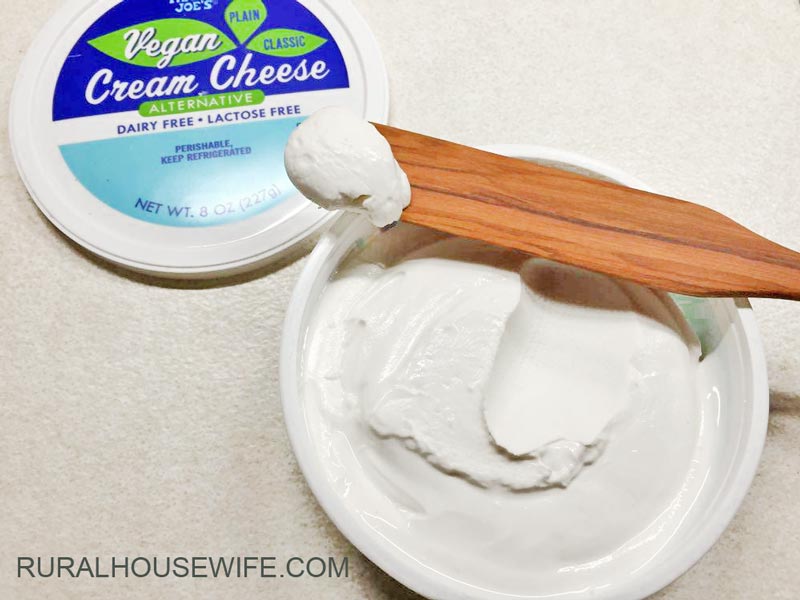
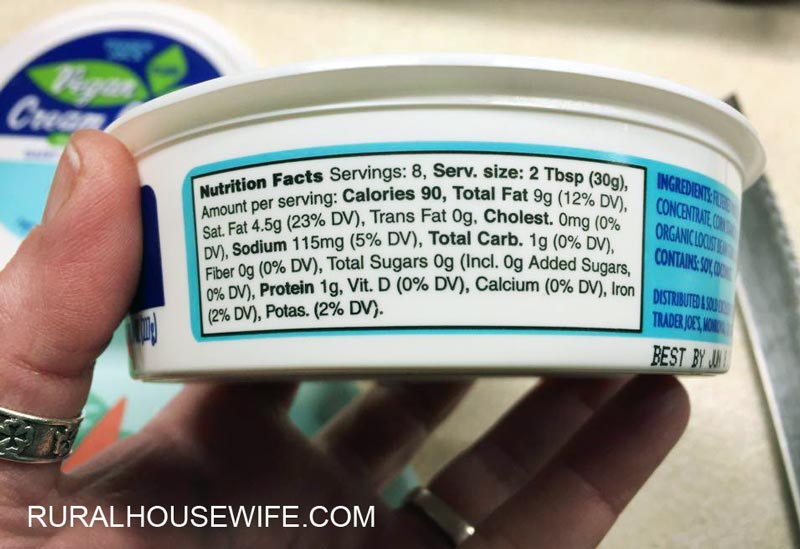
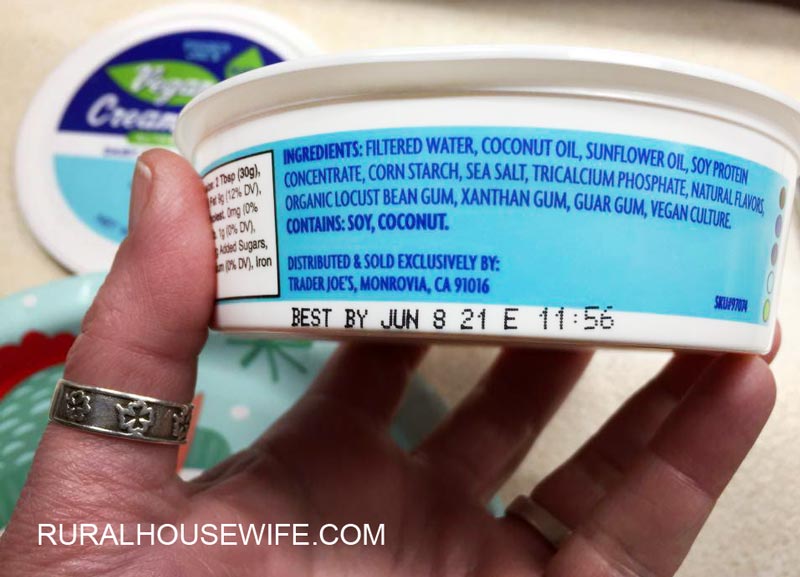
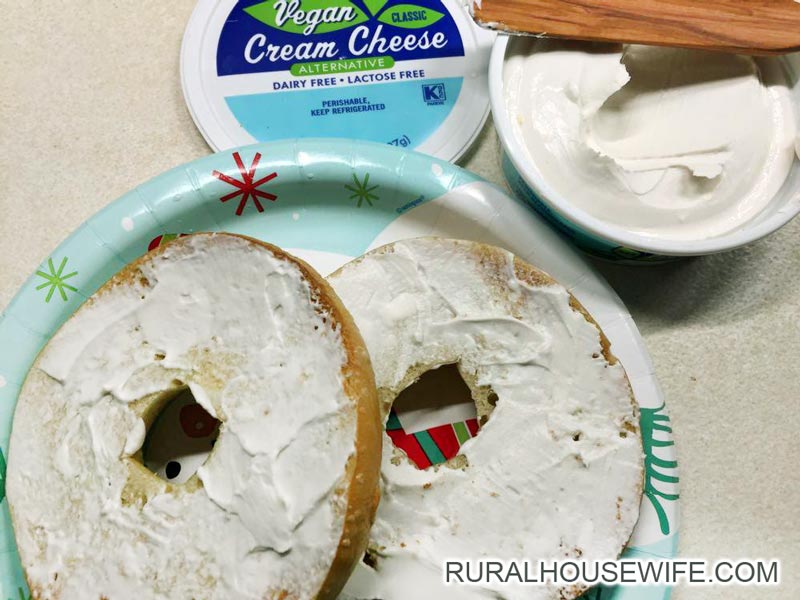
Spreadability: Nice and creamy Smell: Doesn't have much of a smell Ingredients: Filtered Water, Coconut Oil, Sunflower Oil, Soy Protein Concentrate, Corn Starch, Sea Salt, Tricalcium Phosphate, Natural Flavors, Organic Locust Bean Gum, Xanthum Gum, Guar Gum, Vegan Culture. Flavor: Very mild and somewhat neutral. Bagel Test: It spread on nicely and melted slightly on my freshly toasted bagel. When I bit into the bagel I didn't have any strong reactions to the flavor or texture. Overall it paired well with my plain, toasted bagel. Husband Test: Liked it a lot, actually. He doesn't like anything coconut - so that will tell you that is doesn't have a coconut'y flavor.  I give it 4 out of 5 Cheeses. Would like to see a little more boldness and tang in the flavor. FINE PRINT: This is not a paid review of any kind. I am documenting my own opinions of products that I paid for out of my own pocket.
|

Categories
All

|