|
Do you ever just walk outside, look at the sky, and praise God for His beauty?! I was out for a walk this afternoon (gathering as much Vitamin D as I could) and this is what the sky looked like - WOW! Just gorgeous! No filters were used, just snapped and uploaded. 
0 Comments
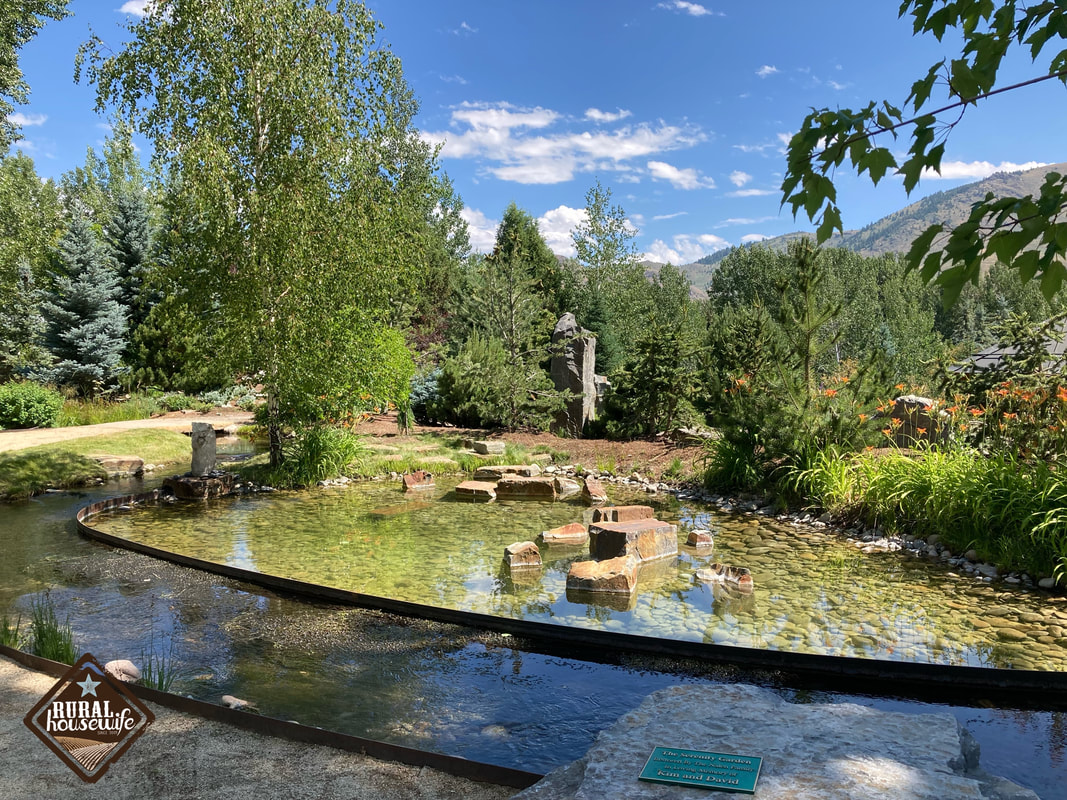
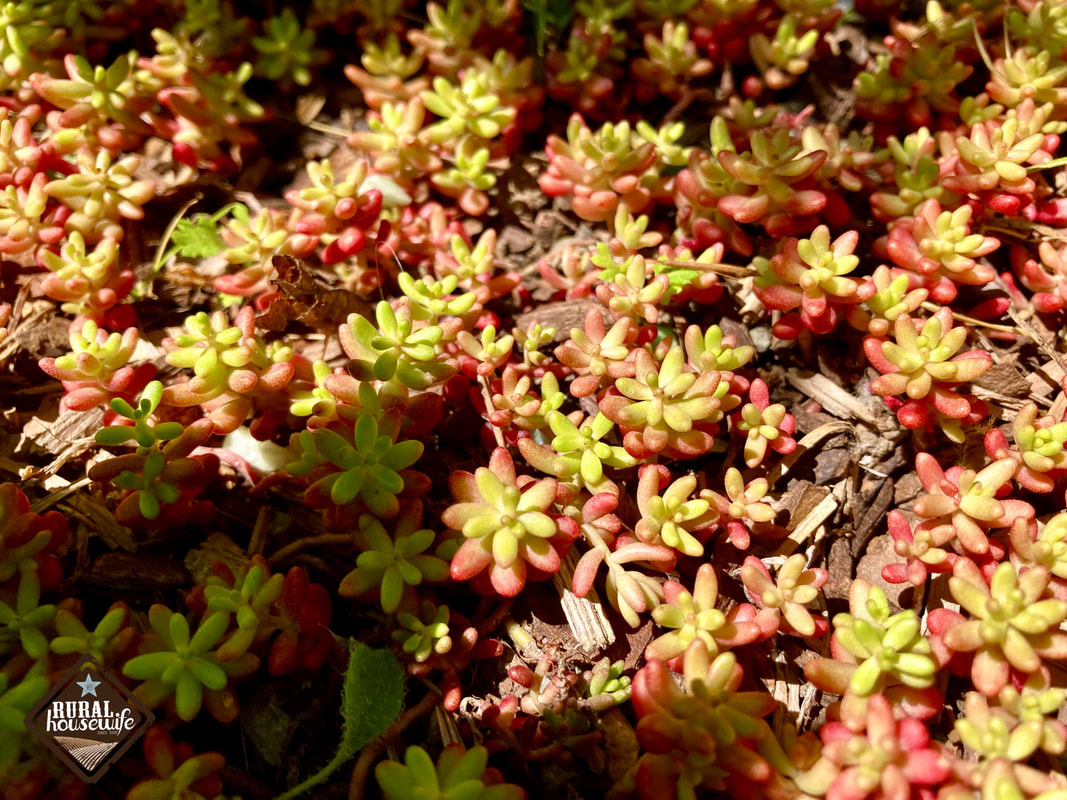
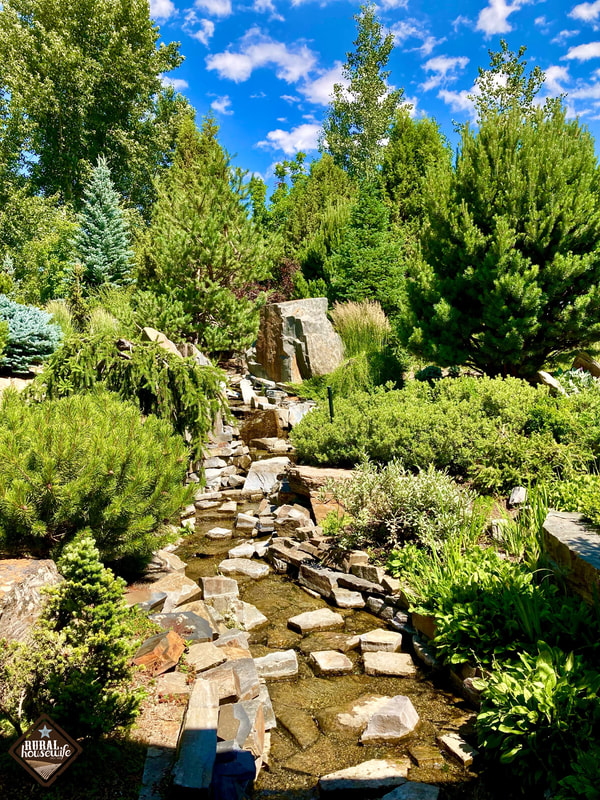
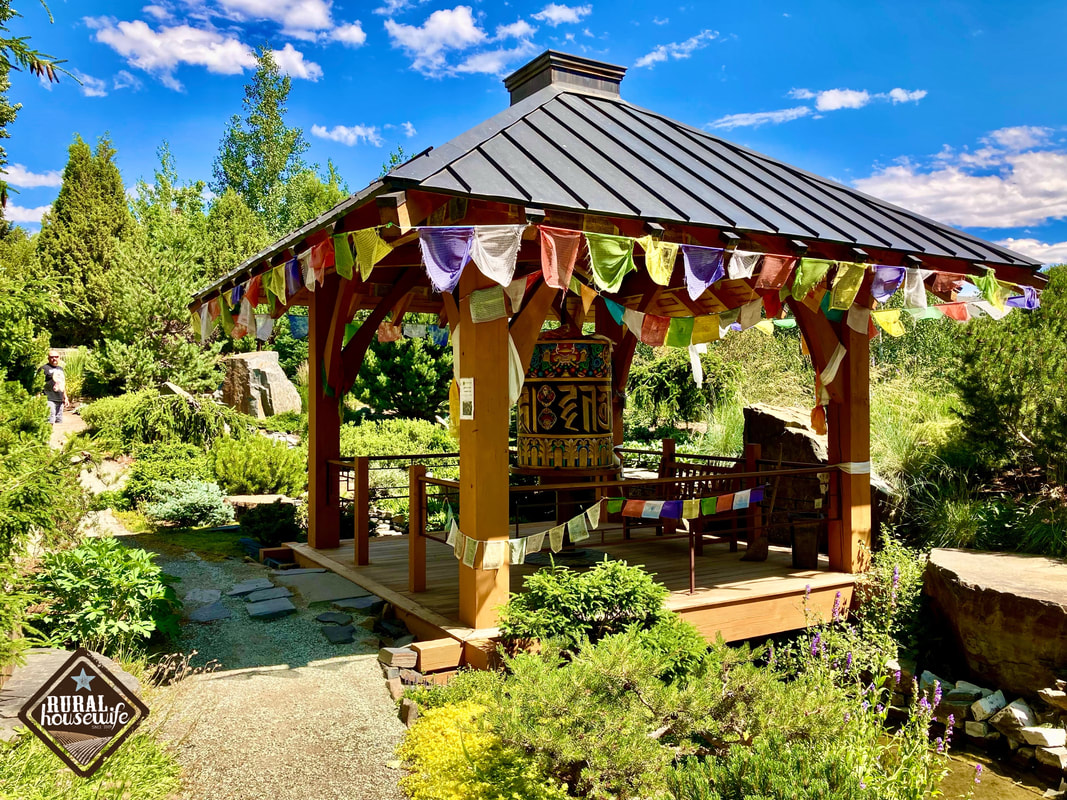
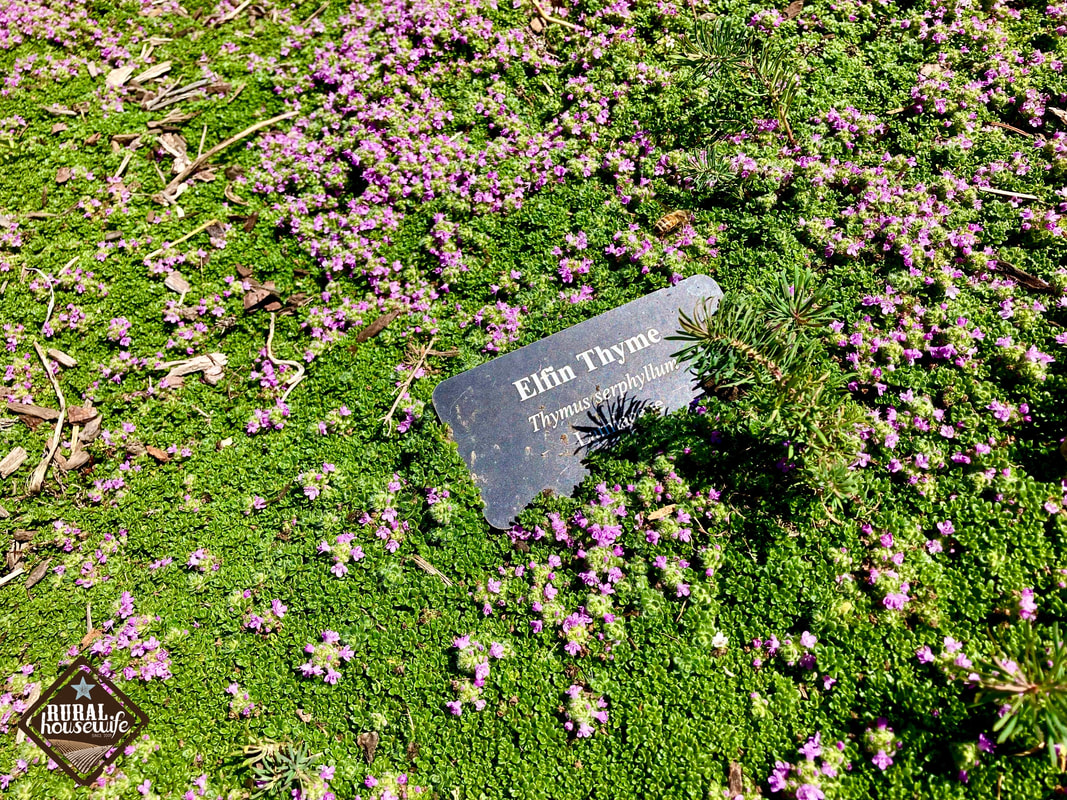
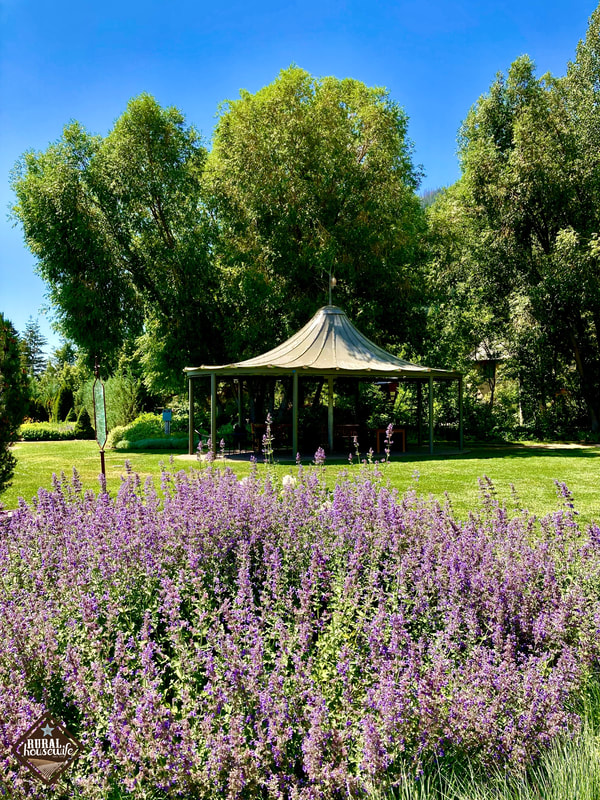
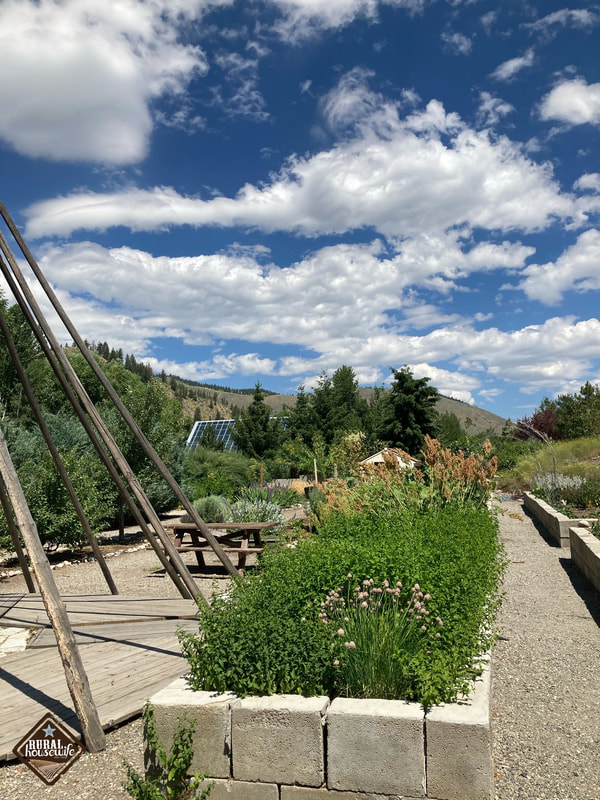
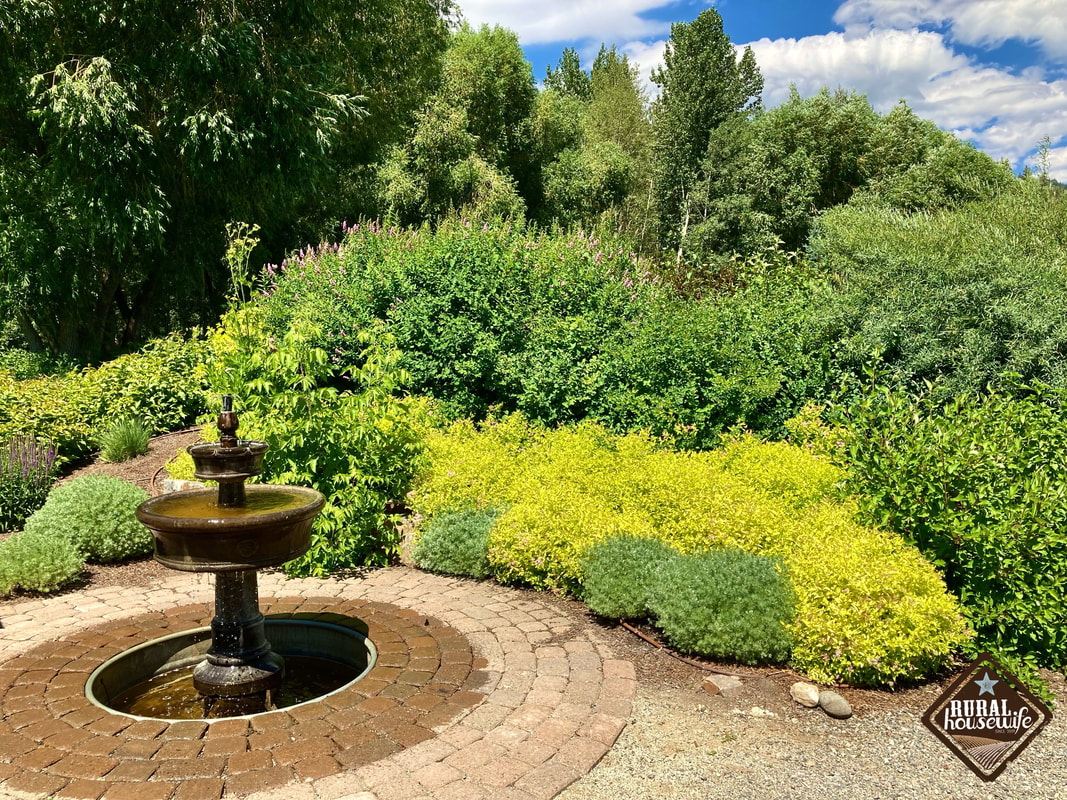
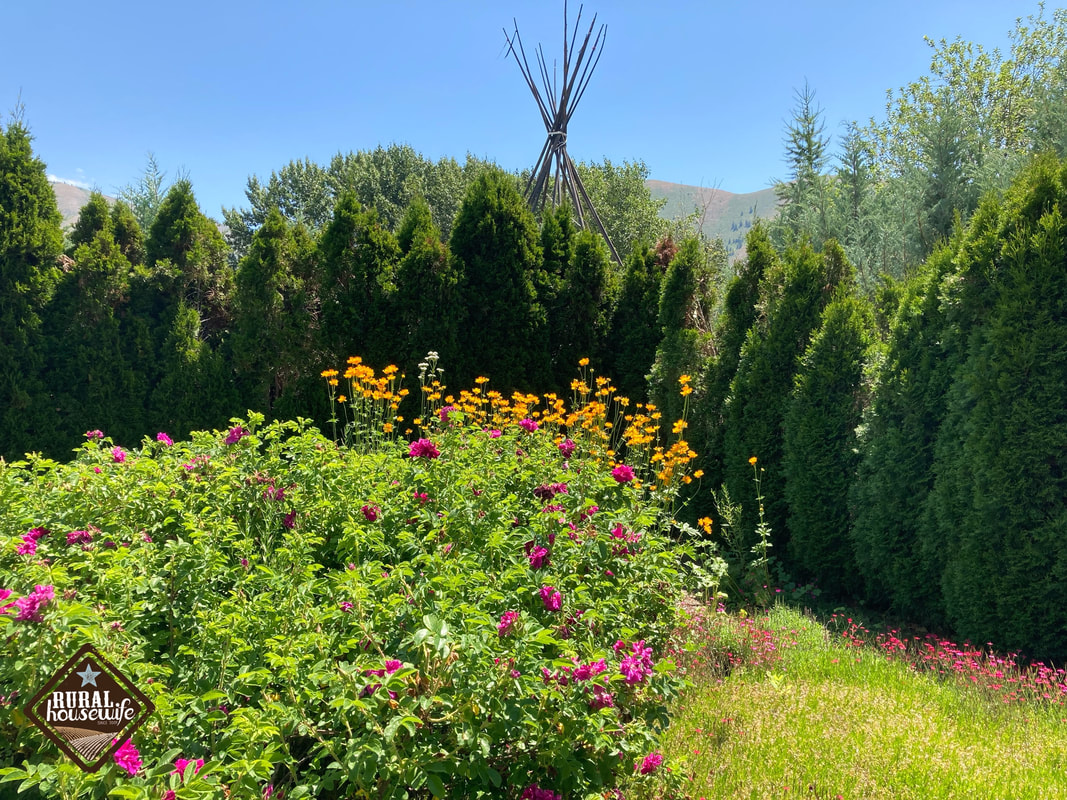
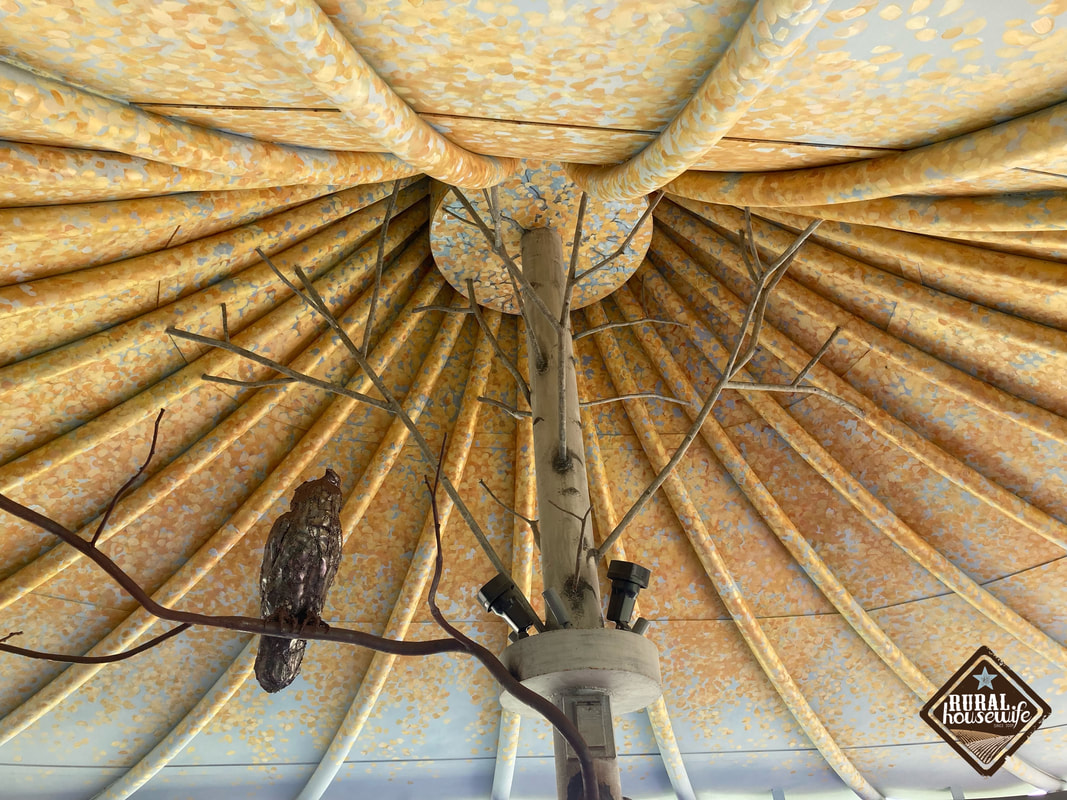
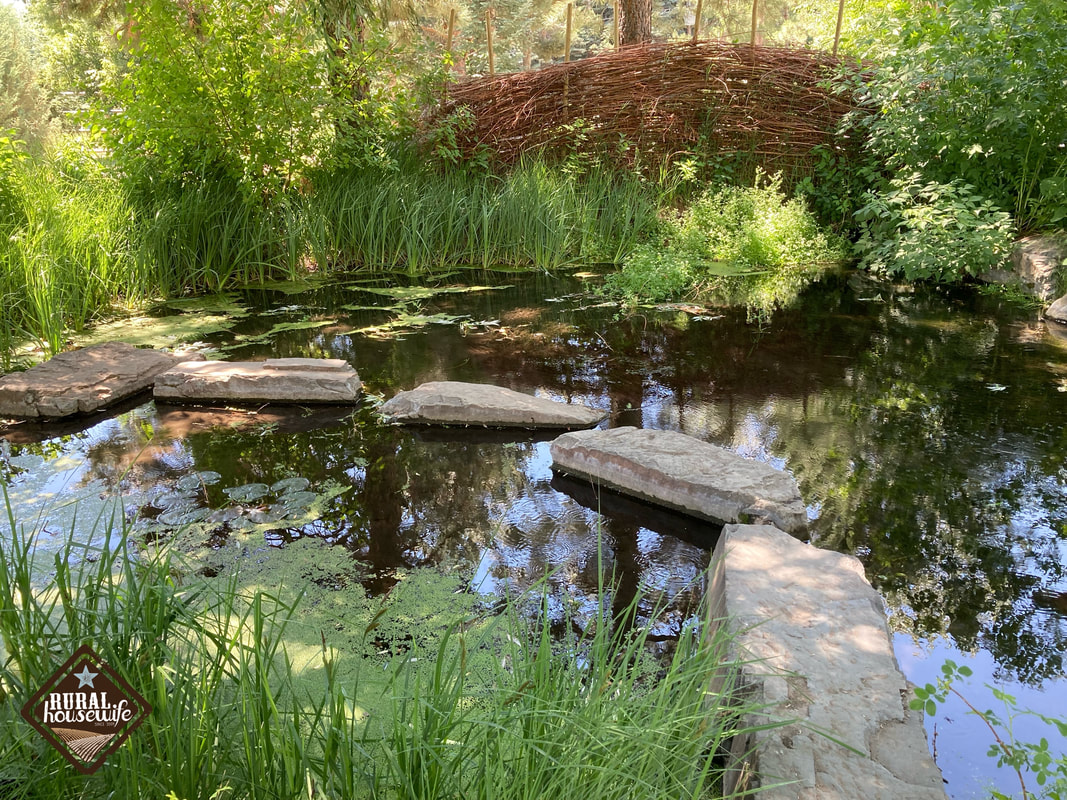
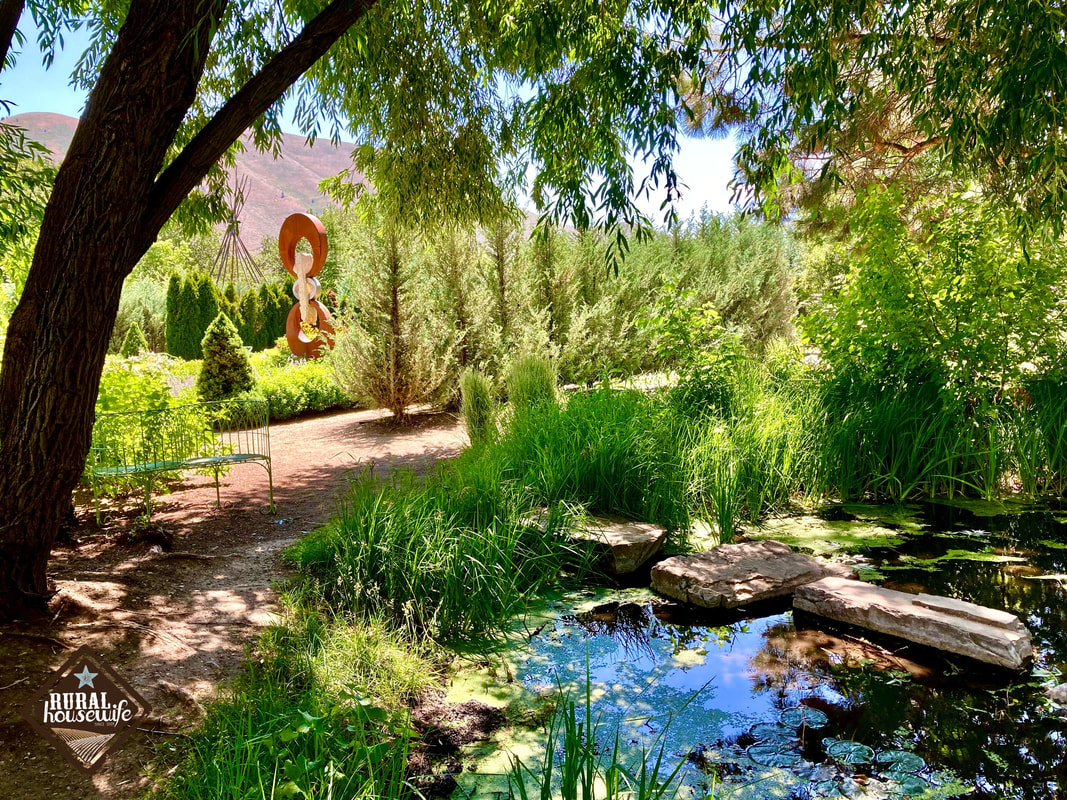
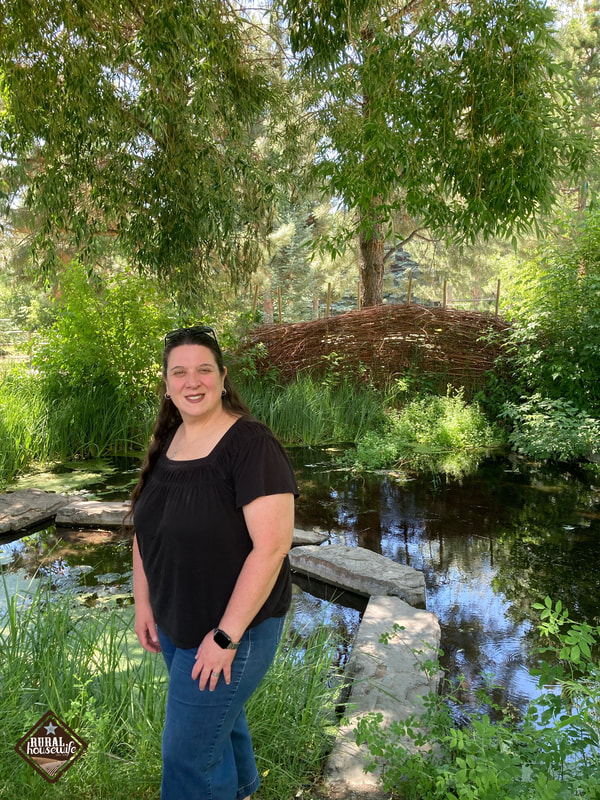
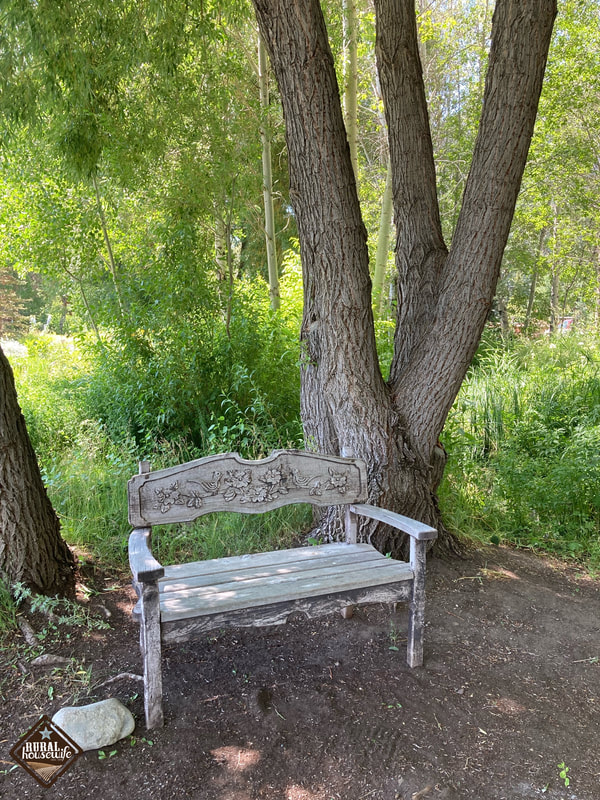
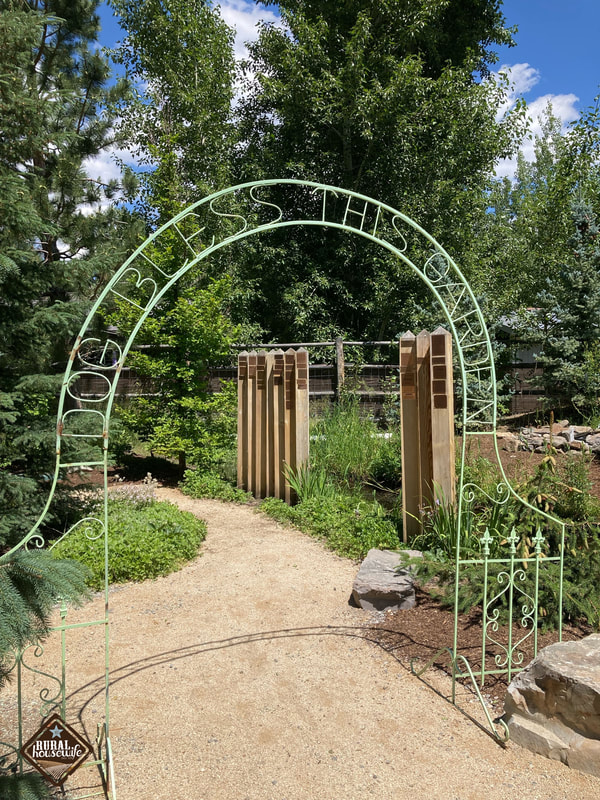
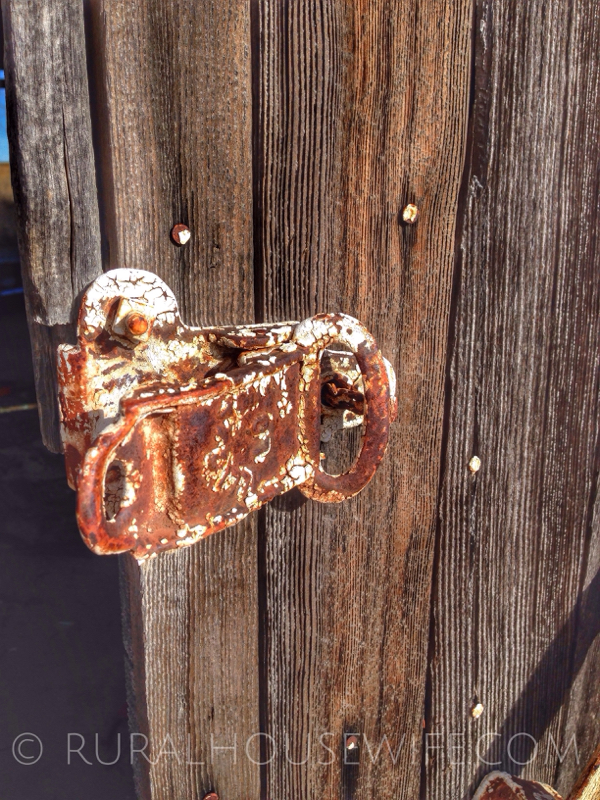
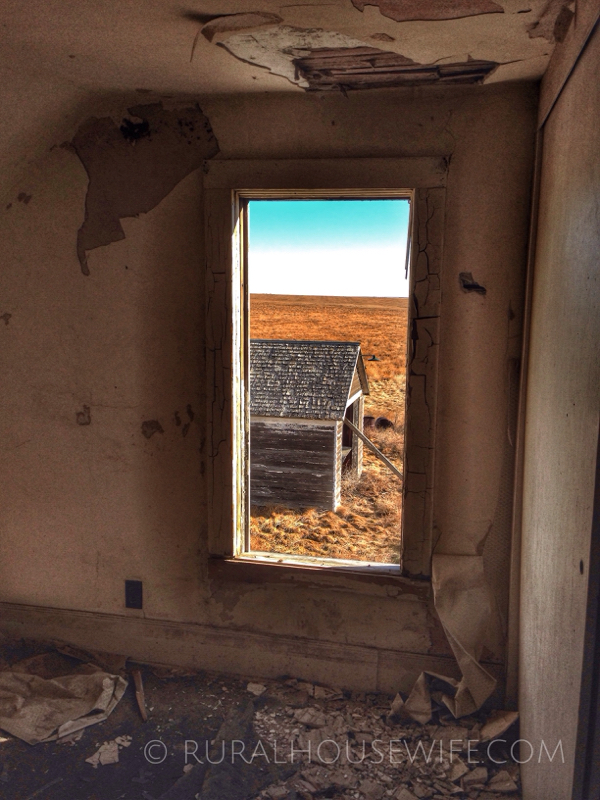
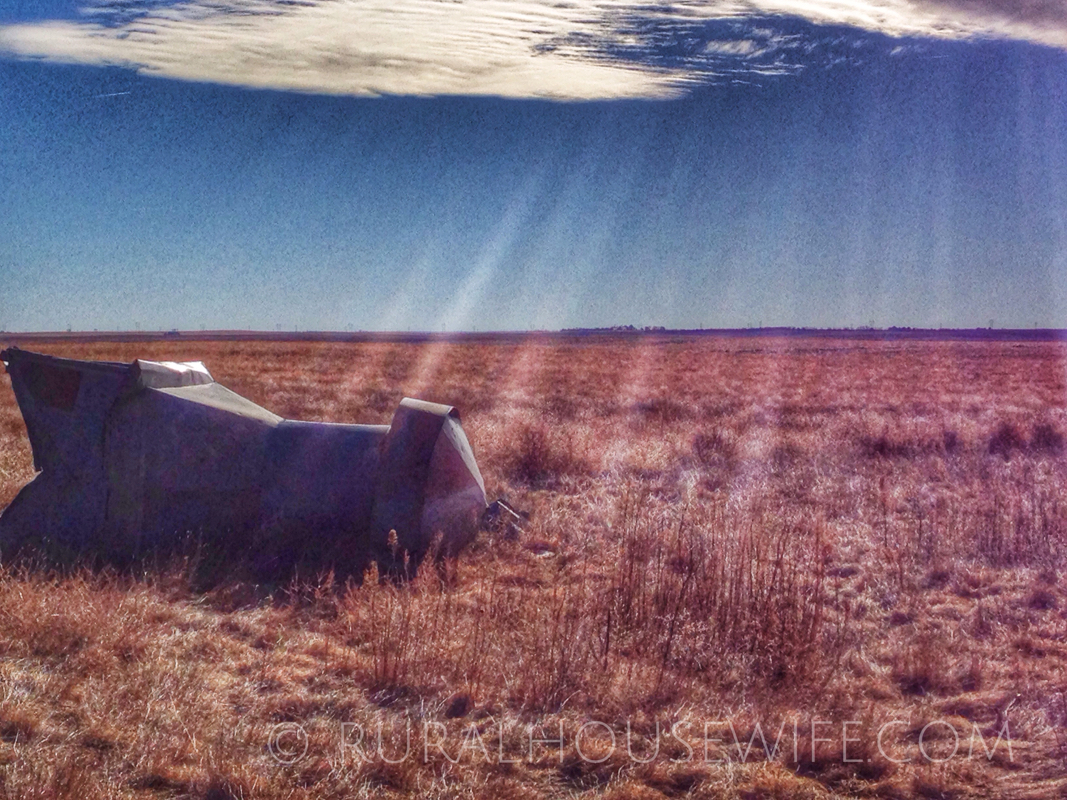
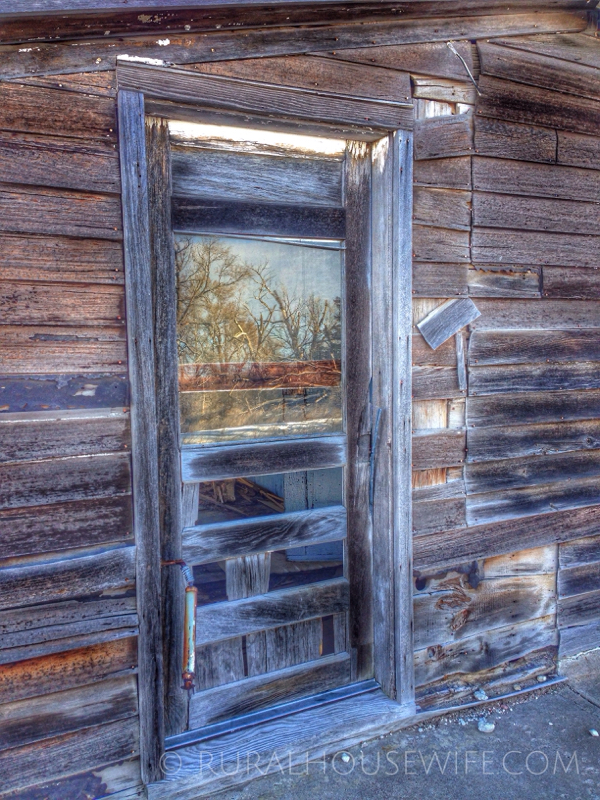
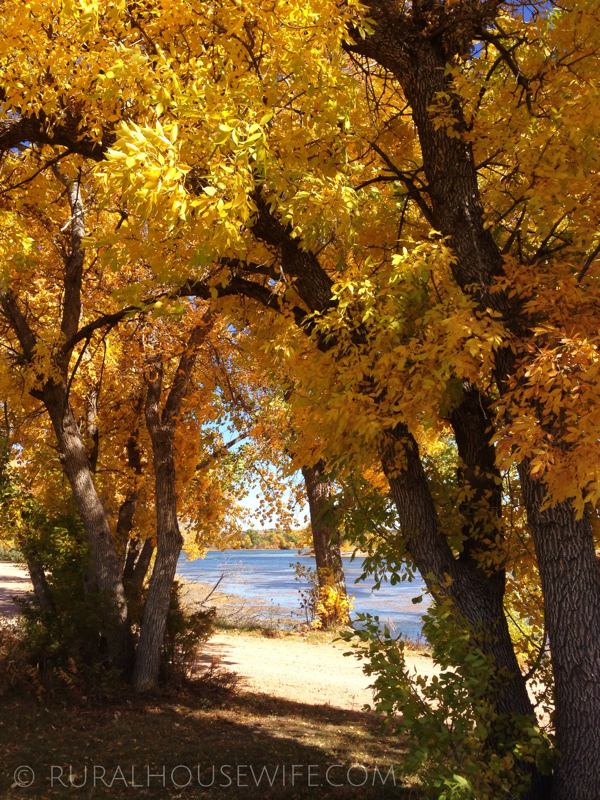
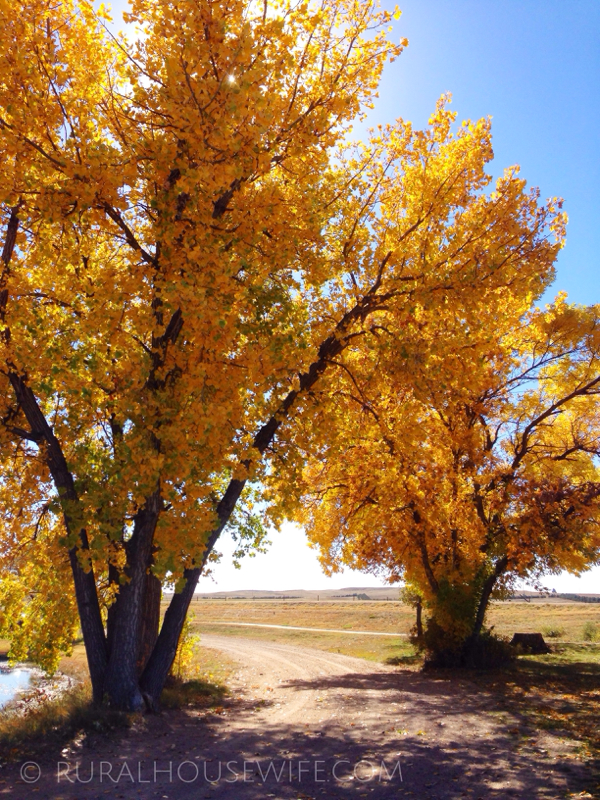
Mrs. GrumpyPants was totally me this morning! I woke up tired, irritated, snappy, and all around pathetic. As soon as my hubby got up and came down stairs I told him the great news. Poor guy! I told him that it was probably best that he go out, have fun, and enjoy the beautiful day without me because all I wanted to do was crawl into a hole, cry, and throw myself a pity party with an extra large chocolate brownie until I passed out from exhaustion. What he did next is why I love that man with all my heart. He came over, gave me a hug, and said "let's go to the lake, take Pete for a walk, and we can even take the van. That way if you get tired or want to hideout you can hangout in the van and take a nap (actually one of my favorite places to nap) while Pete and I walk around the lake." Yep! That is why I love that man! So, begrudgingly, I agreed to go. When we got there, got out of the van, and started walking, the weight lifted off my shoulders. I looked around at the beauty around me and just sighed a sigh of content. The leaves - gorgeous; the company - understanding; the fresh air - soothing. It was exactly what I needed. Here are some of the pictures from our walk. I pray that they take you to a place of peace and relaxation. Because for me - it was a great reminder of how Amazing our God is and how creative and magnificent his creations are. And on a bad day where all I want to do is hide, he is there - as a huge ray of soothing sunlight! 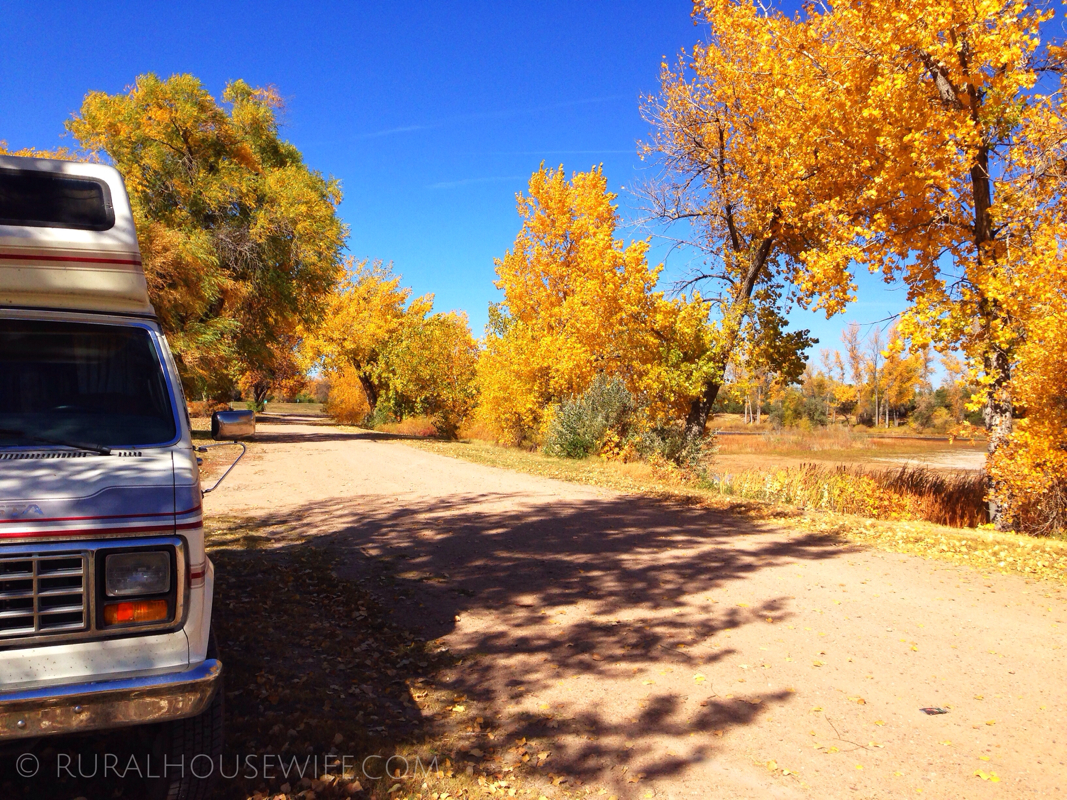

|

Categories
All

|