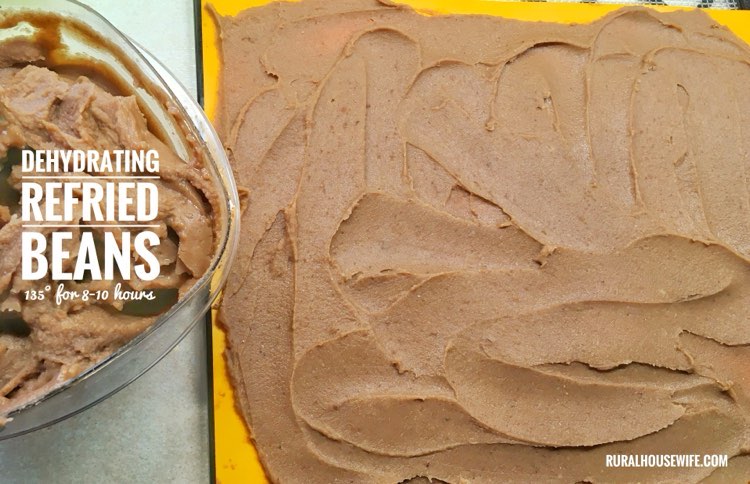
 I get so giddy using our Excalibur Food Dehydrators. Today I am drying 10 cups of homemade refried beans. Saves room in my freezer, I know every ingredient that’s in it, and it will make taco night so much more fun. Since there is only two of us, I can rehydrate just enough for that meal and not have to worry about losing the rest of it in the fridge (I can’t be the only one this happens to.)
0 Comments
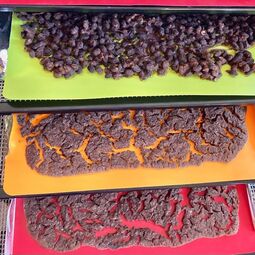
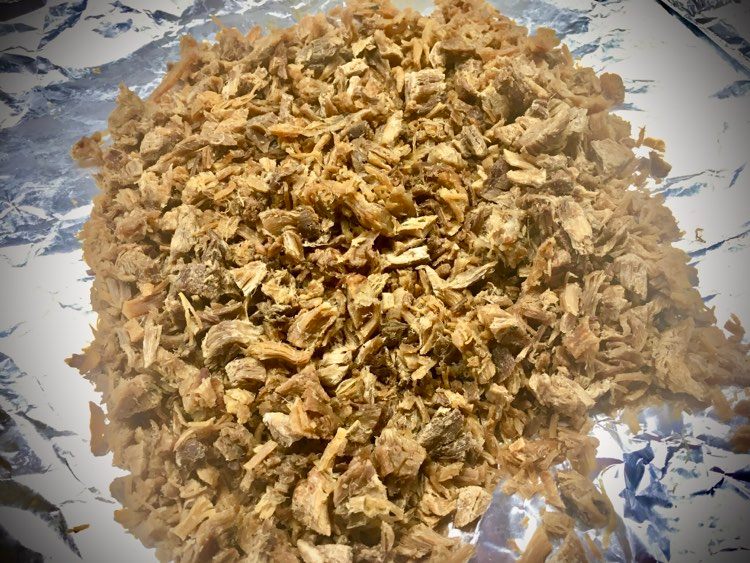
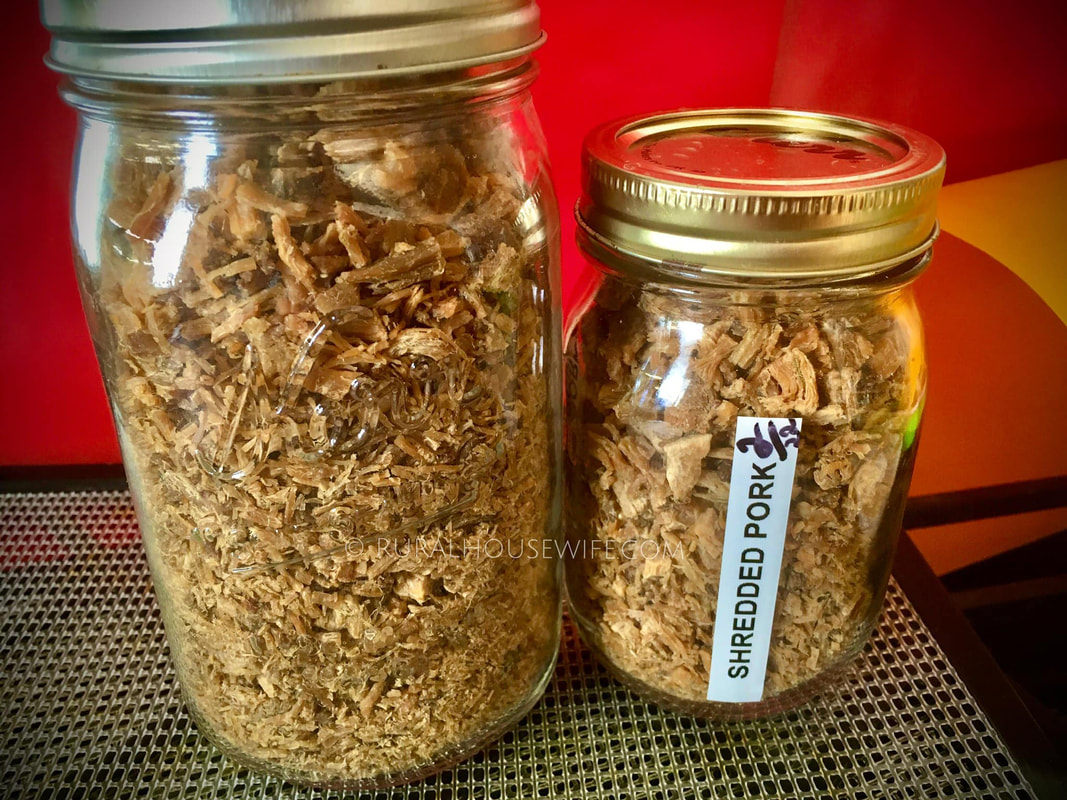
Safely Dehydrating Meat: Dry only lean meats and blot off any oil during the drying process. It is the fat in meat that can turn rancid as it reacts over time with oxygen. Heat and light accelerate oxidation, so store in a cupboard away from heat.
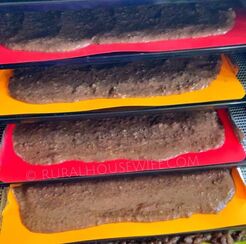
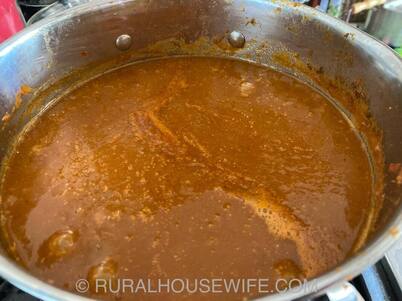
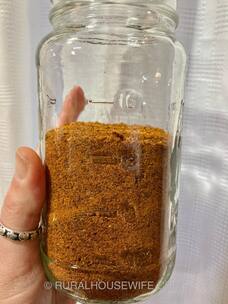
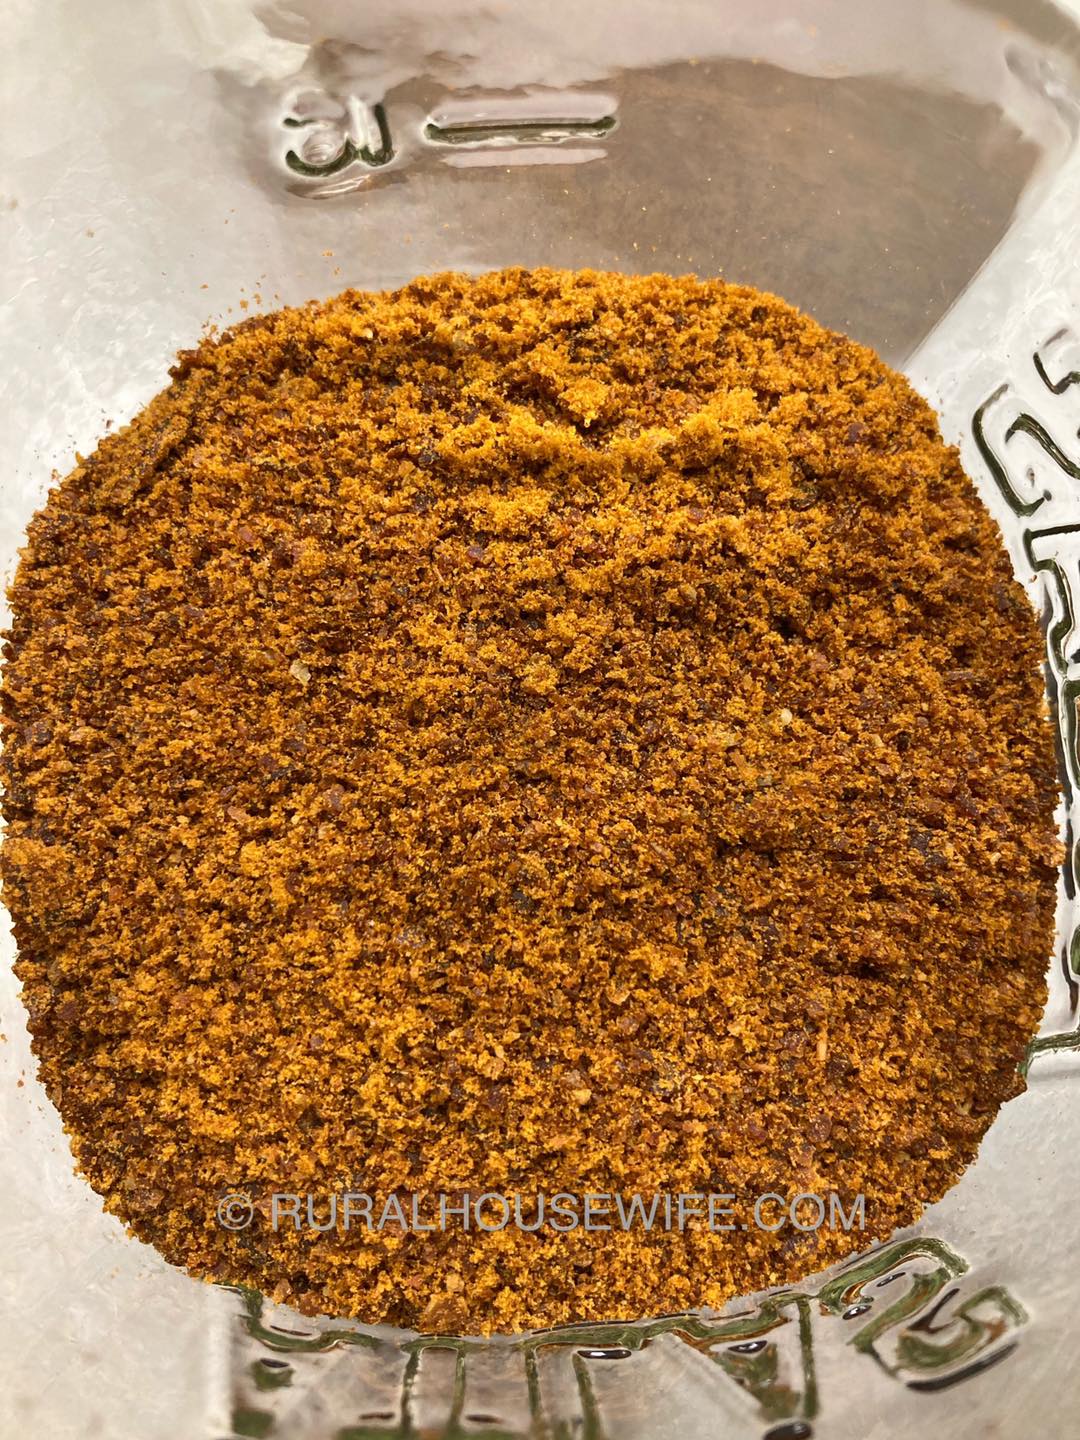
I get asked, quite a bit, why I dehydrate a lot of our stuff instead of canning it. Well let me tell you why. I love that I can make a large batch of sauce and only have to use 1 jar to hold it all. This sauce was about 14+ cups before I dehydrated it. Now instead of using a dozen or so jars, I use one left over (cleaned out) spaghetti jar for the 14 oz. of powder I have. And in this day and age when jars are hard to find and the prices are through the roof, it's even more important to me to conserve where I can. (yes, pun intended) ;)
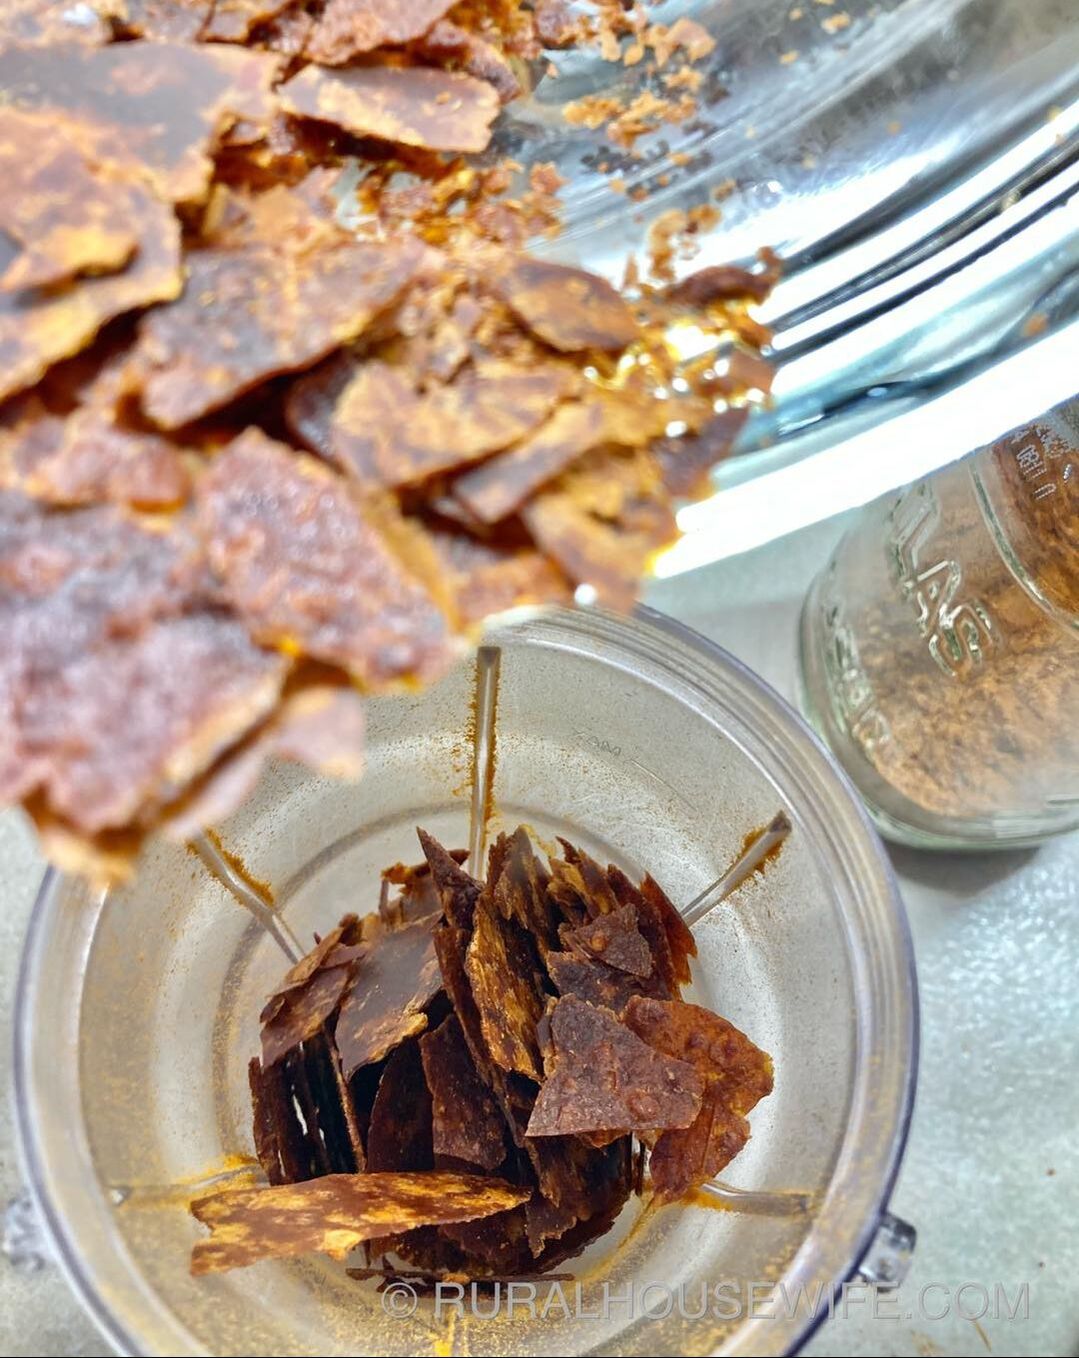
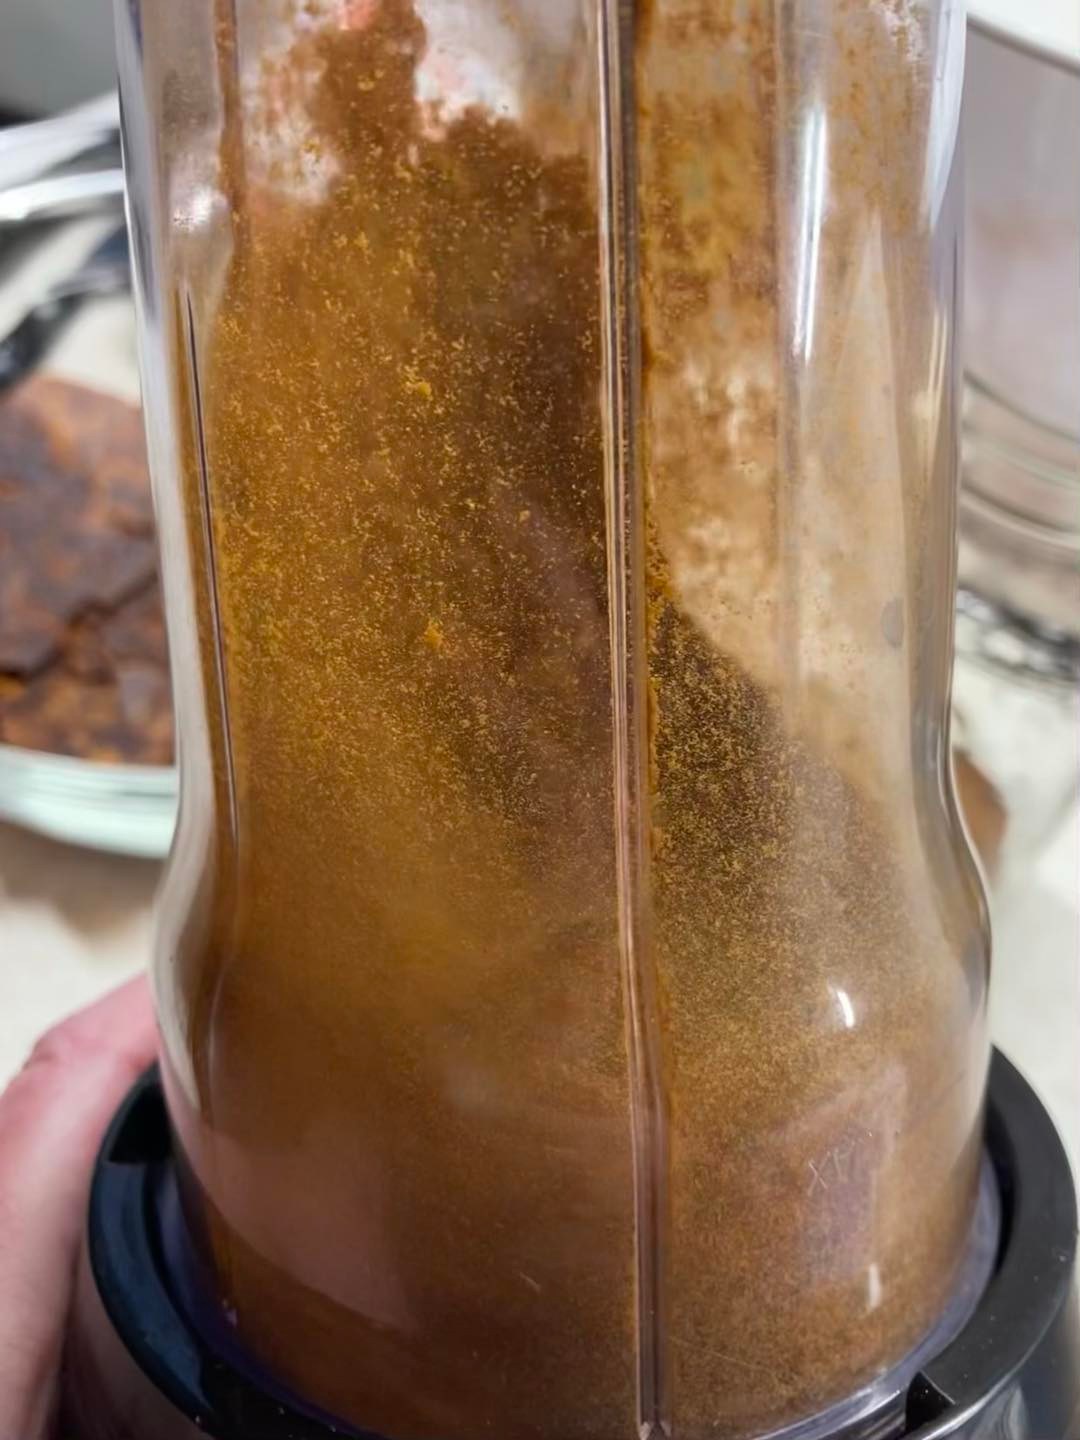
Once completely dry, break up the sheets of dried sauce into a large bowl and then place in blender or spice grinder. Once ground into powder, place in air tight jar.
To use your sauce from powder: For me, I usually start with the amount of boiling water I want as sauce, and then add a couple tablespoons at a time until the flavor is what I am going for for that dish. Depending on how fine or coarse your powder is will determine the dissolving time. Mine usually only takes about 5 minutes. Other sauces you can dehydrate: Spaghetti sauce, BBQ Sauce, Picante Sauce / Salsa, Siracha and other Hot Sauces, mustards, etc/ It is not recommended to dehydrate sauces that have a heavy oil or dairy content. |

Categories
All

|