Rural Housewife
  • HOME
    • My Story
    • Contact Me
  • BLOG
  • WE LOVE
  • RECIPES
    • Baked Goods
    • Breakfast
    • Chocolate
    • Dinner
    • Gluten Free
    • Granola
    • Make Ahead Meals
    • Mexican Favorites
    • Sugar Free
  • RESOURCES
    • Canning
    • Dehydrating
    • Frugal Living
    • Gardening
    • Meal Planning
    • Old Fashion Living
    • Raising Chickens
    • Small Business Dir. >
      • Submit Your Business
    • PROJECTS >
      • Crafts & Gifts
      • Holidays >
        • Christmas
        • Halloween
        • Mother's Day
        • Valentine's Day
      • Photography
    • Winter Sowing

Blog

Coconut Probiotic Yogurt

7/1/2025

0 Comments

 
Did you know you can make Coconut Fermented Probiotic Yogurt at home? This is dairy-free, sugar free (the sugar that is added is for the cultures to develop, it doesn’t make this yogurt sweet), and probiotic rich.
Picture
Picture
What to Look For When Making Coconut Cream Yogurt at Home
Homemade coconut cream yogurt, inspired by probiotic-rich brands like Coconut Cult, is a rewarding way to create a tangy, creamy, gut-friendly treat. Using additive-free coconut cream, a high-potency probiotic starter, and a controlled fermentation setup (like a dehydrator at ~105°F), you can achieve a thick, custard-like yogurt packed with probiotics. But what should you expect during the process? This guide outlines the key stages -preparation, fermentation, and refrigeration - and the visual, sensory, and textural cues to look for to ensure success. Follow along to know your yogurt is on track!

Ingredients & Equipment
  • 2 cans (13.5 oz each) additive-free coconut cream (e.g., Thai Kitchen, Native Forest; just coconut and water, ~18-20g fat per 1/4 cup).
  • 2-3 tbsp high-potency probiotic starter (e.g., Coconut Cult yogurt or 2-4 capsules with 50-100 billion CFUs, containing Lactobacillus and Bifidobacterium).
  • 2 tsp organic sugar or maple syrup (optional, to feed probiotics and add subtle sweetness).
  • Optional thickener: 1 tsp tapioca starch or 1/2 tsp agar-agar for firmer texture.
  • Equipment: Sterilized glass jar (e.g., 1-quart with 1/3 headspace), blender or whisk, dehydrator (or yogurt maker/Instant Pot), cheesecloth for straining, thermometer (optional).

Preparation Stage: What to Look For
  1. Mixing the Ingredients:
    • Action: Blend or whisk the coconut cream, sugar (if using), and probiotic starter until smooth and uniform. If using capsules, open and mix the powder thoroughly.
    • Visual Cues: The mixture should be creamy, opaque, and slightly glossy, with no visible clumps of cream or probiotic powder. Additive-free coconut cream may separate (thick cream and watery liquid), so blending ensures a homogeneous base.
    • Sensory Cues: Smells like rich coconut with a hint of sweetness (if sugar is added). The texture is thick but pourable, like heavy cream.
    • Tips: Sterilize all equipment (jar, spoon, blender) to prevent contamination. If using a thickener, dissolve it in water, mix into the cream, and heat to 110°F (43°C) to activate, then cool to 100-110°F before adding probiotics.
  2. Setting Up the Jar:
    • Action: Pour the mixture into a sterilized 1-quart glass jar, filling ~2/3 to leave headspace for potential expansion. Cover with a breathable cloth (e.g., cheesecloth) or loosely screwed lid to allow slight gas release while protecting from dust.
    • What to Look For: The jar should be clean, with the mixture settling evenly. The loose cover ensures safety during fermentation.

Fermentation Stage (24 Hours at ~102°F): What to Look For
Ferment the mixture in a dehydrator, yogurt maker, or Instant Pot at 100-105°F (38-39°C) for 12-24 hours to achieve a tangy, probiotic-rich yogurt. Here’s what to expect:
  1. 4-8 Hours:
    • Visual Cues: Minimal change initially. You may see tiny bubbles forming at the edges or surface, indicating early probiotic activity. The mixture remains liquid and creamy, with no significant volume increase.
    • Sensory Cues: Smells mildly coconutty, with a faint tangy note starting. Taste (with a clean spoon) is still sweet and coconut-like, not yet yogurt-like.
    • What’s Happening: Probiotics begin metabolizing sugars (from the cream or added sugar), producing small amounts of CO2. Bubbles are a good sign of activity.
  2. 8-12 Hours:
    • Visual Cues: Small bubbles increase, especially at the edges, and may spread throughout. Slight expansion (5-10% volume increase) or a frothy surface may appear. The mixture starts to thicken slightly but remains pourable.
    • Sensory Cues: Smell becomes more tangy, like yogurt. Taste is mildly tangy, transitioning from coconut cream to yogurt.
    • What’s Happening: Probiotics are actively fermenting, producing more CO2 and lactic acid. The loose lid allows some gas to escape, but trapped bubbles create a slightly airy texture.
  3. 12-18 Hours:
    • Visual Cues: Noticeable expansion (10-20% volume increase) or puffiness, with bubbles throughout the mixture. The surface may look domed or frothy. The yogurt thickens, becoming less pourable and more creamy.
    • Sensory Cues: Smell is distinctly tangy, like commercial yogurt. Taste is tangy and yogurt-like, with a creamy, slightly effervescent mouthfeel.
    • What’s Happening: Peak fermentation occurs, with robust CO2 production creating an airy structure. The texture starts resembling Coconut Cult’s fluffy consistency.
  4. 18-24 Hours:
    • Visual Cues: Expansion peaks (10-20% or more), with a puffy, bubbly texture. The yogurt is noticeably thicker, holding its shape when stirred. Bubbles may be visible when gently stirred with a clean spoon.
    • Sensory Cues: Smell is strongly tangy, matching Coconut Cult’s yogurt. Taste is sharp, tangy, and creamy, with a rich, probiotic-packed flavor.
    • What’s Happening: Fermentation is near completion, maximizing probiotic content and tanginess. The airy, bubbly structure contributes to a fluffy texture post-refrigeration.
  • Safety Check: The yogurt should smell pleasantly tangy, never foul, alcoholic, or yeasty. Discard if mold or off odors appear (rare with sterilized equipment and 100-105°F).
  • Tips: Check at 12 hours for tanginess. If not tangy enough, continue to 24 hours. Use a clean spoon for tasting to avoid contamination. Keep the lid loose to prevent pressure buildup but trap enough gas for expansion.

Refrigeration Stage (8-12 Hours): What to Look For
After fermentation, refrigerate the yogurt for 8-12 hours to halt fermentation and set the texture.
  1. Visual Cues:
    • The yogurt may separate slightly, with a creamy layer on top and watery whey below (normal for additive-free coconut cream). After stirring, it should be smooth, creamy, and thick, resembling Coconut Cult’s custard-like texture.
    • Expansion from fermentation subsides, but the yogurt retains a slightly airy or effervescent quality when stirred.
  2. Sensory Cues:
    • Smell: Tangy, yogurt-like, with a faint coconut undertone.
    • Taste: Sharp, tangy, and creamy, matching commercial probiotic yogurt. Subtle sweetness (if sugar was used) enhances flavor.
    • Texture: Thick, creamy, and slightly fluffy, like a cross between Greek yogurt and custard. If using a thickener, it’s denser; without, it’s creamy but may need straining.
  3. What’s Happening:
    • Refrigeration solidifies the coconut cream’s fats, thickening the yogurt. The airy structure from fermentation adds fluffiness, mimicking Coconut Cult’s texture.
    • Stirring blends any separated whey for a uniform consistency.
  • Tips: Place in the coldest part of the fridge (e.g., back shelf). If not firm enough after 12 hours, strain through cheesecloth in the fridge for 1-2 hours to remove whey, achieving a thick, custard-like texture.

Troubleshooting Common Issues
  • No Expansion by 12 Hours: Check probiotic potency (use fresh, high-CFU starter) and ensure even mixing (blend, don’t stir). Secure the lid loosely from the start to trap CO2.
  • Soft Texture After Refrigeration: Extend refrigeration to 12 hours or strain for 1-2 hours. Use higher-fat coconut cream or add a thickener next time.
  • Mild Tanginess: Ferment up to 24-26 hours for stronger flavor, but avoid over-fermentation (yeasty taste).
  • Separation: Normal; stir gently or strain to remove excess whey.

Final Tips for Success
  • Choose High-Fat Cream: Use Thai Kitchen or Native Forest (~18-20g fat per 1/4 cup) for best firmness.
  • Blend for Uniformity: Blend ingredients to ensure even fermentation and texture.
  • Control Gas Retention: Loosely screw the lid to balance CO2 retention and release, promoting fluffiness.
  • Taste Early: Check at 12-18 hours to avoid over-fermentation.
  • Store Properly: Keep in an airtight container in the fridge for 5-7 days. Stir before serving if separation occurs.
By watching for these cues—bubbles and expansion during fermentation, tanginess in taste and smell, and a creamy, fluffy texture after refrigeration—you’ll know your coconut cream yogurt is on track to rival Coconut Cult’s. Enjoy your probiotic-packed creation in parfaits, smoothies, or as a tangy snack!
0 Comments

Drawing Salve w/ Activated Charcoal

12/18/2023

0 Comments

 
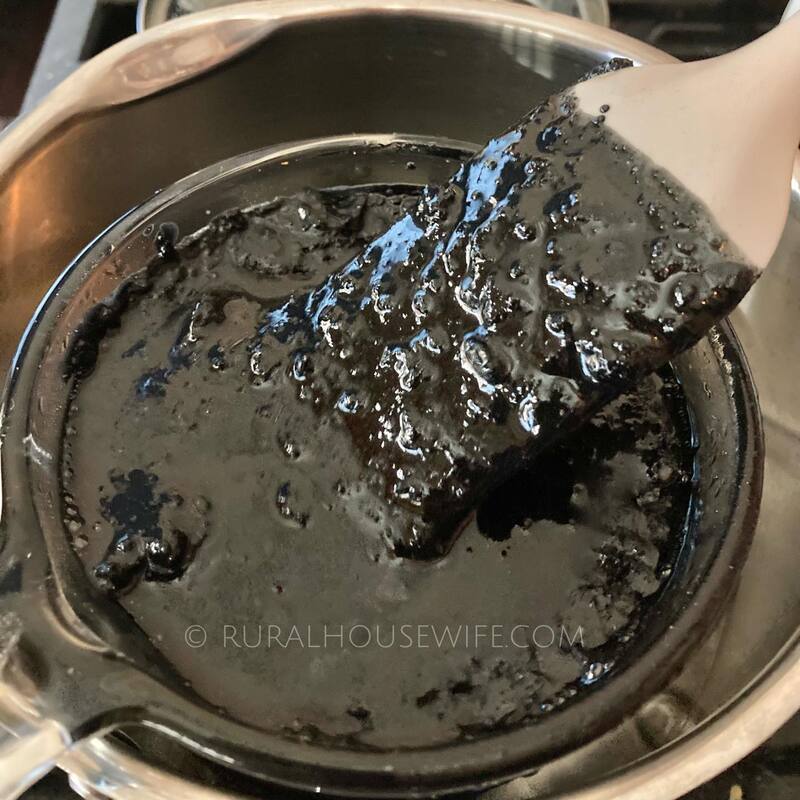
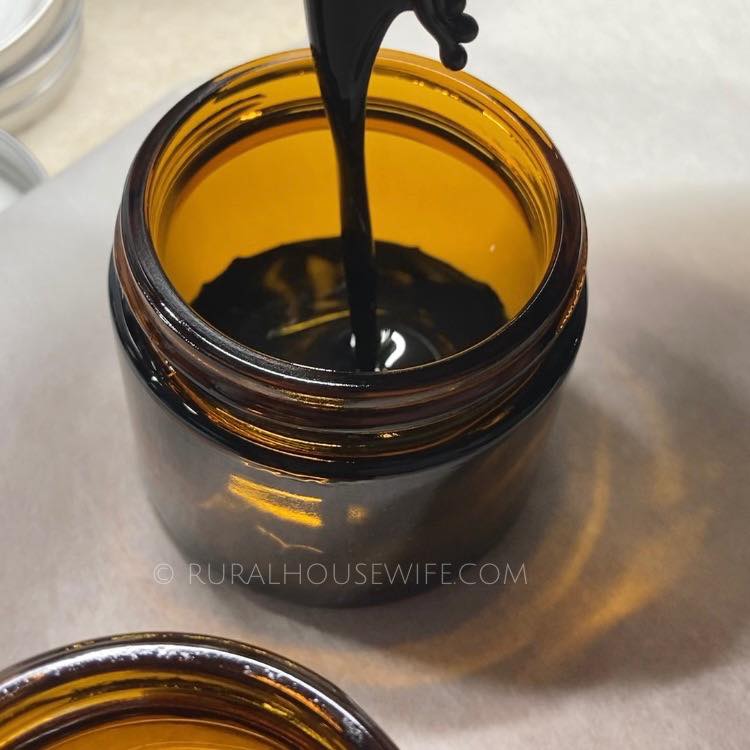
This activated charcoal drawing salve is known to help draw out splinters, boils, and insect bites.
Place small amount on the offending spot, then cover with a bandage for at least 12 hours. Repeat as needed. Please test on a small area of your skin to make sure you are not allergic to any of the ingredients.
Picture
INGREDIENTS
1 cup castor oil (or any organic oil) - I used 1/2 castor oil and 1/2 my infused lemon balm oil.
1/4 cup beeswax
2 tbsp activated charcoal
2 tbsp bentonite clay powder
essential oils of your choice

DIRECTIONS
  1. In a small double boiler, first melt the beeswax, then once that has completely melted add the castor oil, activated charcoal, and bentonite clay. DO NOT use any metal spoons or mixing bowls that will come in contact with the mixture.
  2. Once mixture is all melted and combined, remove from heat and add your essential oils and stir to combine. For the one I just made - I used the following Organic Essential Oils: 10 drops Sage, 10 drops Clove, and 5 drops Tangerine. If you don't have animals in the house I would recommend using Tea Tree and Frankincense.
  3. Pour in amber (or dark colored) jars. I used 2 oz amber colored jars and it filled 4 of them.

Picture
It will look a little chunky at first, but the more it melts, the smoother it gets.
Picture
When pouring into jars, the mixture might start to set up, don't worry, just put the container you are using back in the boiling water until it melts all the way again. Do not have the heat on.
0 Comments

Starting My Pressure Canning Journey

2/24/2023

0 Comments

 
Recently I bought the Instant Pot Max - I have been saving for it for quite some time. I am over-the-moon excited about it! About a week or so ago I decided to give it it's maiden-voyage and can some pinto beans. You can only can 4 pints at a time. But you know what? That's ok with me! Especially since I am just starting out on this pressure canning journey. 1/4 cup of rinsed (but dry) pinto beans, 1/2 tsp garlic salt, and water. 75 mins of pressure canning, and then natural release which takes about an hour. All in all I was ecstatic with the results! So right before bed I decided "Hey, I can put in 4 more pints!" And that's exactly what I did. Then a couple of days later I tried navy beans - which I did 3/4 cup of rinsed (but dry) beans, 1/2 tsp garlic salt, and water. 75 mins of pressure canning and Voila! 4 more pints of beans for the pantry shelves.

To say I am hooked is an understatement. Yesterday I decided I was going to take the leap and do 'raw pack pork'. That was a little more labor intensive since it was a bone-in pork shoulder that I got on sale and there was a lot of fat to remove. I stuffed those little pint jars as much as I could (leaving an inch head space), wiped the rims with vinegar and put on the lids. Set the timer and away they went. About an hour later I came up from the basement (I was working at the time) and noticed my IP Max flashing ALT at me - I was devastated! Did it get to temp? When did it error out? Aaagghh!!

I gathered my wits and researched what to do. Once I reset the canner I found that you can can cooked meat at the same temp & time. So that's what I did. I double checked everything and started over with the pint jars I had in their already. This time I came upstairs every half hour to check it's progress to make sure I didn't ALT again. And thankfully it went through it's entire process and natural released at the end. All four pints sealed and were ready for their resting time.

To say pressure canning is stressful is truthful. Yeah, I know I am "cheating" but that's what I can handle at this moment in life and I am ok with that. I will just keep pluggin along 4 pints at a time. :)
0 Comments

Trader Joe's Vegan Cream Cheese

12/28/2020

0 Comments

 
Picture
Picture
Picture
Recently I was told that I am allergic to dairy. Finding this out at 45 is, for me, not the easiest change to make. I LOVE cheese, ice cream, large glasses of milk, yogurt, cream cheese on my bagels, etc. So this weekend I did a little bit of shopping to see what is out there for Dairy Free "cheeses".

First up is this Vegan Cream Cheese by Trader Joe's. I paid $2.99 for this 8 oz. container.
Picture
Picture
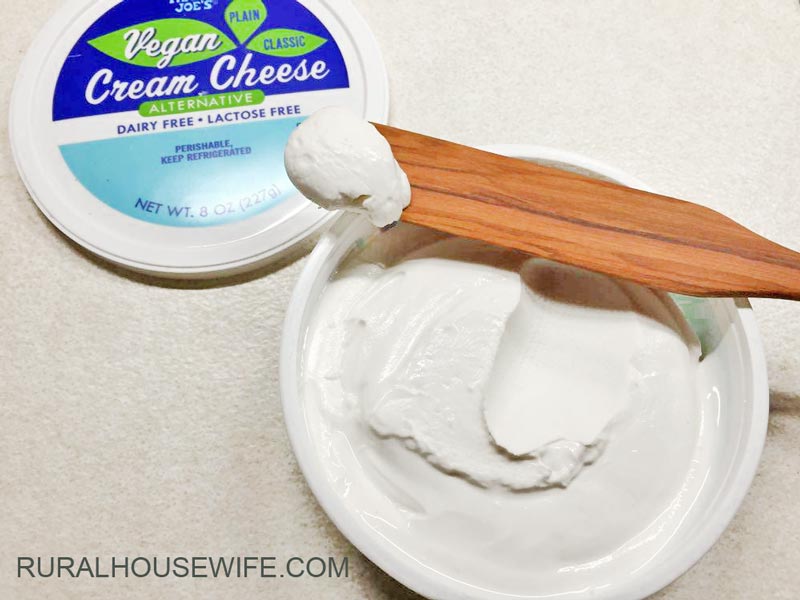
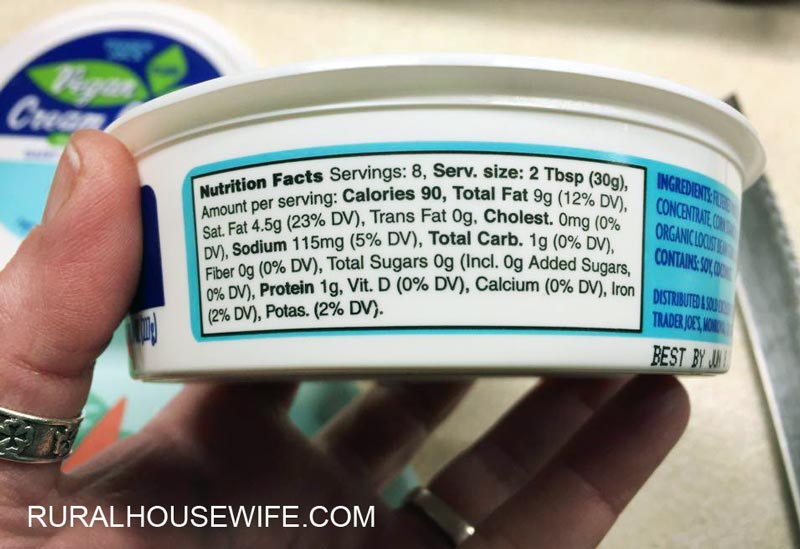
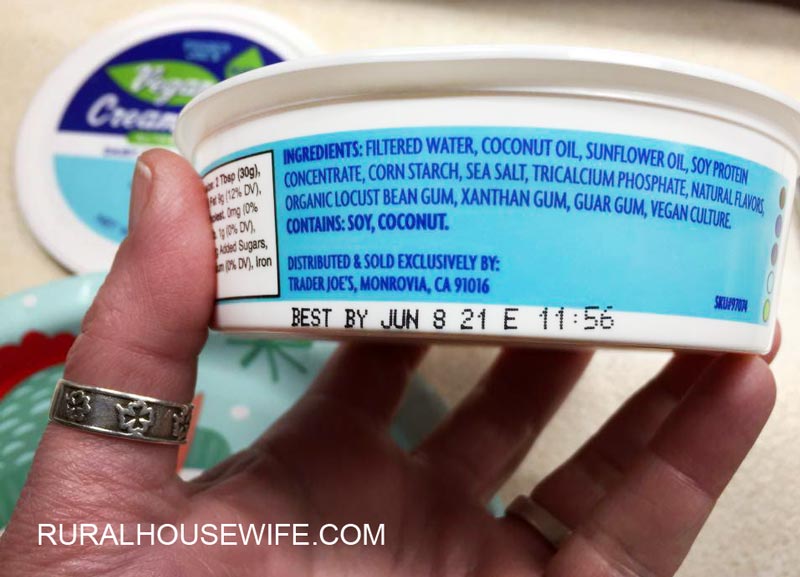
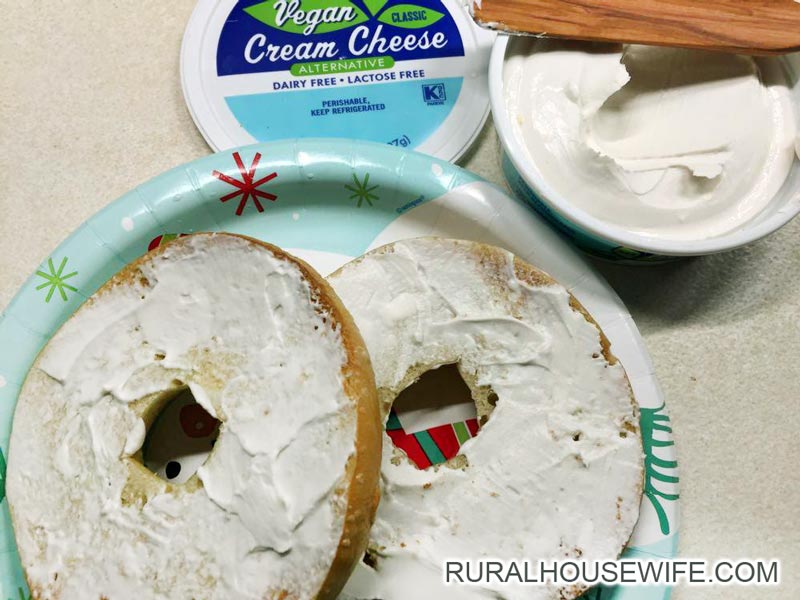
Spreadability: Nice and creamy
Smell: Doesn't have much of a smell
Ingredients: Filtered Water, Coconut Oil, Sunflower Oil, Soy Protein Concentrate, Corn Starch, Sea Salt, Tricalcium Phosphate, Natural Flavors, Organic Locust Bean Gum, Xanthum Gum, Guar Gum, Vegan Culture.
Flavor: Very mild and somewhat neutral.
Bagel Test: It spread on nicely and melted slightly on my freshly toasted bagel. When I bit into the bagel I didn't have any strong reactions to the flavor or texture. Overall it paired well with my plain, toasted bagel.
Husband Test: Liked it a lot, actually. He doesn't like anything coconut - so that will tell you that is doesn't have a coconut'y flavor.
Picture
I give it 4 out of 5 Cheeses.
Would like to see a little more boldness and tang in the flavor.

FINE PRINT: This is not a paid review of any kind. I am documenting my own opinions of products that I paid for out of my own pocket.
0 Comments
<<Previous
    Picture
    Picture
    Explore the New Mountain Rose Journal & Catalog

    Picture

    Categories

    All
    365 Days Of Thanks
    Adventures
    Appetizers / Side Dishes
    Baked Goods
    Being A Wife
    Bible Study
    Bread
    Breakfast
    Budget Fun
    Canning
    Chocolate
    Chocolate Mondays
    Christmas
    Cookies
    Craft Nights
    Crafts
    Dairy Free
    Dehydrator
    Dinner
    D I Y
    E-BOOKS
    Eggs
    Experiments
    Farm Girl
    Freeze Dried
    Furniture
    Gift Ideas
    Gluten Free
    Green Tomatoes
    Halloween
    Handmade
    Herbal Remedies
    Homemade
    Ice Cream
    InstantPot Recipes
    Leather
    Low Sodium
    Make Ahead Meals
    Meals In A Jar
    Mexican Favorites
    Mothers Day
    Mug Recipes
    My Attempt At Gardening
    My Attempt At Sewing
    My Faith
    My Life
    Natural Beauty
    Our Town
    Painting
    Photography
    PRINTABLES
    Pumpkin
    Quick Fixin's
    Recipe
    Recycle
    Rice Cooker Recipes
    Slow Cooker Fridays
    Snacks
    Soup
    Sourdough Discard
    Spice Mixes
    Sugar Free
    Thanksgiving
    Tutorials
    Using Food Storage
    Valentines
    Vegan
    Videos
    Wheat
    Wood Projects


    Support this Site
    Shop with any of the companies below to support this site! Simply click on their image to start shopping—it won't cost you a thing.
Picture
This is a great resource page for gardeners that are just beginning and those that have been doing it a long time.
Picture
On the go a lot? Don't have time to always make a wholesome dinner for your family? Check out these recipes to get you ahead of the game.
Picture
How to's, ideas, inspiration, books, and so much more for learning how to can and preserve your food.
Copyright 2009 - 2025 Rural Housewife™ | Powered by The New KJV

SUPPORT THIS SITE: Shop with any of the companies below to support this site! Simply click on their image to start shopping—it won't cost you a thing.
Picture
Picture
Picture
Picture
Picture
Picture
Picture
Picture
Picture
Picture