|
Recently we bought a large bags of iodized salt, Epsom salt, and kosher salt to keep in our pantry. So for my reference, and now yours, here are some great uses for salt. Oh, and make sure to use the correct type of salt for each use. The majority of the uses are using regular salt (which is iodized salt), some point out that Epsom salt are used instead. This is very important especially in the garden & yard area. 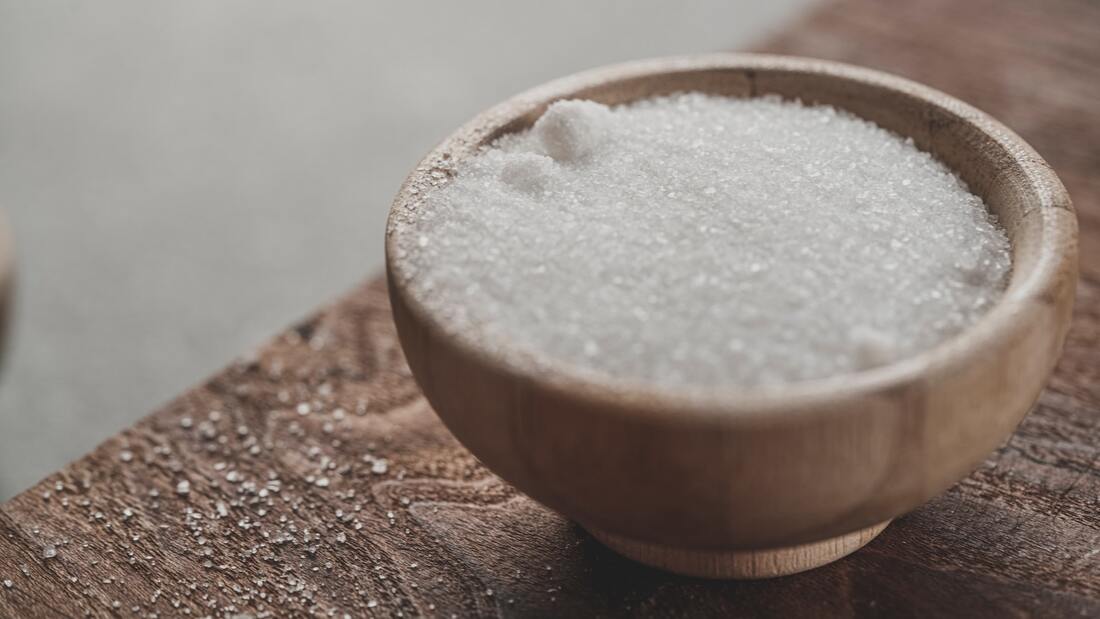 KITCHEN
GARDEN & YARD
HEALTH & BEAUTY
FOOD & DRINK
CLEANING
MISCELLANEOUS
0 Comments
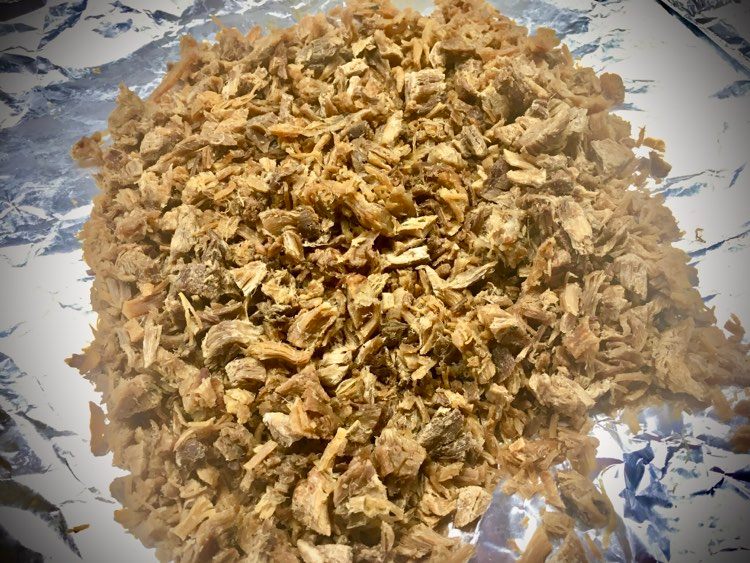
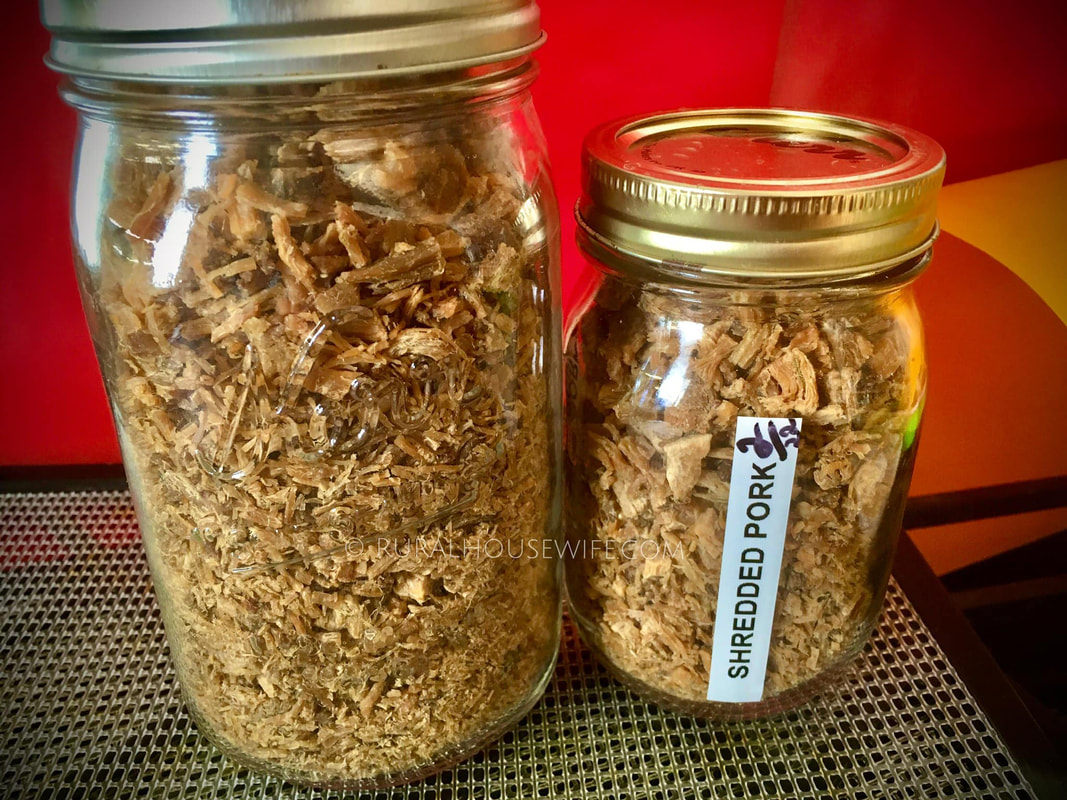
Safely Dehydrating Meat: Dry only lean meats and blot off any oil during the drying process. It is the fat in meat that can turn rancid as it reacts over time with oxygen. Heat and light accelerate oxidation, so store in a cupboard away from heat.
|

Categories
All

|