Lilacs boast a plethora of health benefits:
 LILAC OIL INFUSION INGREDIENTS
LILAC TONER Lilac blossoms and leaves possess astringent qualities, which can help to firm and mildly dry the skin, making them beneficial for individuals with oily or acne-prone skin. Try preparing the Lilac Toner provided below, or simply apply Lilac Infusion to your face after cleansing. Lilac also serves as an excellent tonic for both hair and scalp. Gently massage Lilac Infusion onto your scalp to fortify your hair from the roots and alleviate dandruff concerns.
0 Comments
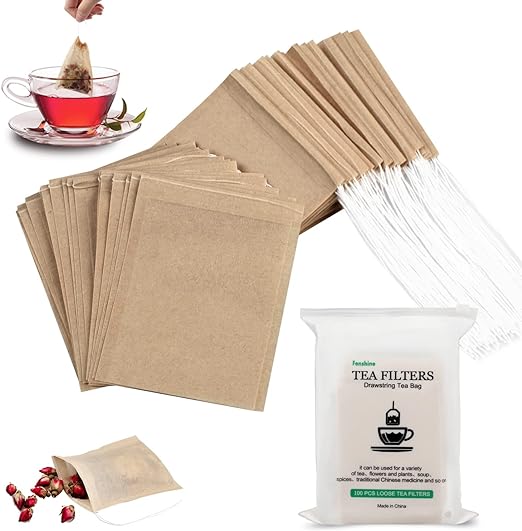
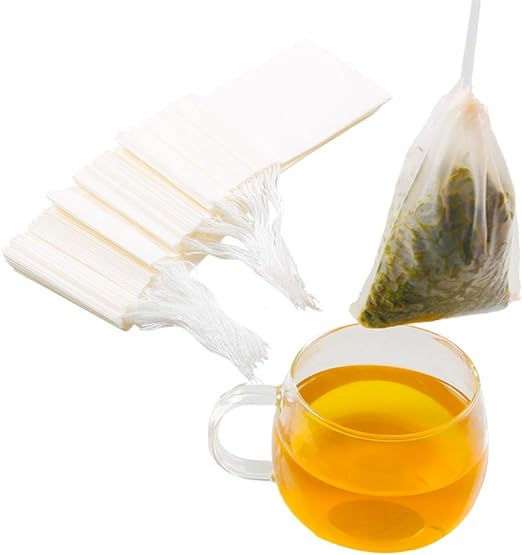
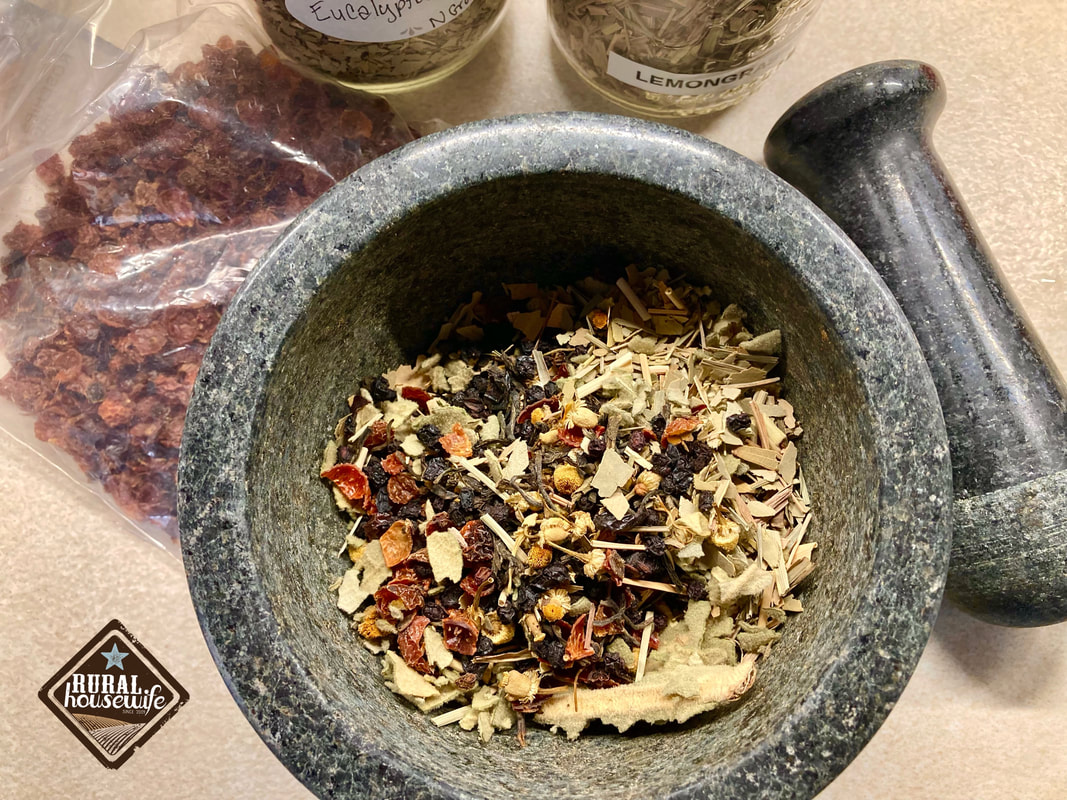  This is what it looks like after it's infused for 24 hours in the fridge. This is what it looks like after it's infused for 24 hours in the fridge. INGREDIENTS 1 Tbsp Whole Dried Elderberries 1 Tbsp Dried Chamomile Flowers 1 Tbsp Dried Dandelion Root 1 Tbsp Dried Rosehips (better if they are seedless) 1 Tbsp Dried Lemon Grass 1 Tbsp Dried Ginger 1 Tbsp Dried Turmeric 1 Tbsp Dried Eucalyptus Leaf 2 Tbsp Dried Mullein Leaves 1/4 tsp Ground Cayenne Pepper DIRECTIONS 1. Place all of the ingredients in the bowl of a mortar and using the pestle grind/break up the herbs & spices. No need to make a powder, just break it up enough to open up the spices so they release more of their goodness. 2. Spoon contents into tea filter funnel (see picture) and place in half gallon jar or in a large tea bag and place in pitcher. 3. Let mixture cold brew steep in the refrigerator for at least 24 hours for max potency. Remove tea filter or tea bag and discard. * This mixture is can be spicy (mostly from the ginger) and can be “cooled” down with honey. Don’t microwave this for hot tea, it will destroy all the good stuff you just steeped. ** Tea Bag Method - On Step 1 when you are grinding the mixture to break it up, you will want to grind a little longer to make more of a rough powder so you can divide evenly into tea bags. For the large tea bags it will fit half of the mixture and you can use a quart jar for the cold brew. If you want to do individual servings and steep with hot water, use smaller tea bags and only put about a tablespoon of the mixture in it. Serving size 4 to 8 oz. Products I Use
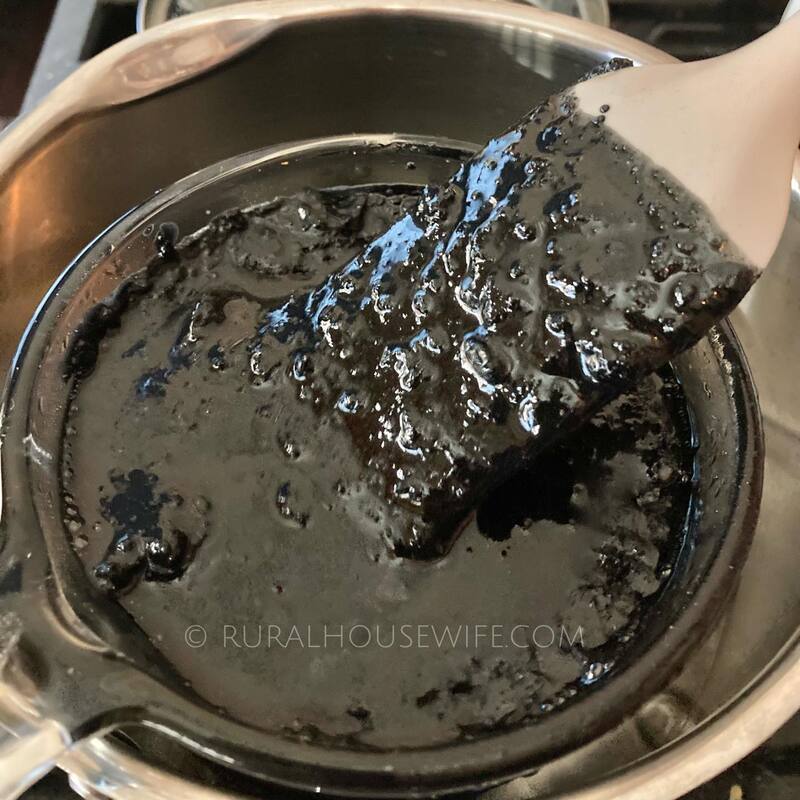
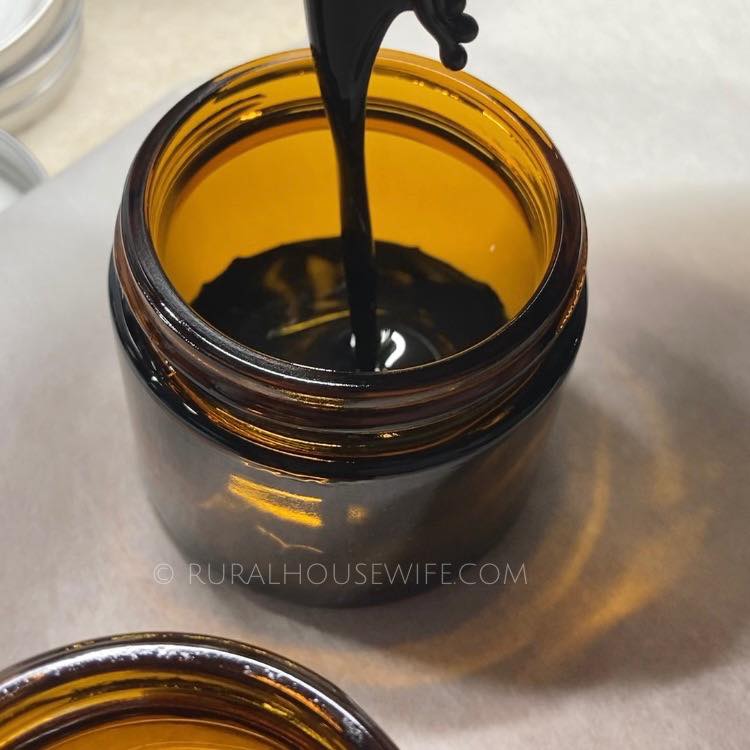
This activated charcoal drawing salve is known to help draw out splinters, boils, and insect bites. Place small amount on the offending spot, then cover with a bandage for at least 12 hours. Repeat as needed. Please test on a small area of your skin to make sure you are not allergic to any of the ingredients. 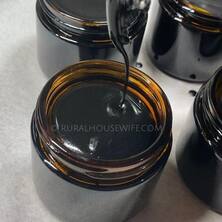 INGREDIENTS 1 cup castor oil (or any organic oil) - I used 1/2 castor oil and 1/2 my infused lemon balm oil. 1/4 cup beeswax 2 tbsp activated charcoal 2 tbsp bentonite clay powder essential oils of your choice DIRECTIONS
Recently I bought the Instant Pot Max - I have been saving for it for quite some time. I am over-the-moon excited about it! About a week or so ago I decided to give it it's maiden-voyage and can some pinto beans. You can only can 4 pints at a time. But you know what? That's ok with me! Especially since I am just starting out on this pressure canning journey. 1/4 cup of rinsed (but dry) pinto beans, 1/2 tsp garlic salt, and water. 75 mins of pressure canning, and then natural release which takes about an hour. All in all I was ecstatic with the results! So right before bed I decided "Hey, I can put in 4 more pints!" And that's exactly what I did. Then a couple of days later I tried navy beans - which I did 3/4 cup of rinsed (but dry) beans, 1/2 tsp garlic salt, and water. 75 mins of pressure canning and Voila! 4 more pints of beans for the pantry shelves.
To say I am hooked is an understatement. Yesterday I decided I was going to take the leap and do 'raw pack pork'. That was a little more labor intensive since it was a bone-in pork shoulder that I got on sale and there was a lot of fat to remove. I stuffed those little pint jars as much as I could (leaving an inch head space), wiped the rims with vinegar and put on the lids. Set the timer and away they went. About an hour later I came up from the basement (I was working at the time) and noticed my IP Max flashing ALT at me - I was devastated! Did it get to temp? When did it error out? Aaagghh!! I gathered my wits and researched what to do. Once I reset the canner I found that you can can cooked meat at the same temp & time. So that's what I did. I double checked everything and started over with the pint jars I had in their already. This time I came upstairs every half hour to check it's progress to make sure I didn't ALT again. And thankfully it went through it's entire process and natural released at the end. All four pints sealed and were ready for their resting time. To say pressure canning is stressful is truthful. Yeah, I know I am "cheating" but that's what I can handle at this moment in life and I am ok with that. I will just keep pluggin along 4 pints at a time. :) |

Categories
All

|