Rural Housewife
  • HOME
    • My Story
    • Contact Me
  • BLOG
  • WE LOVE
  • RECIPES
    • Baked Goods
    • Breakfast
    • Chocolate
    • Dinner
    • Gluten Free
    • Granola
    • Make Ahead Meals
    • Mexican Favorites
    • Sugar Free
  • RESOURCES
    • Canning
    • Dehydrating
    • Frugal Living
    • Gardening
    • Meal Planning
    • Old Fashion Living
    • Raising Chickens
    • Small Business Dir. >
      • Submit Your Business
    • PROJECTS >
      • Crafts & Gifts
      • Holidays >
        • Christmas
        • Halloween
        • Mother's Day
        • Valentine's Day
      • Photography
    • Winter Sowing

Blog

Cheap, Homemade Cream Cheese

6/7/2022

2 Comments

 
Picture
Lately we've been making our own cream cheese from the shelf stable whole milk we have in the pantry (in case of emergency). This helps us rotate our supply to make sure we always have non-expired cartons. We buy ours at Dollar Tree for $1.25 a quart.

Cost wise (roughly) its $2.50 for 20 ounces of cream cheese. ​

Now if you are looking for a cream cheese that you would use for cheesecake - I don't know if this would work - I haven't tried using it for that. We use ours for bagels, crackers, dips, spreads, etc.

INGREDIENTS
2 containers of Shelf Stable Whole Milk (1 quart each)
1 Tbsp Buttermilk Powder
Salt to taste
Clean pint jar with lid

DIRECTIONS
  1. Pour milk in a medium size soup pot.
  2. Bring to a low boil on medium to low heat - stirring frequently. You don't want it to burn.
  3. Once it gets to a low boil, reduce heat to simmer and add 3 tablespoons of distilled vinegar (not ACV) - 1 tbsp at a time, stirring for about a minute in between.
  4. Take off heat and let it sit for about 15 minutes. You will notice the milk will start to separate from the whey.
  5. Drain into a very fine mesh cheese cloth or muslin lined colander and let sit for another 15-20 minutes.
  6. Once drained, place in food processor and blend with a little salt (per taste) and a tbsp of buttermilk powder. It will look very runny at this point, don't worry it will set up.
  7. Pour it into a clean pint jar and stick it in the fridge over night. Next day it's set up and ready to use.

P.S. In the picture I used a looser mesh cheesecloth, and I really don't recommend it. It was kind of a pain to get the cheese out, and I ended up losing a little bit. I should have used a finer mesh cheesecloth or better yet unbleached muslin.
Picture
Picture
Picture
2 Comments

Toasted Cream of Wheat

3/31/2022

0 Comments

 
I don’t know how I first learned about making my own cream of wheat from ground wheat kernels. Y’all! I made some this morning. And Oh. My. Goodness!

What I did:
Took 1/3 cup of ground wheat (that I did in my small blender), toasted over medium heat (stirring often). You don’t want them to burn, just toast a little bit. Only did it for a couple of minutes. Set aside and got my 1 cup of water and a pinch of salt boiling and then slowly whisked in the toasted ground wheat. Whisked on medium low for about 4-5 minutes. Towards the end I added my sweetener and stirred it in. Poured into a bowl, added a tab of butter, and a little milk moat for the edge.
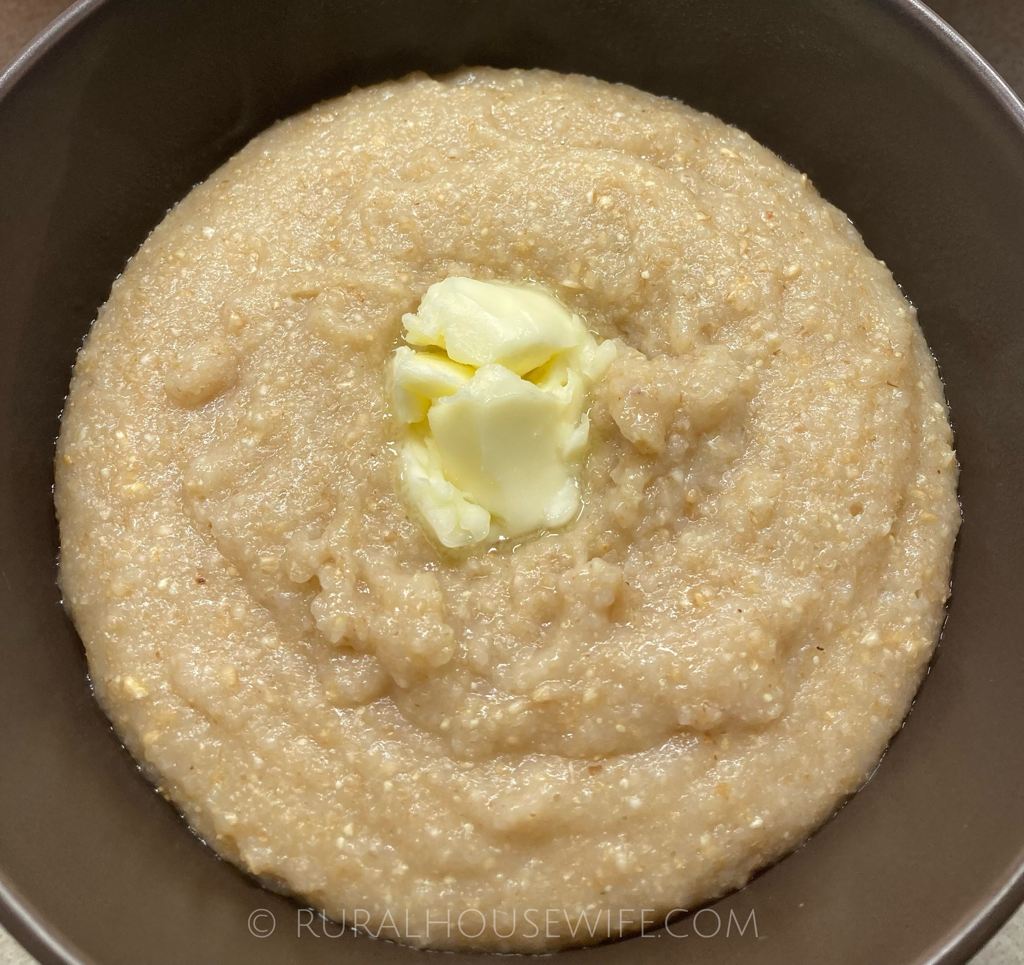
Picture
0 Comments

Trader Joe's Vegan Cream Cheese

12/28/2020

0 Comments

 
Picture
Picture
Picture
Recently I was told that I am allergic to dairy. Finding this out at 45 is, for me, not the easiest change to make. I LOVE cheese, ice cream, large glasses of milk, yogurt, cream cheese on my bagels, etc. So this weekend I did a little bit of shopping to see what is out there for Dairy Free "cheeses".

First up is this Vegan Cream Cheese by Trader Joe's. I paid $2.99 for this 8 oz. container.
Picture
Picture
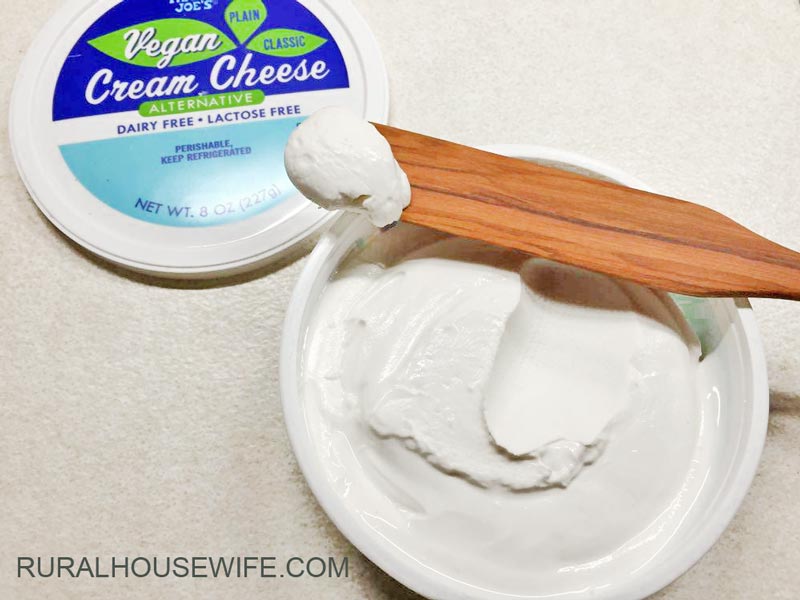
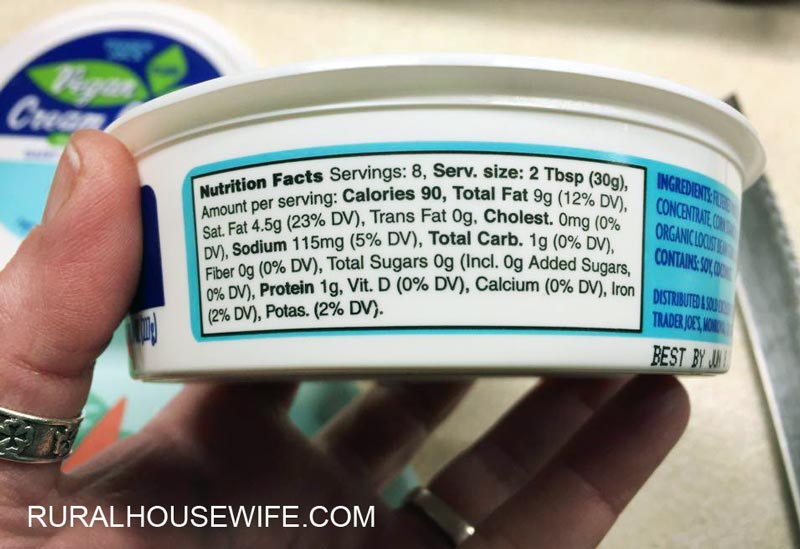
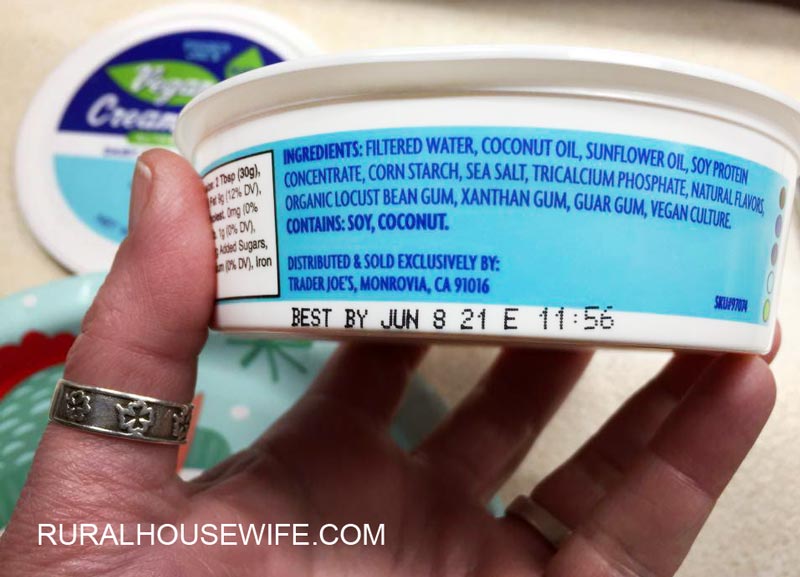
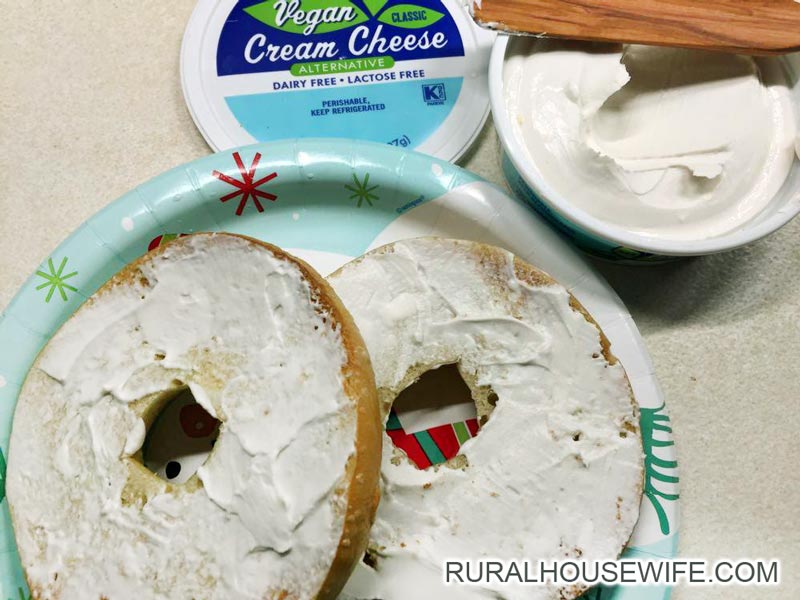
Spreadability: Nice and creamy
Smell: Doesn't have much of a smell
Ingredients: Filtered Water, Coconut Oil, Sunflower Oil, Soy Protein Concentrate, Corn Starch, Sea Salt, Tricalcium Phosphate, Natural Flavors, Organic Locust Bean Gum, Xanthum Gum, Guar Gum, Vegan Culture.
Flavor: Very mild and somewhat neutral.
Bagel Test: It spread on nicely and melted slightly on my freshly toasted bagel. When I bit into the bagel I didn't have any strong reactions to the flavor or texture. Overall it paired well with my plain, toasted bagel.
Husband Test: Liked it a lot, actually. He doesn't like anything coconut - so that will tell you that is doesn't have a coconut'y flavor.
Picture
I give it 4 out of 5 Cheeses.
Would like to see a little more boldness and tang in the flavor.

FINE PRINT: This is not a paid review of any kind. I am documenting my own opinions of products that I paid for out of my own pocket.
0 Comments

Chocolate Berry Granola

10/23/2020

0 Comments

 
Picture
Ingredients
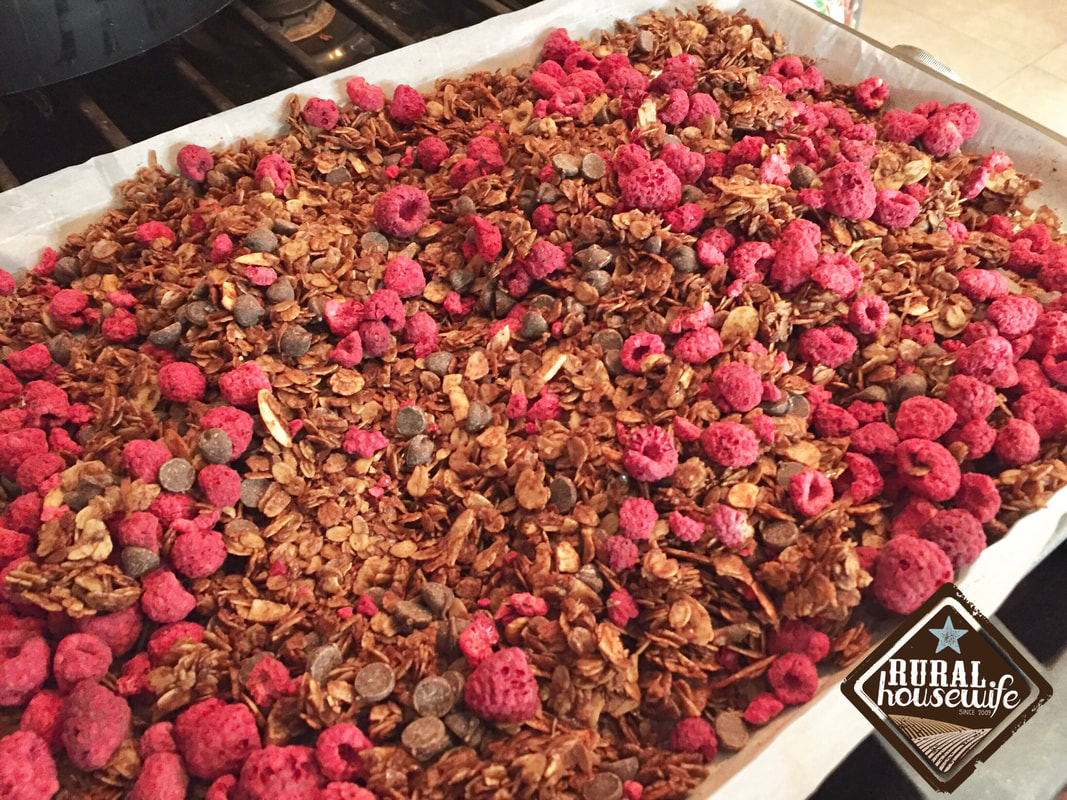
3 cups Old Fashioned Rolled Oats
1/2 cup sliced toasted almonds
3 tbsp Dutch Process Baking Cocoa
1/3 cup Extra Virgin Olive Oil or Melted Coconut Oil
1/2 cup Honey
1 tsp vanilla extract
3/4 tsp kosher salt
1/2 cup Dark Chocolate Chips
3/4 cup Freeze Dried Raspberries or Freeze Dried Strawberries

Instructions
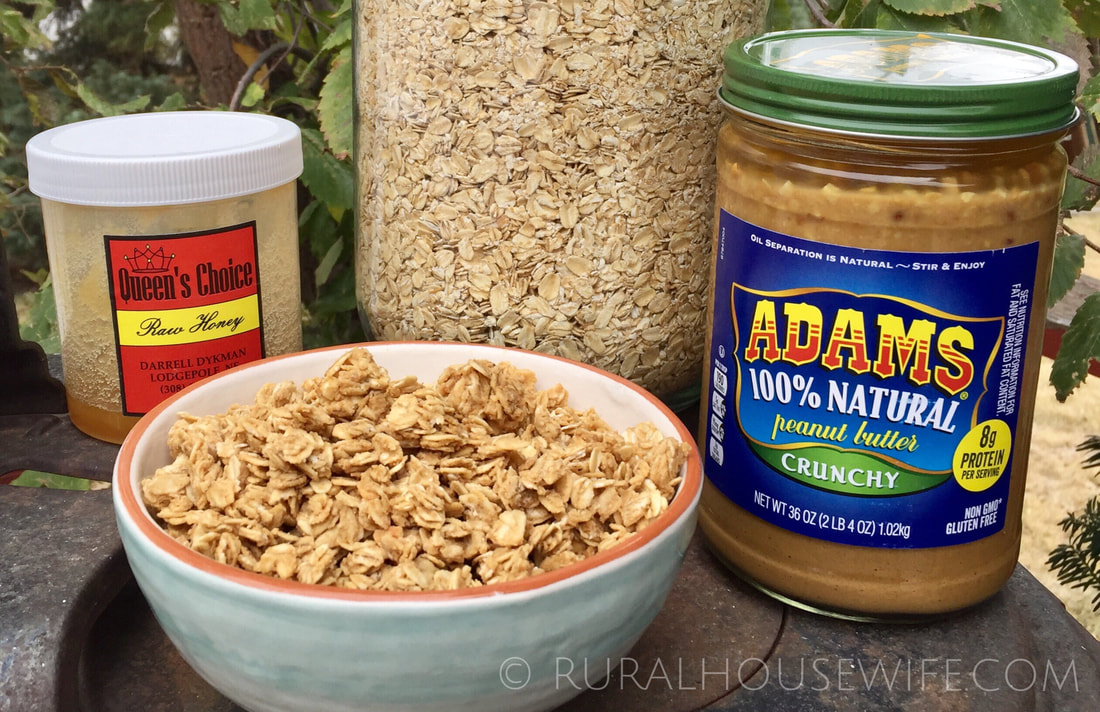
  1. Preheat the oven to 325 degrees with a rack in the center position. Line a rimmed baking sheet pan with parchment paper. Set aside.
  2. In a large mixing bowl, combine the old fashioned rolled oats, sliced toasted almonds, cocoa powder, In a separate mixing bowl, whisk together - oil, honey, vanilla extract, and salt. Combine wet ingredients with oat mixture and stir until all of the ingredients are incorporated and coated evenly.
  3. Transfer the mixture to the lined sheet pan. Using a spatula or spoon, spread into an even thin layer.
  4. Bake at 325 degrees for 25 to 30 minutes, tossing the granola halfway through, until the granola is lightly toasted and very fragrant.
  5. Transfer the pan to a wire rack to cool completely. Once completely cooled stir in the chocolate chips and dried raspberries or strawberries. Transfer the granola to an airtight container and store at room temperature for 1-2 weeks.
0 Comments
<<Previous
Forward>>
    Picture
    Picture
    Explore the New Mountain Rose Journal & Catalog

    Picture

    Categories

    All
    365 Days Of Thanks
    Adventures
    Appetizers / Side Dishes
    Baked Goods
    Being A Wife
    Bible Study
    Bread
    Breakfast
    Budget Fun
    Canning
    Chocolate
    Chocolate Mondays
    Christmas
    Cookies
    Craft Nights
    Crafts
    Dairy Free
    Dehydrator
    Dinner
    D I Y
    E-BOOKS
    Experiments
    Farm Girl
    Freeze Dried
    Furniture
    Gift Ideas
    Gluten Free
    Green Tomatoes
    Halloween
    Handmade
    Herbal Remedies
    Homemade
    Ice Cream
    InstantPot Recipes
    Leather
    Low Sodium
    Make Ahead Meals
    Meals In A Jar
    Mexican Favorites
    Mothers Day
    Mug Recipes
    My Attempt At Gardening
    My Attempt At Sewing
    My Faith
    My Life
    Natural Beauty
    Our Town
    Painting
    Photography
    PRINTABLES
    Pumpkin
    Quick Fixin's
    Recipe
    Recycle
    Rice Cooker Recipes
    Slow Cooker Fridays
    Snacks
    Soup
    Sourdough Discard
    Spice Mixes
    Sugar Free
    Thanksgiving
    Tutorials
    Using Food Storage
    Valentines
    Vegan
    Videos
    Wheat
    Wood Projects


    Support this Site
    Shop with any of the companies below to support this site! Simply click on their image to start shopping—it won't cost you a thing.
Picture
This is a great resource page for gardeners that are just beginning and those that have been doing it a long time.
Picture
On the go a lot? Don't have time to always make a wholesome dinner for your family? Check out these recipes to get you ahead of the game.
Picture
How to's, ideas, inspiration, books, and so much more for learning how to can and preserve your food.
Copyright 2009 - 2025 Rural Housewife™ | Powered by The New KJV

SUPPORT THIS SITE: Shop with any of the companies below to support this site! Simply click on their image to start shopping—it won't cost you a thing.
Picture
Picture
Picture
Picture
Picture
Picture
Picture
Picture
Picture
Picture