How this recipe came about. My husband loves Alfredo sauce on his noodles instead of red spaghetti sauce. So I would purchase the jars, but since it's just him that eats it, it would go bad before he could finish an entire jar. So then we were buying the packets at the market, and that just seemed silly since they had so many added ingredients that we couldn't even pronounce. So, I got out my Freeze Dried powders and started putting together a recipe that he could use on his pasta. In no time at all we had a solution.
Powder is good for approx. 2 months in an airtight container on the shelf. Best when stored in a cool, dry and dark place at temperatures between 55F and 70F. Actual shelf life may vary based on individual storage conditions.
Ingredients
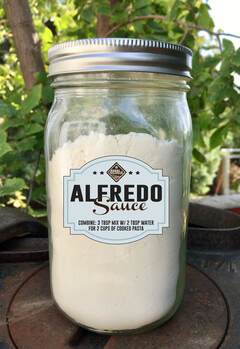
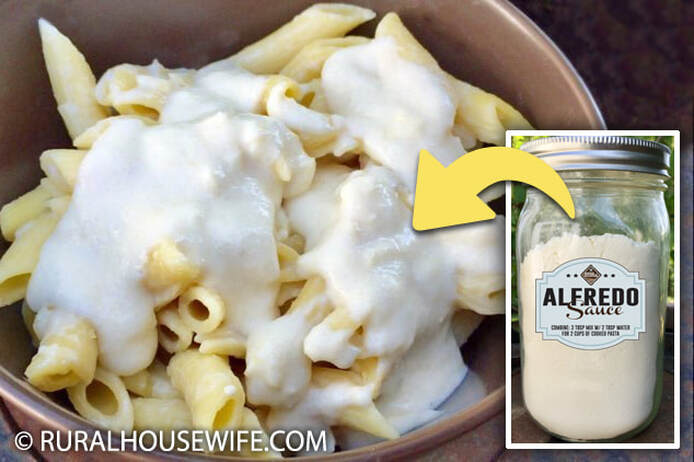
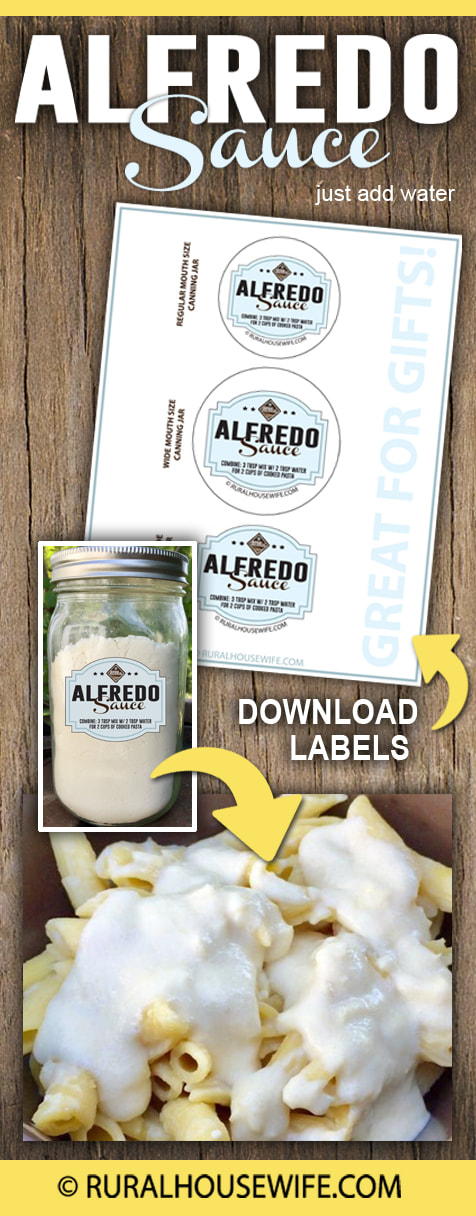
1/2 cup all-purpose flour 1/2 cup powdered butter 1 cup instant non-fat dry milk 1 tsp kosher salt 3/4 cup freeze dried Monterey Jack Cheese (optional) Directions 1. In your food processor, add all of the ingredients above. Pulse to combine. If adding the freeze dried cheese, pulse until there are no lumps. 2. Store in Quart Size Mason Jar. Option: Add garlic powder for a Garlic Alfredo Sauce To Make the Alfredo Sauce 1. Add 3 tbsp of mixture with 2-3 tbsp of water (or milk), whisk together in small bowl, pour over cooked noodles. Recipe is easy to double and triple if needed. 
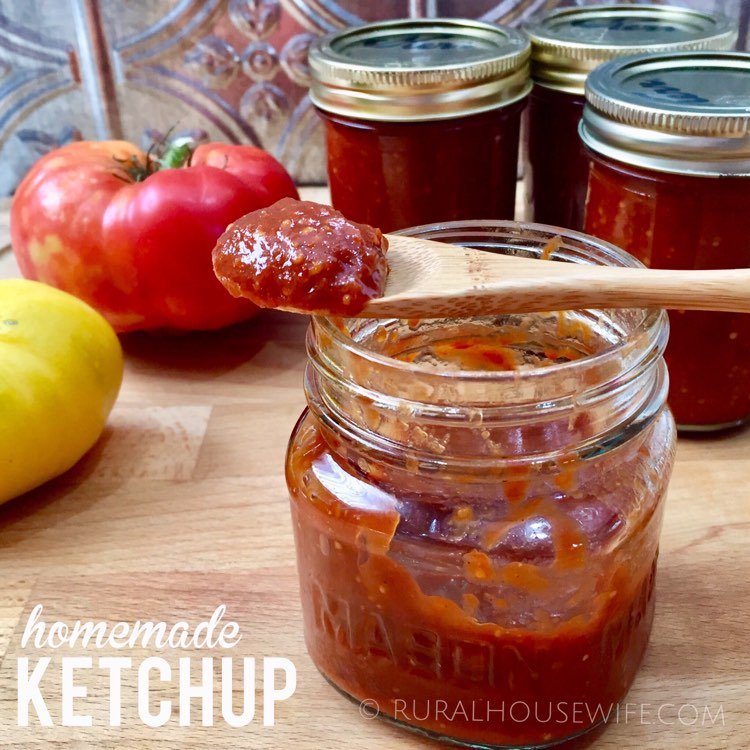
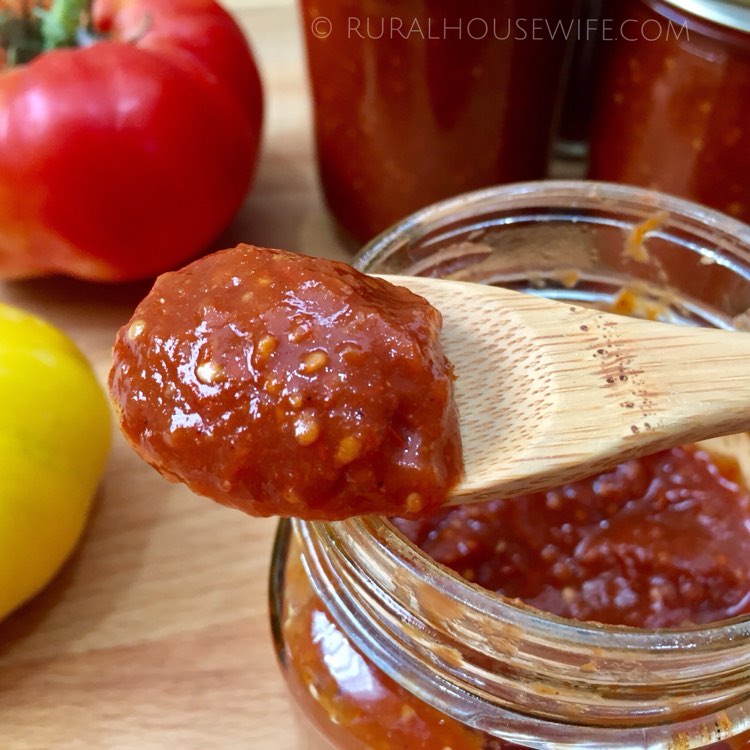
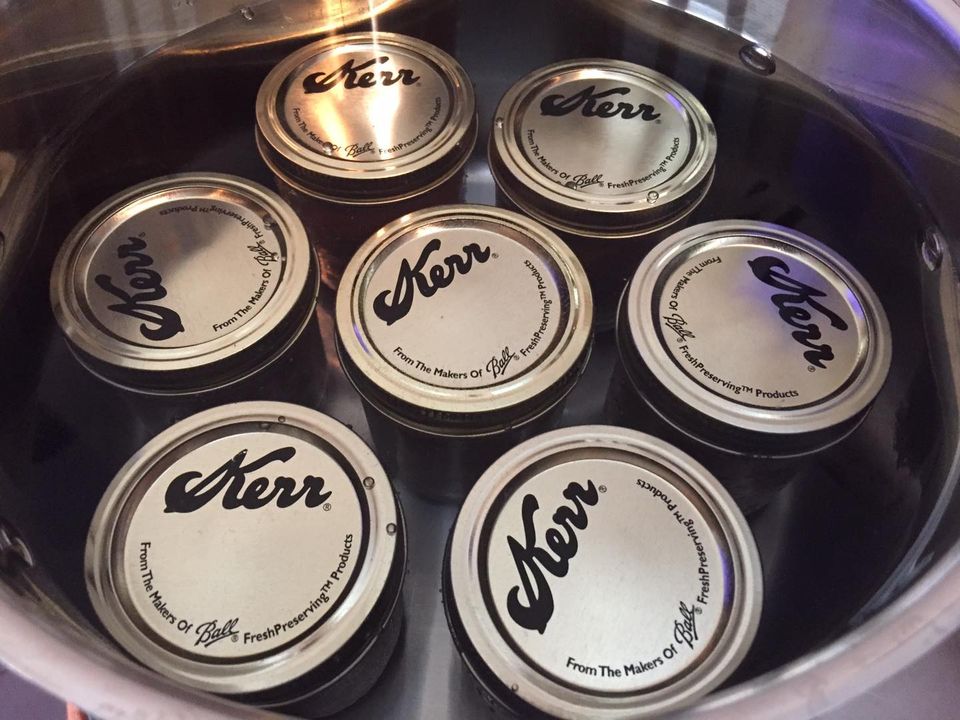
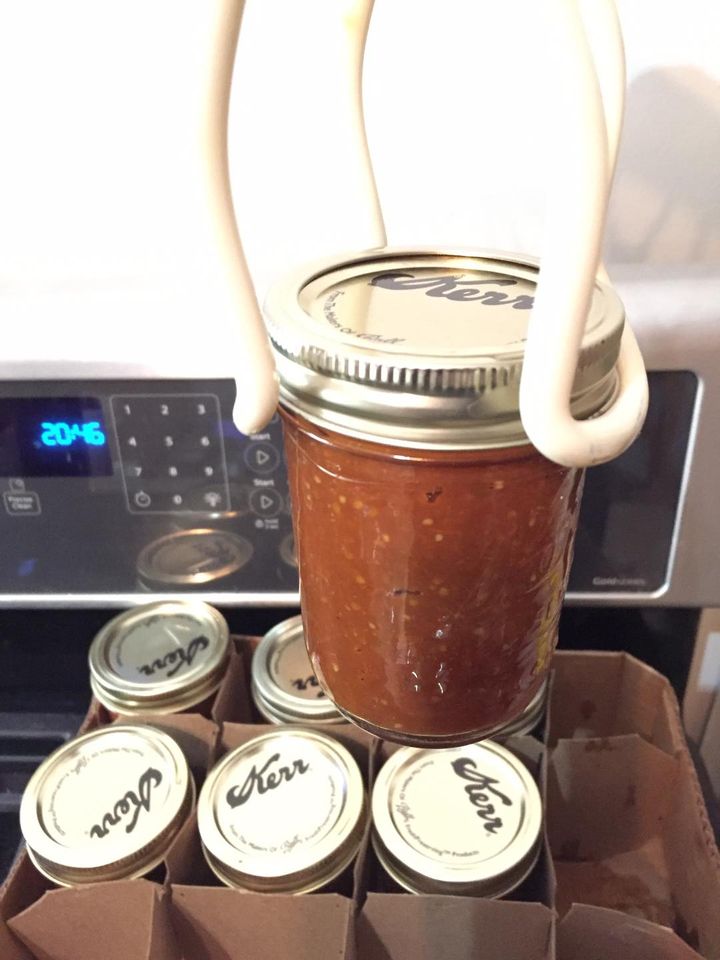
This ketchup was such a labor of love for me. From growing the tomatoes 🍅, harvesting, washing, and cooking them down, all the way to seasoning and canning (for the first time). 
INGREDIENTS
2 tbsp Paprika 2 tbsp Minced Onion 1½ tbsp Dill Weed- Ground 2 tbsp Minced Garlic 1½ tbsp Black Pepper - Freshly Ground 2 tbsp Kosher Salt 1 tbsp - Coriander - Ground 1½ tsp Cayenne Pepper DIRECTIONS
|

Categories
All

|