 INGREDIENTS
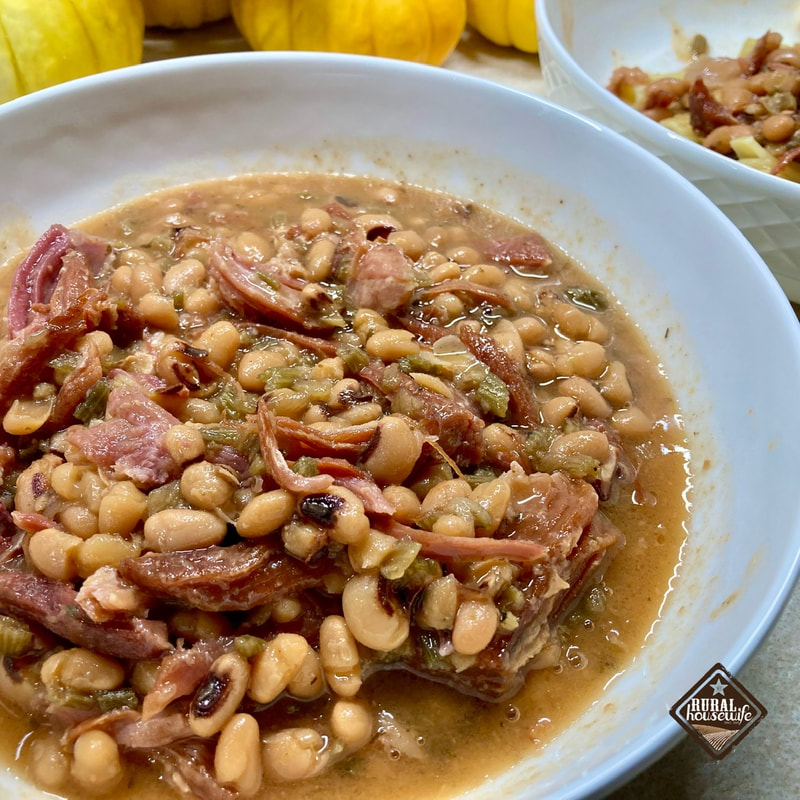
2 pounds dried northern beans / navy beans / or black eyed peas 3-4 pounds - ham hocks or meaty ham bone 1/2 onion diced 1 bay leaf 8 cups water (not stock) INSTRUCTIONS 1. Place all of the ingredients in the Instant Pot. Lock the lid in place and set the valve to sealing. 2. Cook on high pressure for 45 minutes. 3. Allow a natural release of pressure for 15 minutes, then release the remaining pressure and open the lid. 4. If using bone-in ham - remove bone, shred ham, place back in beans. Stir and enjoy.
0 Comments
 INGREDIENTS
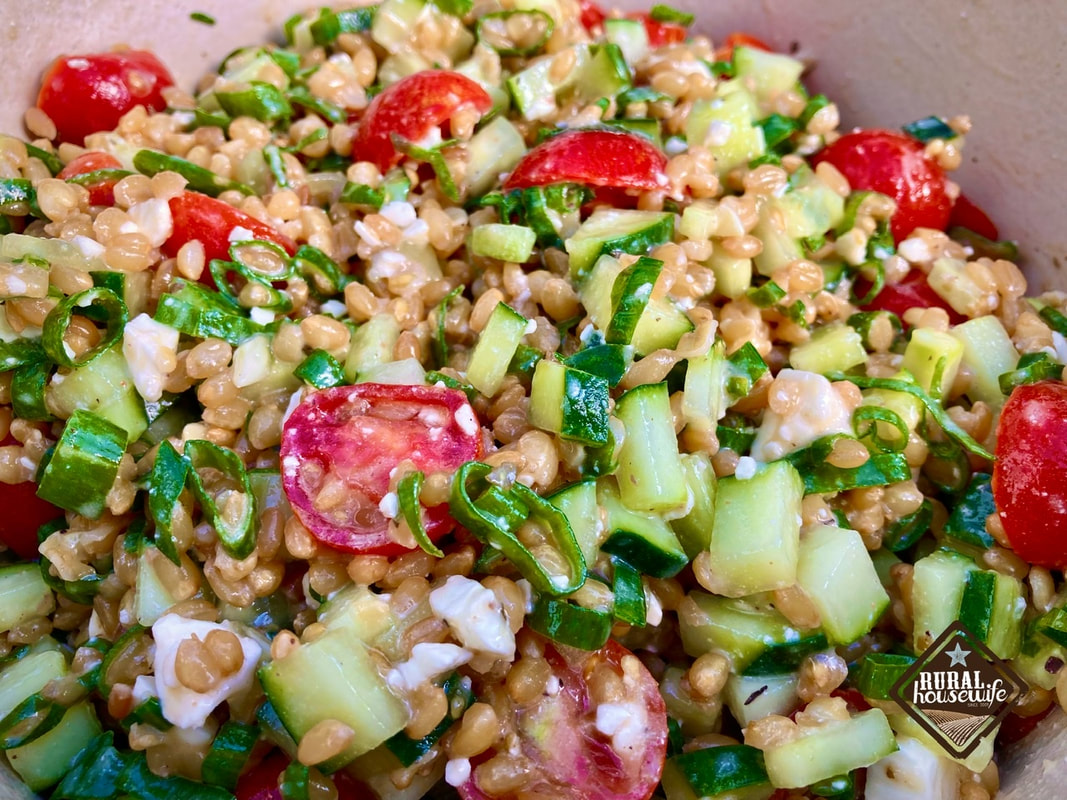
1 cup wheat berries (dry) 2 cups cherry tomatoes (cut in half) 2 cups diced cucumber 1 cup fresh chives 1 cup feta 1/4 Greek Dressing (I used Kraft) DIRECTIONS
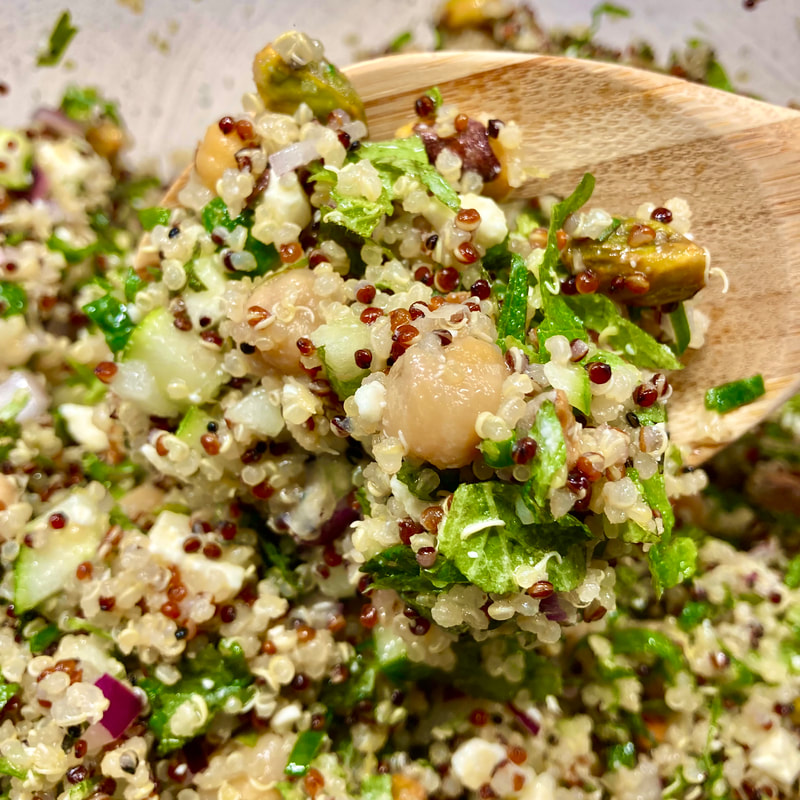 Ingredients 1 cup quinoa uncooked 2 cups water 1 cup cucumber chopped 1 cup fresh lemon balm (or mint) chopped ⅓ cup red onion chopped 1 cup roasted and salted pistachios chopped 1 15 ounce can chickpeas drained and rinsed Zest of 2 lemons 2 lemons juiced (about 1/4 cup) 1/4 cup extra virgin olive oil sea salt to taste ground pepper to taste 1 cup crumbled feta cheese 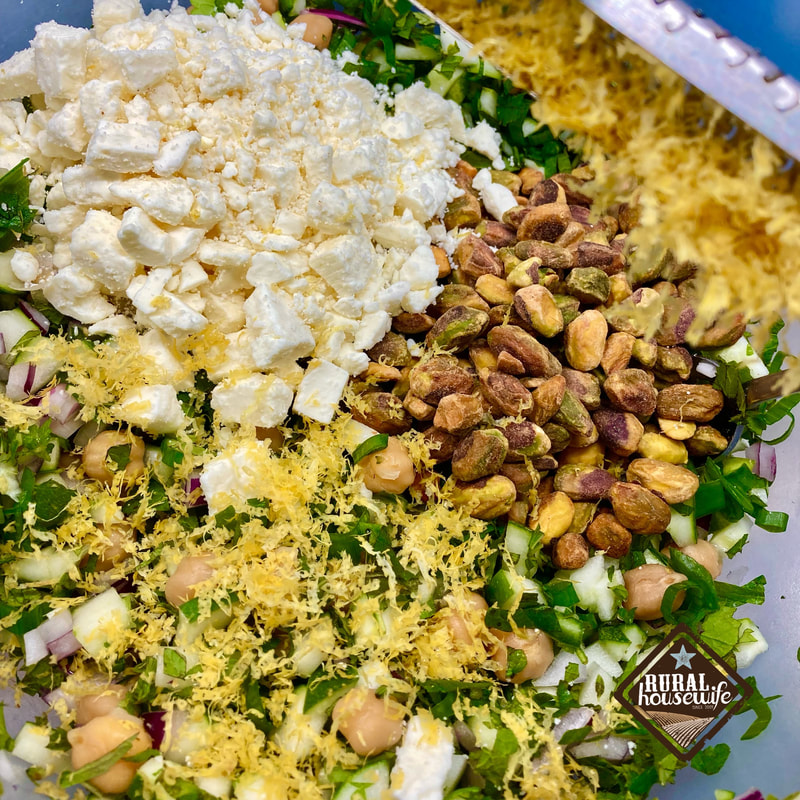 INGREDIENTS
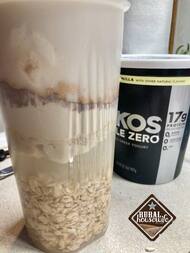 This is before I shook it up. Forgot to take a picture of it after - LOL This is before I shook it up. Forgot to take a picture of it after - LOL Most days I take a protein shake to work, but today I tried something different. I saw an add for a company that makes Protein Overnight Oats. Serving price wasn't horrible (about $3-$5 a piece). But I am cheap and I have all the ingredients at home. So I tried making my own this morning. I am really liking it. Here is what I used. Now I will say that this made enough for 2 servings. But since I am working all day and forgot a lunch, I am hoping this will sustain me through. So with that said you can cut this recipe in half, or just divide it into 2 jars.
INGREDIENTS 1/2 cup old fashioned rolled oats (7g of protein) 4 tbsp peanut butter powder (12g of protein) 1 tsp chia seeds (.7g of protein) 1 cup water 1 cup unsweetened almond milk (1g of protein) 1 scoop protein powder (22g of protein) 1/3 cup Oikos Triple Zero Greek Yogurt - Vanilla (8.5g of protein) 1.5 tbsp organic cocoa powder (1.5g of protein *for a total of 573 calories & 52.7g of protein for the whole recipe. Or 286.5 calories & 26.35g of protein per serving DIRECTIONS this makes 2 servings
|

Categories
All

|
