This recipe is SO simple and protein packed! It makes 6 Servings. Serving size is about 2/3 cup and has roughly 15 grams of protein per serving. INGREDIENTS 12 hard boiled eggs 1/4 cup of cocoa powder 1/3 cup of honey or sugar 1 1/2 cups of whole milk (or to make dairy free you can use one can of Coconut Milk) DIRECTIONS 1. Place all of the ingredients into blender or food processor. 2. Purée until smooth. 3. Taste to see if you want more sweetener. 4. Once flavor is where you want, pour into medium bowl (makes about 4 cups), cover, and refrigerate for a couple of hours or overnight. 5. The mixture will thicken while in the refrigerator. 
0 Comments
 Lilacs boast a plethora of health benefits:
 LILAC OIL INFUSION INGREDIENTS
LILAC TONER Lilac blossoms and leaves possess astringent qualities, which can help to firm and mildly dry the skin, making them beneficial for individuals with oily or acne-prone skin. Try preparing the Lilac Toner provided below, or simply apply Lilac Infusion to your face after cleansing. Lilac also serves as an excellent tonic for both hair and scalp. Gently massage Lilac Infusion onto your scalp to fortify your hair from the roots and alleviate dandruff concerns.
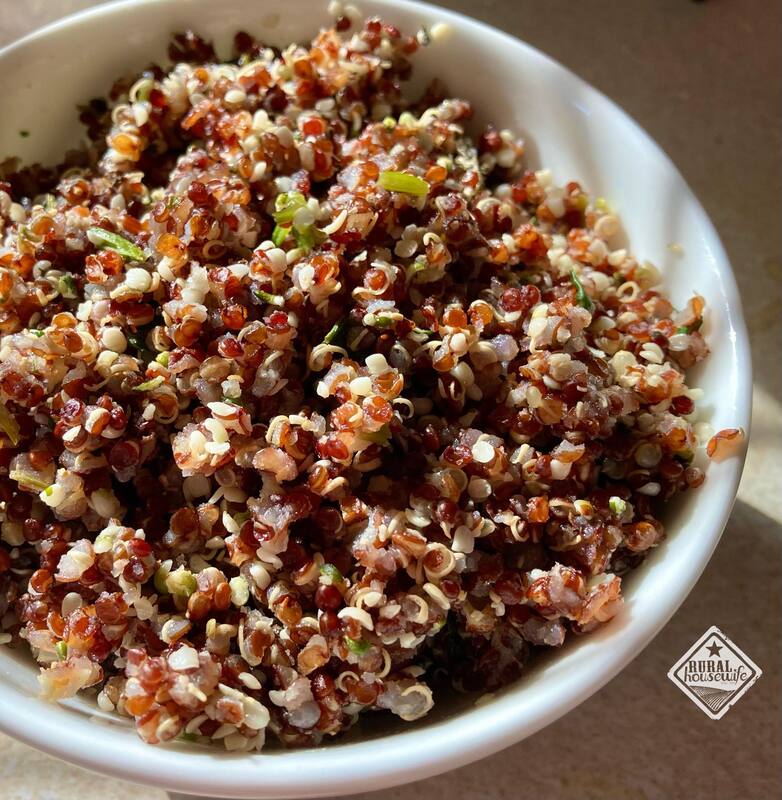
I make this recipe a couple times a month and portion it into thirds. One third goes into the fridge to add to meals and salads. Two thirds get bagged separately and placed in the freezer for times when I need a quick snack or addition to meals and salads.
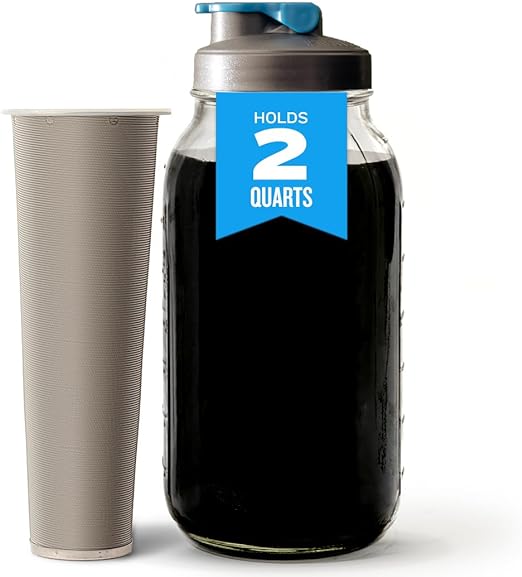
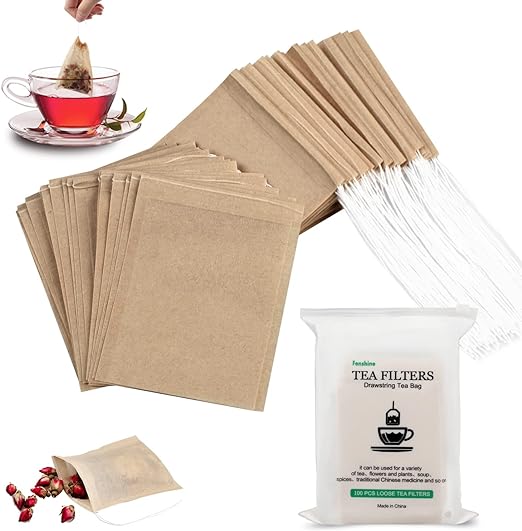
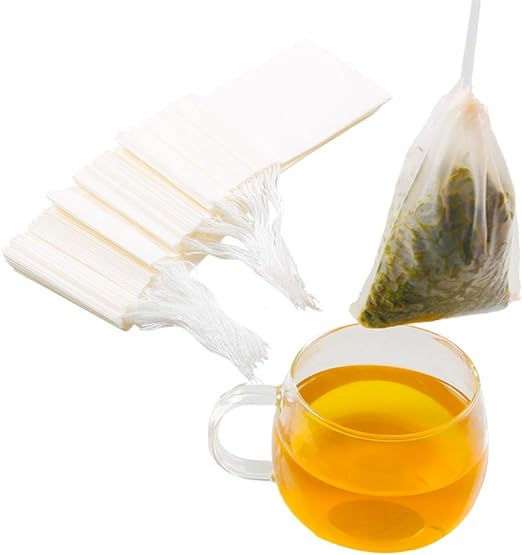
If you like quinoa recipes, check out: 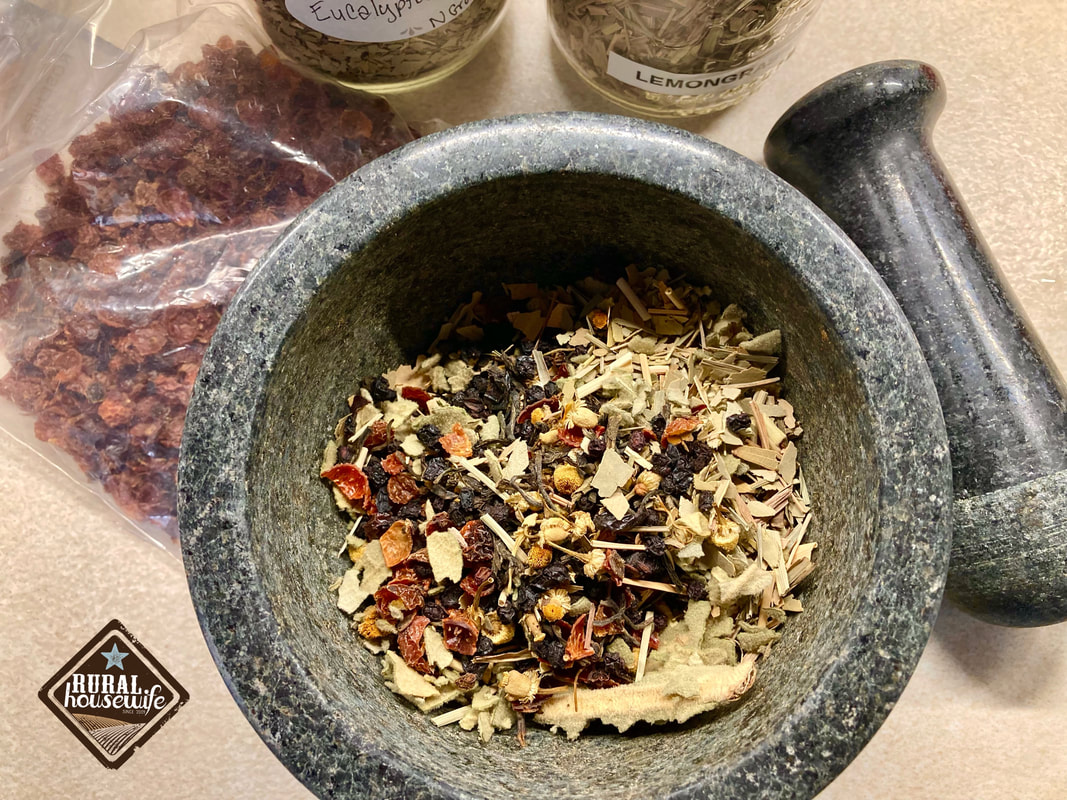 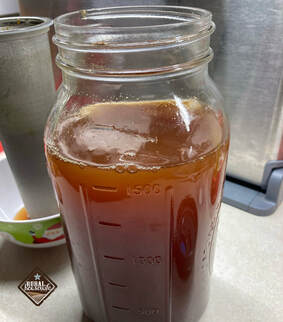 This is what it looks like after it's infused for 24 hours in the fridge. This is what it looks like after it's infused for 24 hours in the fridge. INGREDIENTS 1 Tbsp Whole Dried Elderberries 1 Tbsp Dried Chamomile Flowers 1 Tbsp Dried Dandelion Root 1 Tbsp Dried Rosehips (better if they are seedless) 1 Tbsp Dried Lemon Grass 1 Tbsp Dried Ginger 1 Tbsp Dried Turmeric 1 Tbsp Dried Eucalyptus Leaf 2 Tbsp Dried Mullein Leaves 1/4 tsp Ground Cayenne Pepper DIRECTIONS 1. Place all of the ingredients in the bowl of a mortar and using the pestle grind/break up the herbs & spices. No need to make a powder, just break it up enough to open up the spices so they release more of their goodness. 2. Spoon contents into tea filter funnel (see picture) and place in half gallon jar or in a large tea bag and place in pitcher. 3. Let mixture cold brew steep in the refrigerator for at least 24 hours for max potency. Remove tea filter or tea bag and discard. * This mixture is can be spicy (mostly from the ginger) and can be “cooled” down with honey. Don’t microwave this for hot tea, it will destroy all the good stuff you just steeped. ** Tea Bag Method - On Step 1 when you are grinding the mixture to break it up, you will want to grind a little longer to make more of a rough powder so you can divide evenly into tea bags. For the large tea bags it will fit half of the mixture and you can use a quart jar for the cold brew. If you want to do individual servings and steep with hot water, use smaller tea bags and only put about a tablespoon of the mixture in it. Serving size 4 to 8 oz. Products I Use
|


Categories
All

|