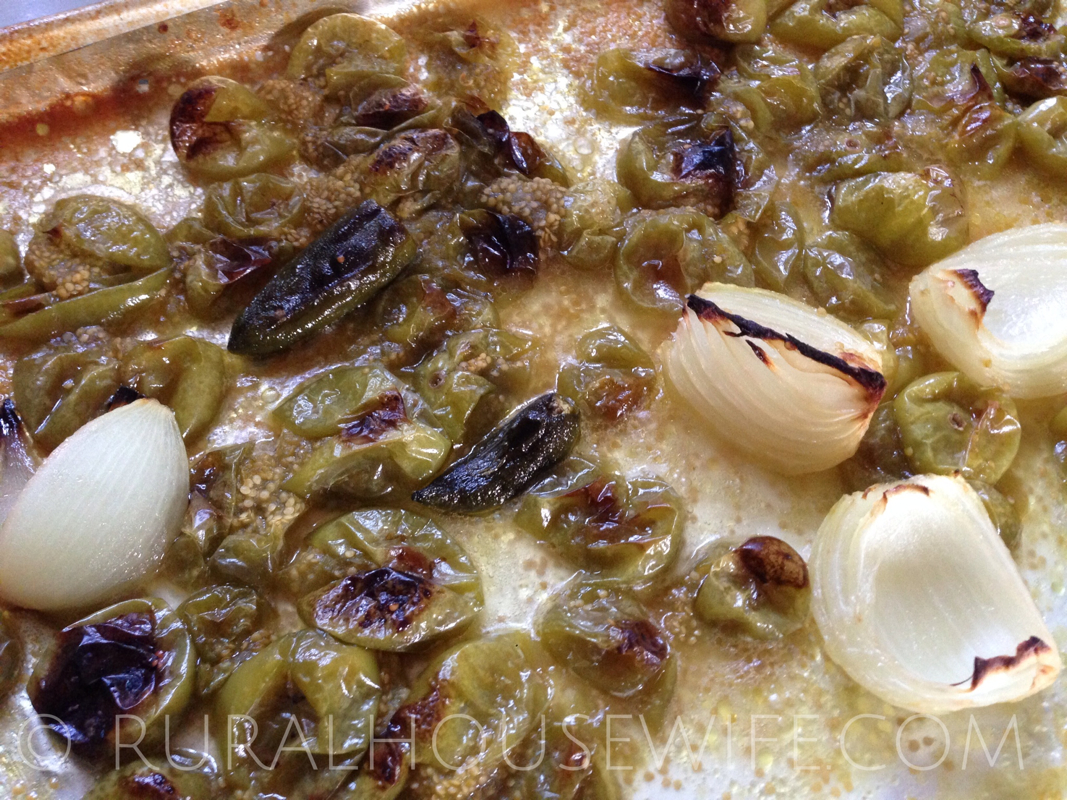
Back in the day when I first made Salsa Verde, I boiled the tomatillos, onions, jalapeños, and the garlic. Though the flavors were nice, they just weren't bold like I wanted. But since I was very new at making it I didn't know any different. After years of making it, in all different ways, I think roasting the ingredients is the way to go. I start out by preheating my oven to 450* and putting the shelf in the middle. I then line my baking sheet with foil, this helps with transferring the ingredients to the bowl or jar. Next I coat the, already washed, tomatillos, onions, garlic, and jalapeños with olive oil and kosher salt, and place them on the lined baking sheet. I place in the oven for 30 minutes. They will cook down quite a bit and the juices will fill the bottom of the baking sheet - this is ok, just be careful when taking it out of the oven. After 30 minutes they should be nice and brown on the tops of the onions, jalapeños, and the tomatillos. Gently stir and put back in the oven. Cook for about 5-10 more minutes and then Turn off the oven - but leave the pan in the oven for about 20 minutes with the oven off. This will help with the carmenlization. Remove from oven, let cool for about 15-20 minutes. Spoon or dump the roasted goodness into a bowl or blender jar, making sure to carefully scrape down the sides of the foil - where all the carmenlization is. Add the rest of the ingredients and blend until smooth. If using for salsa - refrigerate for a couple of hours until its cool and then serve.
0 Comments
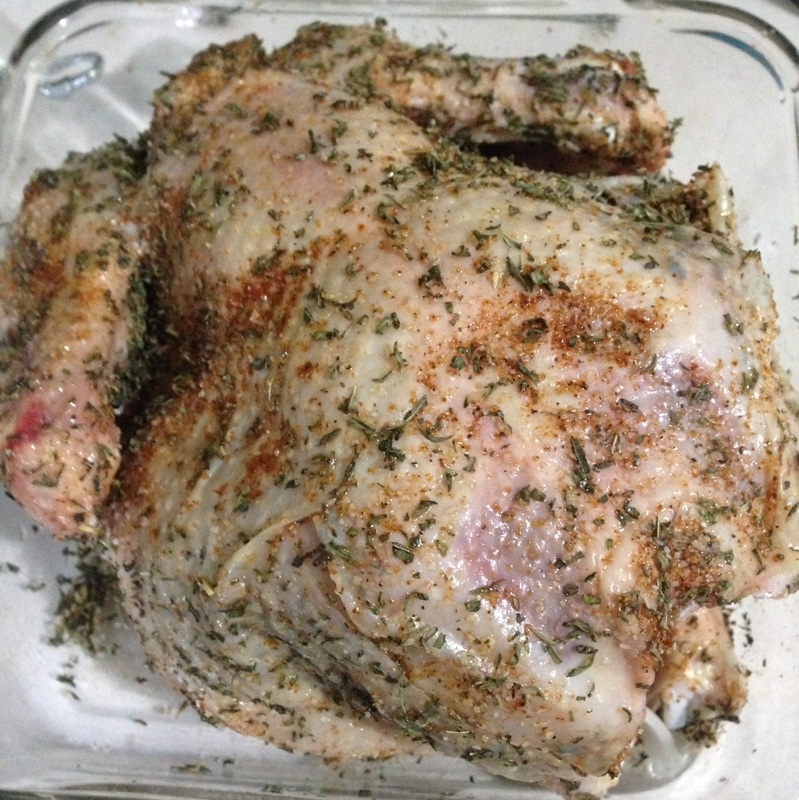
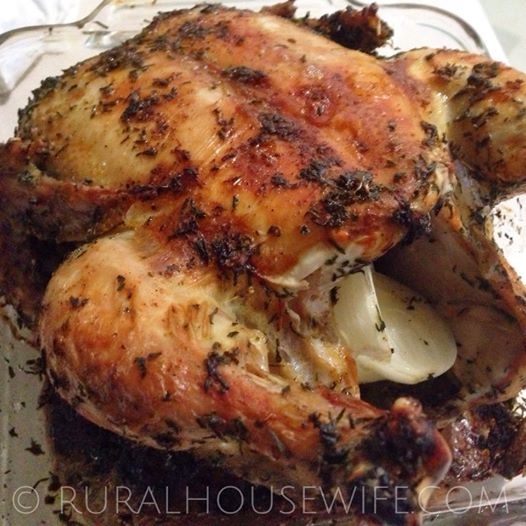
Roasting a whole chicken has always been a dream of mine, but was always too scared that it would turn out dry, not cook fully, or make someone sick. LOL. One of our friends gave us a few of her free-range chickens from her farm. Tough I was very excited I still had no idea how to cook them, so into the deep freezer they went.
This morning I decided it was time to cook one. Funny, the first post that I ran into this morning on Facebook was from The Kitchn, it was titled, "How to Roast the Perfect Chicken". That's when I knew this was the perfect day to cook mine. I followed all of the steps on the website, except I used the seasonings below. 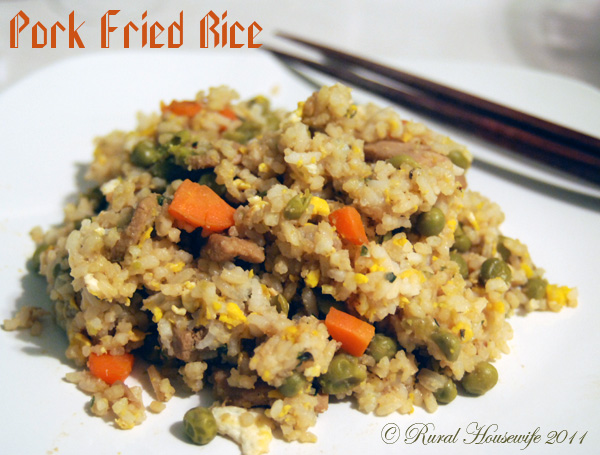
4 boneless pork chops (thinly sliced, see photo)
3 cups cooked cold white long grain rice (you can also use cooked brown rice for a healthier option) 1 carrot (diced) 4 green onions (diced) 1 can sweet peas 3 tbsp olive oil 1 clove garlic (minced) 3 eggs 2 tbsp soy sauce salt & pepper Marinade 2 Tbsp soy sauce 1 Tbsp hoisin sauce 1 Tbsp oyster sauce 1. Make sure to remove all of the fat from the pork and then cut it into small 1" long slices (see picture). Places these pork pieces in a container that has a tight fitting lid and add the marinade. Cover and let it marinate for 30 minutes at room temperature. 2. While the pork marinates, prepare the other ingredients. Using your hand, remove all of the lumps from the rice and then set it aside. 3. After the pork finishes marinating, heat a large non stick pan or wok on med-high. Then add just 1 tablespoon of the olive oil and let it get hot. 4. Once hot, add the pork and let it cook about 5 minutes. After 5 minutes, remove the pork and place them on a plate and set them aside. Scramble the 3 eggs in the remaining sauce in the pan, then set aside with the pork. 5. Add the remaining 2 tablespoons of olive oil to the wok and let it get hot. Add the carrots & green onion and stir fry them for about 3 minutes, or until the carrots are slightly tender (you want these to be still a little crunchy) add the peas and the minced garlic and cook them for about 30 seconds, or until fragrant. 6. Add in the egg and the pork and mix in thoroughly, add the remainder of the soy sauce, and salt and pepper to taste. Mix everything together thoroughly and then remove it from the heat. Place in a large bowl, break out the chop sticks and serve. Makes about 4 servings. |

Categories
All

|