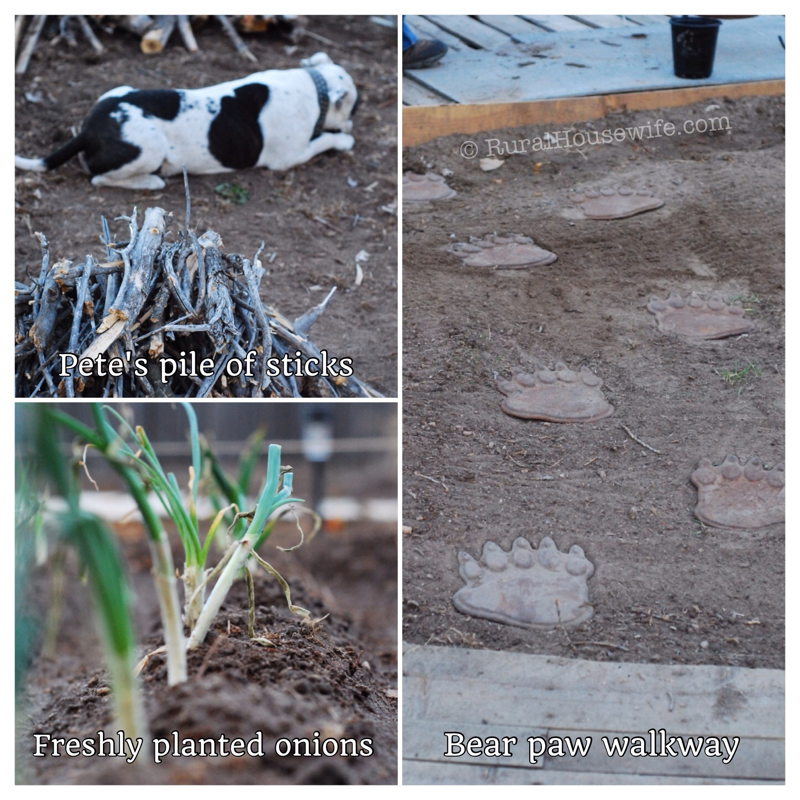
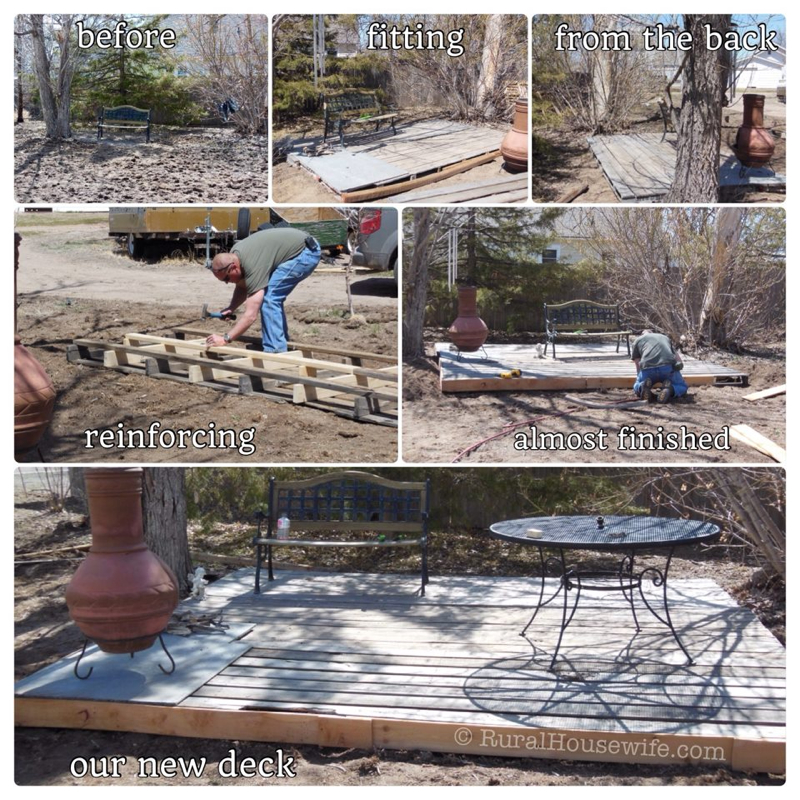
 This is our new deck. We made it out of 13' siding pallets that we got from a lumber yard. We put three of them together and reinforced some of the wobbly boards to make it a little more sturdy. We finished this a couple of weekends ago, but tonight was our first time having dinner on it. Some of our friends are kinda shy, so I will just post the pics of us :). My hubby also got our hammocks out of the garage and Petey decided that he wanted to joinme on it. Of course once he was up there he wasn't so sure about it - lol. One of the tree branches that my hubby cut off the tree last weekend, we have turned into seating - it wraps around the outside of the deck. We still have a lot if work to do around it, but I am so excited to have most if the heavy lifting mostly done. The Bear Paws - those are my favorite! When my hubby and I got married (almost 12 years ago) we honeymooned in Big Bear, California. We bought our first set of Iron Bear Paws and every year since we have tried to buy a set. Although after we pulled them all out of the garage we realized we are a few years (sets) behind. This is only part of them. The rest will go throughout the yard as a paths.
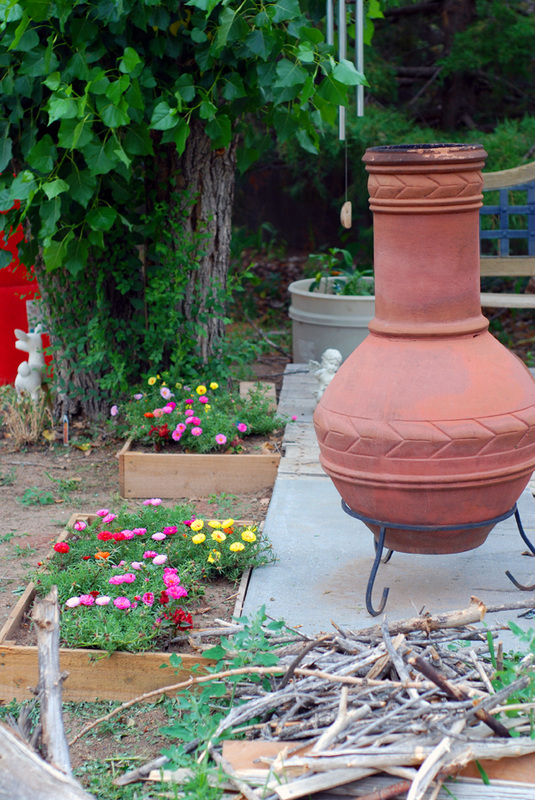
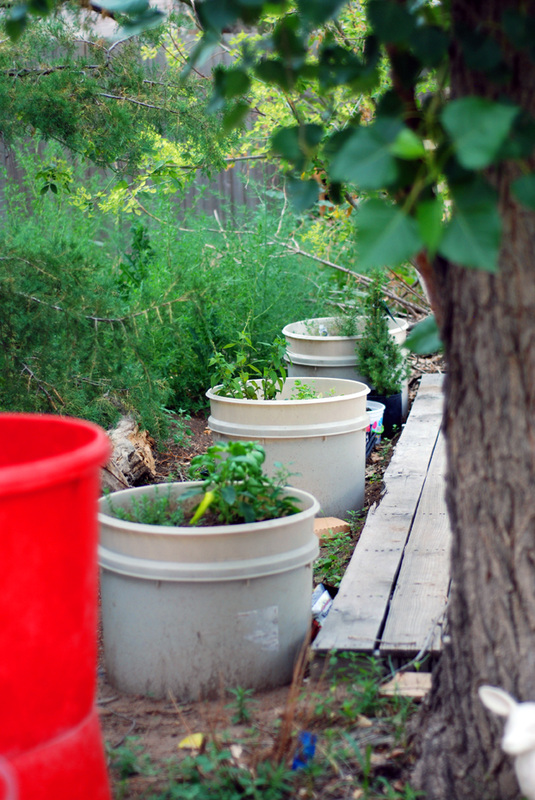
Deck Update: July 13, 2013This is what our deck looks like a few months later. I built some flower boxes for the side of the deck so Pete would stop sleeping in the flower beds :). We also put some planters behind the deck to hold our herbs and a few pepper plants. We are really enjoying sitting out on the deck with each other and with friends. We still have a few more little touches to make, and will update it to this post. 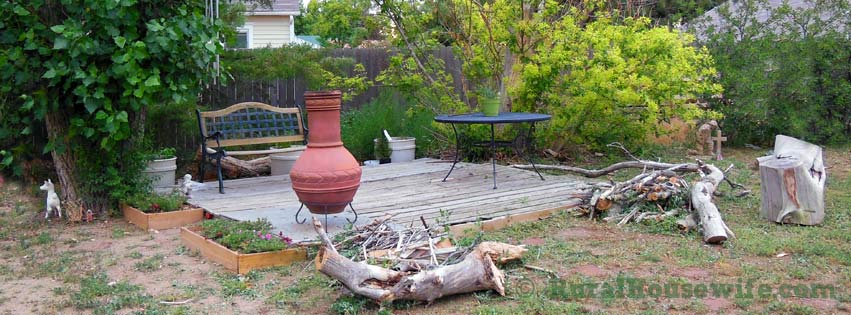
0 Comments
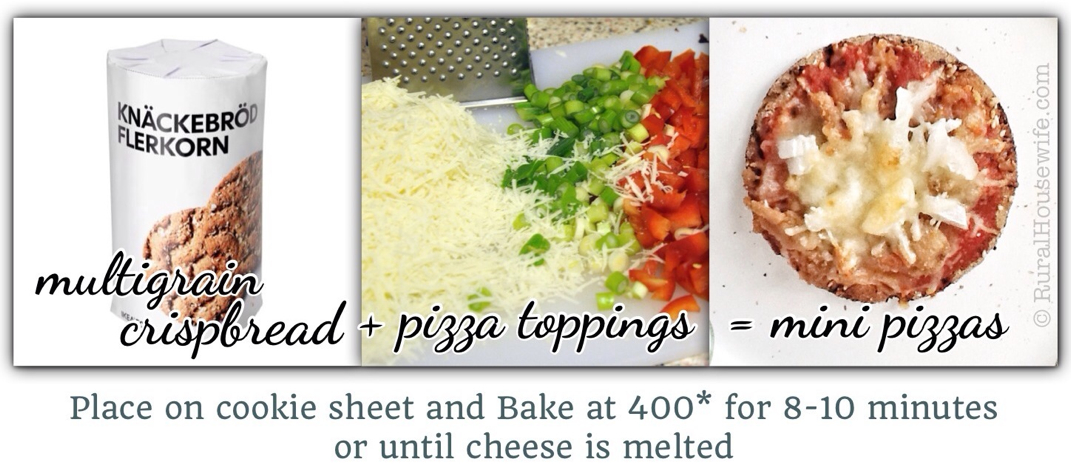
I was craving pizza tonight and didn't have dough or crusts made so I whipped out my Multigrain Crispbreads from IKEA, added sauce and some toppings, placed in the oven to melt the cheese and Walla - Mini Pizzas - so yummy!
Each crisp is only 40 calories each with 3 grams of fiber a piece (with out toppings) 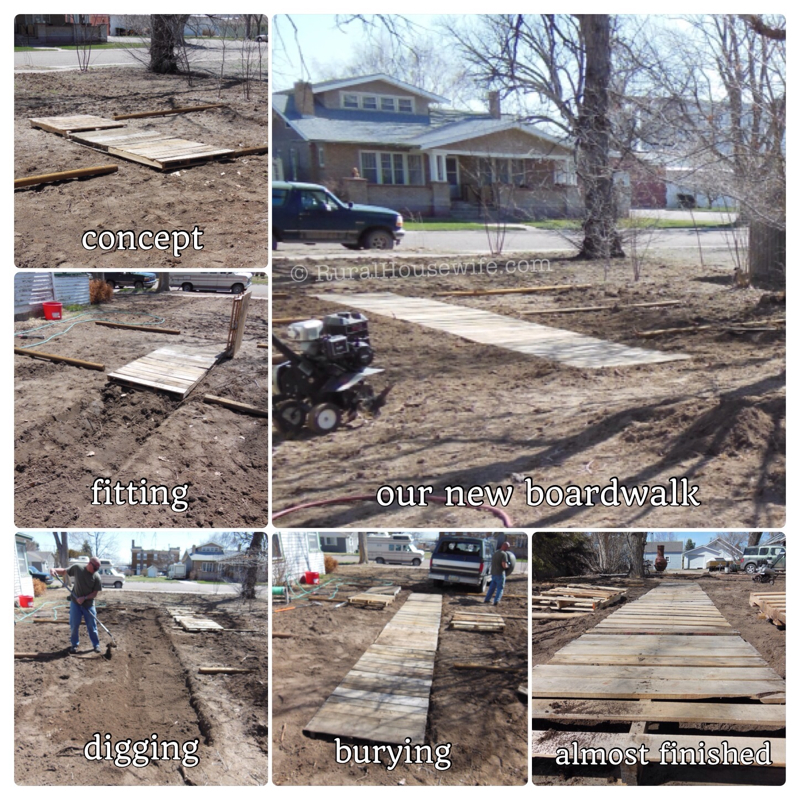 The first project was to dig a space for the pallets to be "buried". We thought it would look better then laying them on top of the surface and looking like we threw pallets in our yard. Once we dug up the space, we lined it with cardboard we got from a local furniture company (free). That way we were less likely to get weeds growing through. We scattered some dirt over the cardboard and placed the pallets on top. This step was frustrating - lol. Once we would get one in place, the next one would be taller or shorter so we would have to adjust the height of the dirt accordingly. Next step was to fill in the sides of the boardwalk with dirt. We bought some solar lights, at Walmart for .97 each, to light the path at night. Our next step is to plant marigolds along the edge of the boardwalk for color and pest control for the garden. There are still a couple of spaces that need filling - on the pallets - mainly for reinforcement. But we can do that as we go along. The total project cost less than $10!! Yard / Garden Update - July 14, 2013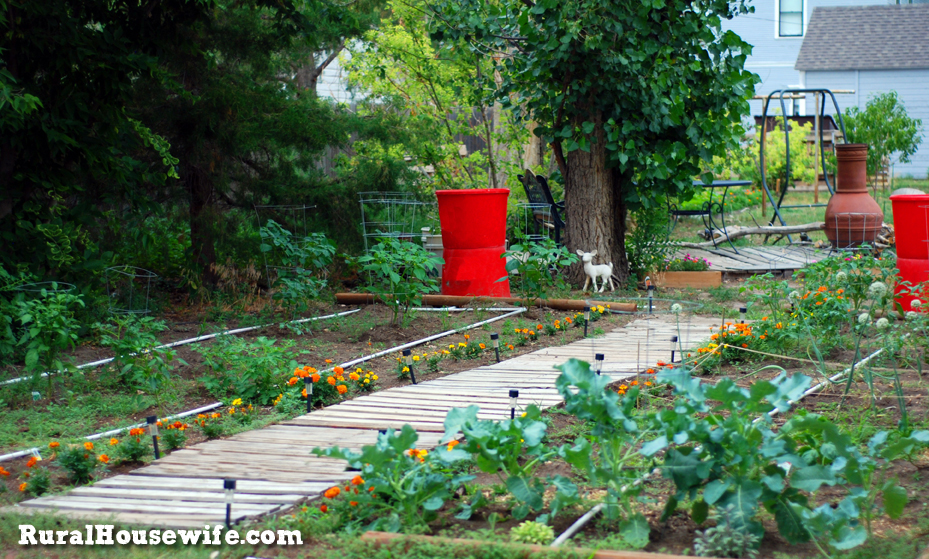 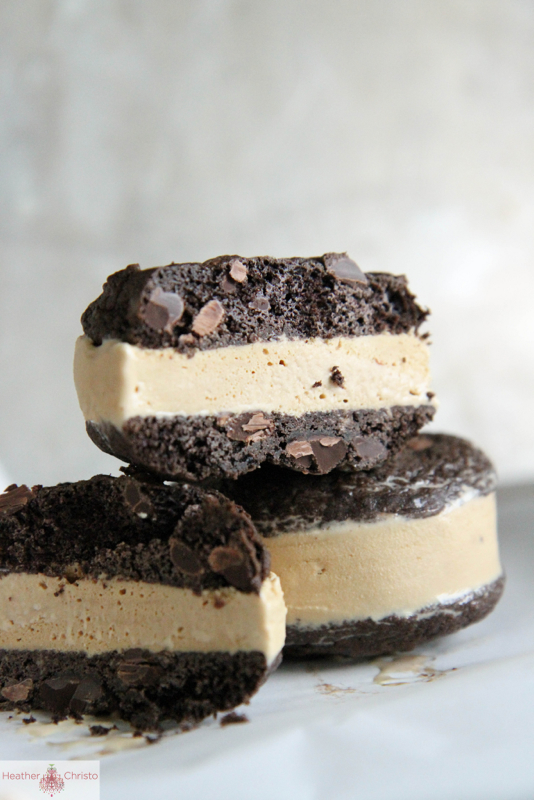
Oh today is the perfect day for these coffee chocolate ice cream treats from Heather Christo Cooks!!
Check out her site and get the recipe by going >> Here << |

Categories
All

|