Rural Housewife
  • HOME
    • My Story
    • Contact Me
  • BLOG
  • WE LOVE
  • RECIPES
    • Baked Goods
    • Breakfast
    • Chocolate
    • Dinner
    • Gluten Free
    • Granola
    • Make Ahead Meals
    • Mexican Favorites
    • Sugar Free
  • RESOURCES
    • Canning
    • Dehydrating
    • Frugal Living
    • Gardening
    • Meal Planning
    • Old Fashion Living
    • Raising Chickens
    • Small Business Dir. >
      • Submit Your Business
    • PROJECTS >
      • Crafts & Gifts
      • Holidays >
        • Christmas
        • Halloween
        • Mother's Day
        • Valentine's Day
      • Photography
    • Winter Sowing

Blog

Pumpkin Ice Cream

7/13/2020

0 Comments

 
Picture
INGREDIENTS
1 (15-oz.) can pumpkin puree
2 c. whole milk
2 c. heavy cream
1 c. packed brown sugar (or if you want to make this sugar free add 1.5 c. of 1-to-1 sugar substitute)
6 large egg yolks
1 tsp. pure vanilla extract
1 tsp. cinnamon
1/2 tsp. ginger
1/2 tsp. nutmeg
1/4 tsp. kosher salt

DIRECTIONS
  1. Before I start making any ice cream base I make sure that my bowl from my ice cream maker is in the freezer and has been in the freezer for at least 24 hours.
  2. In a medium saucepan over medium heat, whisk together pumpkin puree, milk, and cream. Stir continually until mixture begins to boil, remove from heat and set aside. 
  3. In a large bowl, whisk sugar (or sugar substitute) and egg yolks until pale and thick ribbons form, 3 to 4 minutes. Whisking constantly, gradually add about half of hot pumpkin mixture to eggs, one ladle at a time, to warm mixture through. Pour mixture back into saucepan with remaining pumpkin mixture. 
  4. Return pan over low heat and cook, stirring frequently with a wooden spoon, until mixture thickens, making sure the mixture never comes up to a simmer, about 4 to 5 minutes. To check if the mixture is done, coat the back of your wooden spoon with the mixture and swipe your finger through the mixture. If your finger leaves a clean line, your mixture is good to go—this will be at around 170°, if you're using a candy thermometer.
  5. When the custard is adequately thickened, stir in vanilla and spices. Pour into a large (non-glass) bowl and place over an ice bath. Let cool to room temperature, then cover and chill at least 3 hours, up to overnight. 
  6. When your custard is chilled and your ice cream maker bowl is frozen, churn ice cream according to manufacturer's instructions, about 15 minutes, scraping sides occasionally. When ice cream is soft-serve consistency, transfer to another container and freeze until hardened, 2 to 3 hours, up to overnight.

0 Comments

Lemon Créme Handpies

5/3/2020

0 Comments

 
Picture
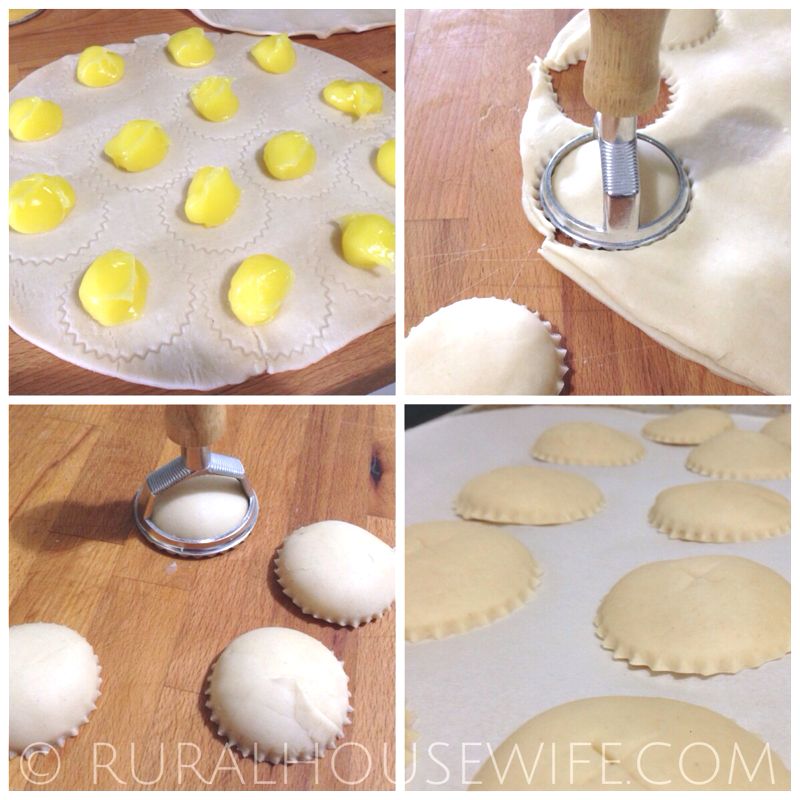
One thing I love about this recipe is that you can use any canned compot, or you can make your own. You can even make it sugar free version with a sugar free filling.

The other thing I love about this recipe is that it is simple and something I can make quickly but it's made to look like I spent all day on them. These would be great for a potluck or a quick dessert to take to someone's house for dinner. I hope you enjoy this one as much as I do!

INGREDIENTS
1 14.1oz package refrigerated Pillsbury Pie Crust
1 egg
1 tablespoon water
1 cup Lemon Créme Filling
1/3 cup white chocolate chips
1/8 tsp shortening

DIRECTIONS
  1. Preheat oven to 425.
  2. Bring pie crust to room temperature. Unroll one pie crust on a floured surface.
  3. Prepare egg wash by lightly beating together the egg and the water, set aside.
  4. On the first sheet of pie crust, lightly stamp (just to give you an idea of where to put the Lemon Créme). Place a teaspoonful of the Lemon Créme in the center of each of the lightly outlined circles.
  5. Unroll 2nd pie crust and lightly place on top of the 1st one with the fillings. Using a 2.5" Ravioli Stamp to cut & seal crust into circles, carefully stamp out each pie making sure to keep the Lemon Créme "bump" in the middle of the stamp. Place each pie on a parchment lined cookie tray about 1" apart.
  6. Once they are all cut out, you can take the remaining dough and roll it out to make a few more. You should get about 14-18 pies total.
  7. Generously brush the tops of each pie with egg wash. Using a pairing knife, carefully a small X onto the tops of each pie. Bake pies for 12-15 minutes or until golden. Let cool completely.
  8. In a small bowl, melt white chocolate and vegetable shortening together. Drizzle white chocolate over pies. Let set completely before storing.
Picture
0 Comments

Triple Berry Chia Seed Jam

12/1/2019

0 Comments

 
Picture
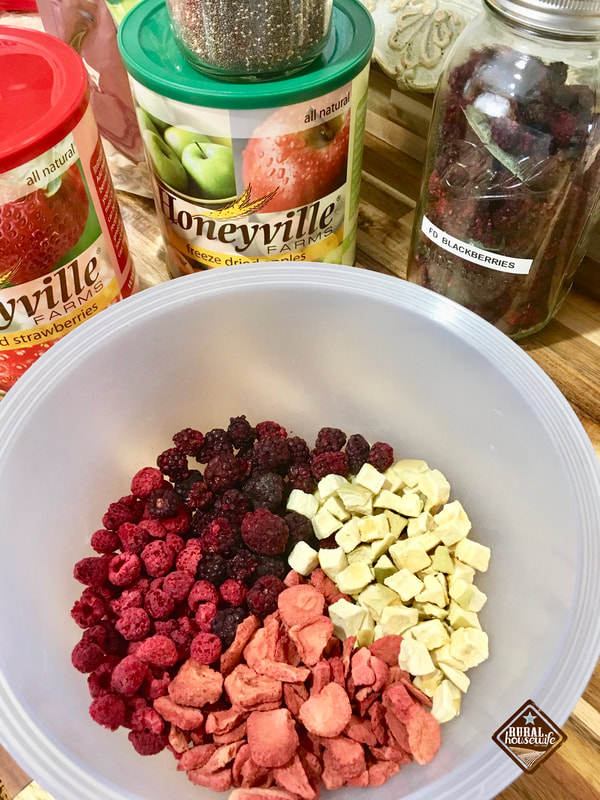
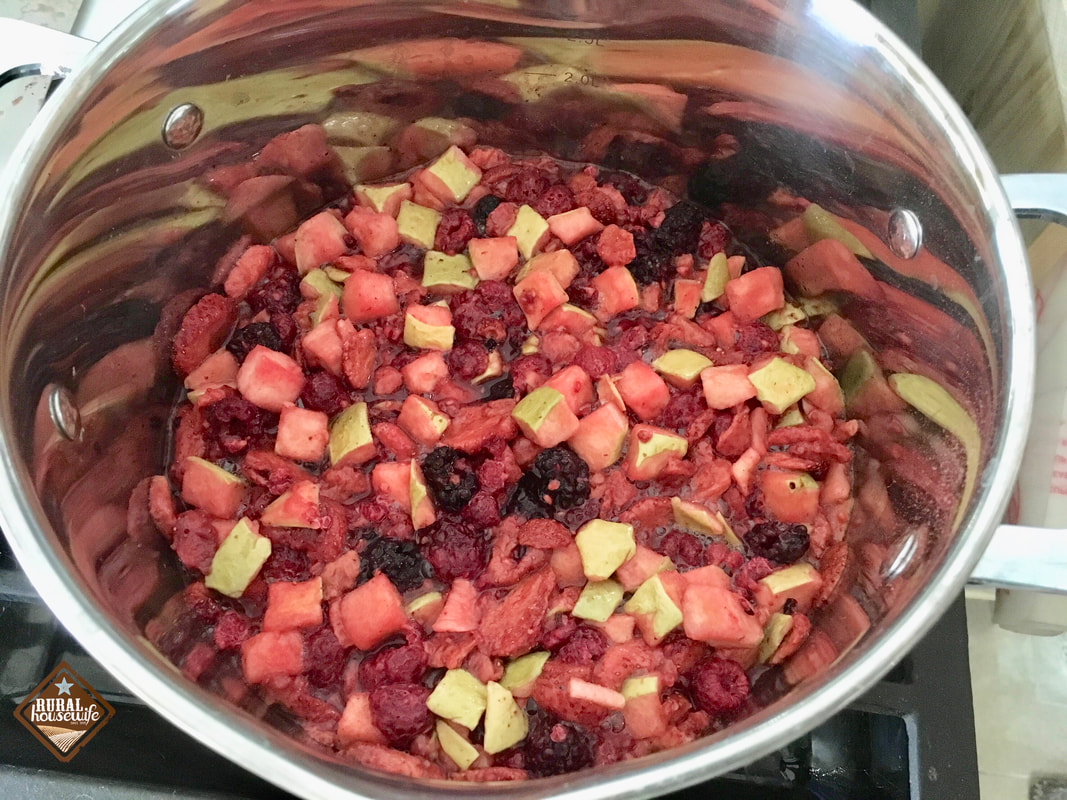
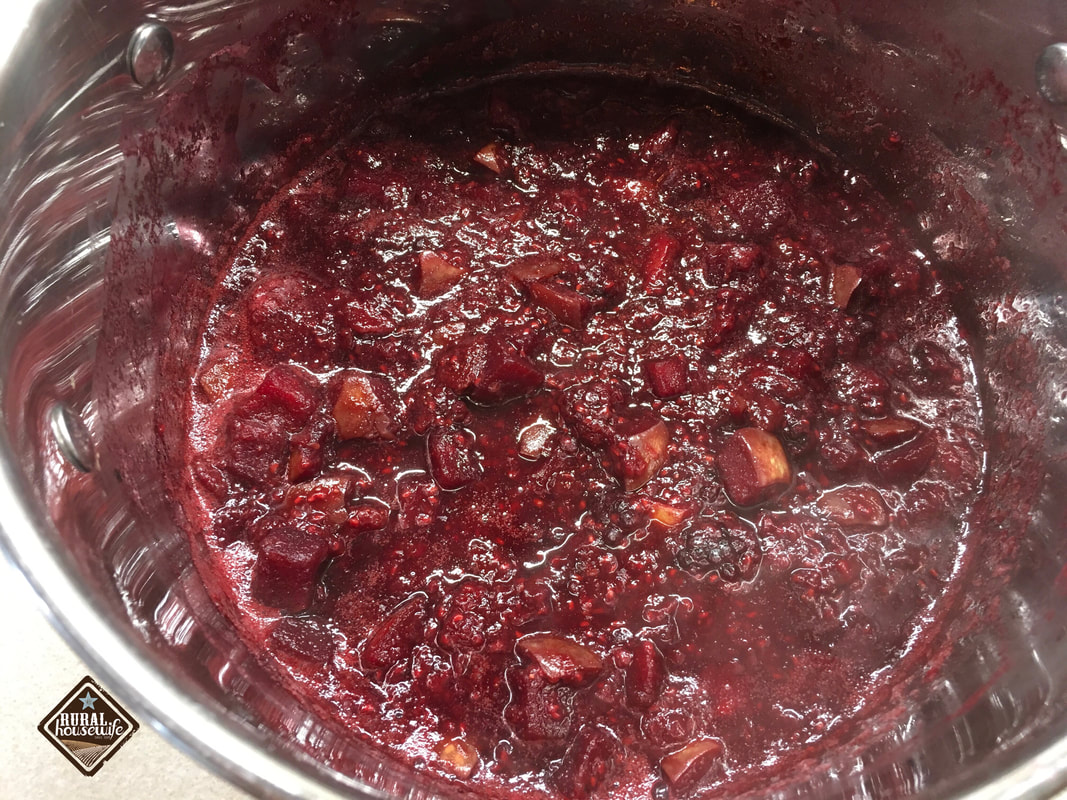
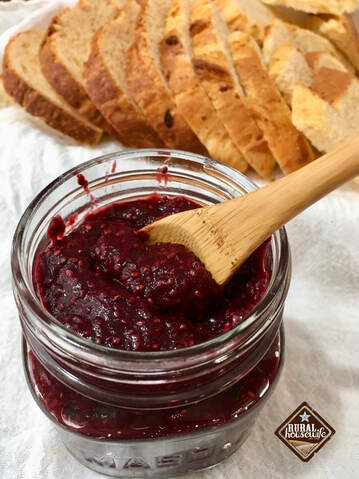
This recipe uses freeze dried fruits, but there is also directions if using fresh or frozen fruit.

INGREDIENTS
2 cups Freeze Dried Blackberries
1 cup Freeze Dried Raspberries
1 cup Freeze Dried Strawberries
1 cup Freeze Dried Diced Apples
1 cup Chia Seeds
3 cups Water
Honey to taste

DIRECTIONS
  1. If you are using fresh or frozen fruits use same amount just reduce the water to 1/2 cup.
  2. Bring everything besides the chia seeds and honey to a boil on medium-high heat, stirring often.
  3. Cook mixture for 20 minutes. This is where you add the honey. Dip a spoon in the mixture, let cool, and then taste. Adjust the sweetness level with honey.
  4. Next you will need to decide if you want chunky or smooth-ish jam. If you want chunky then add chia seeds and cook for another 5 minutes stirring often.
  5. If you want smooth-ish then use an immersion blender to blend the mixture. (Careful this can get very hot and might splatter). Add chia seeds, cook for 5 minutes stirring often and then use immersion blender again if desired.
*This makes about 1.5 pints depending on the thickness you desire.

0 Comments

Gluten Free Hamburger Buns

2/14/2019

0 Comments

 
Picture
This was my first time using coconut flour. It makes a nice hearty bun that can hold up to what ever you use to fill it. Tonight I filled mine with a Cooked Chicken Breast and Sharp Cheddar Cheese and it was delightful! The bun held up nicely and only started to crumble a little towards the last couple of bites.

INGREDIENTS

1 1/4 cup coconut flour
1 tbsp. baking powder
1 tsp. Kosher salt
6 eggs
1/2 cup olive oil
1 Tbsp. water

DIRECTIONS
  1. Preheat the oven to 325 degrees. Add coconut flour, baking powder, and kosher salt to a medium mixing bowl. Mix until combined.
  2. Add the eggs, olive oil, and water to the dry ingredients.
  3. Mix well and let sit for about 10 minutes, allowing the dry ingredients to soak up the wet ingredients.
  4. Divide dough into 5-6 equal parts (5 for larger buns and 6 for smaller buns). Dough is very wet, but not sticky.
  5. Quickly form bun shapes from the dough and place on a baking sheet lined with parchment paper. This is where you can add your toppings (optional). For these I used Trader Joe’s “Everything but the Bagel” seasoning.
  6. Bake in the oven for 30 minutes at 325 degrees.
  7. Using a knife, slice the buns in half horizontally.

Yields: 5-6 buns
Picture
0 Comments
<<Previous
Forward>>
    Picture
    Picture
    Explore the New Mountain Rose Journal & Catalog

    Picture

    Categories

    All
    365 Days Of Thanks
    Adventures
    Appetizers / Side Dishes
    Baked Goods
    Being A Wife
    Bible Study
    Bread
    Breakfast
    Budget Fun
    Canning
    Chocolate
    Chocolate Mondays
    Christmas
    Cookies
    Craft Nights
    Crafts
    Dairy Free
    Dehydrator
    Dinner
    D I Y
    E-BOOKS
    Experiments
    Farm Girl
    Freeze Dried
    Furniture
    Gift Ideas
    Gluten Free
    Green Tomatoes
    Halloween
    Handmade
    Herbal Remedies
    Homemade
    Ice Cream
    InstantPot Recipes
    Leather
    Low Sodium
    Make Ahead Meals
    Meals In A Jar
    Mexican Favorites
    Mothers Day
    Mug Recipes
    My Attempt At Gardening
    My Attempt At Sewing
    My Faith
    My Life
    Natural Beauty
    Our Town
    Painting
    Photography
    PRINTABLES
    Pumpkin
    Quick Fixin's
    Recipe
    Recycle
    Rice Cooker Recipes
    Slow Cooker Fridays
    Snacks
    Soup
    Sourdough Discard
    Spice Mixes
    Sugar Free
    Thanksgiving
    Tutorials
    Using Food Storage
    Valentines
    Vegan
    Videos
    Wheat
    Wood Projects


    Support this Site
    Shop with any of the companies below to support this site! Simply click on their image to start shopping—it won't cost you a thing.
Picture
This is a great resource page for gardeners that are just beginning and those that have been doing it a long time.
Picture
On the go a lot? Don't have time to always make a wholesome dinner for your family? Check out these recipes to get you ahead of the game.
Picture
How to's, ideas, inspiration, books, and so much more for learning how to can and preserve your food.
Copyright 2009 - 2025 Rural Housewife™ | Powered by The New KJV

SUPPORT THIS SITE: Shop with any of the companies below to support this site! Simply click on their image to start shopping—it won't cost you a thing.
Picture
Picture
Picture
Picture
Picture
Picture
Picture
Picture
Picture
Picture